|
The kids had an opportunity to explore the properties of light this week using flashlights, index cards, lenses, and cellophane. I've never seen kids get so excited about flashlights :)
0 Comments
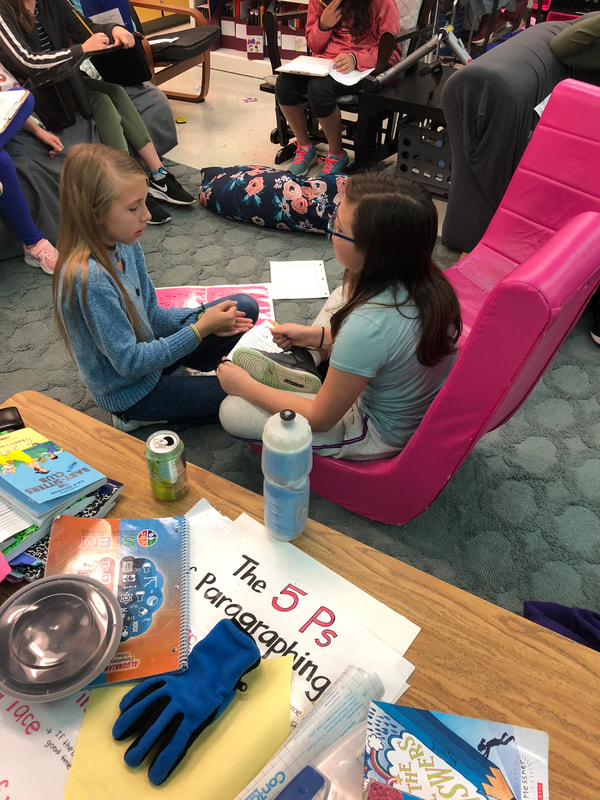
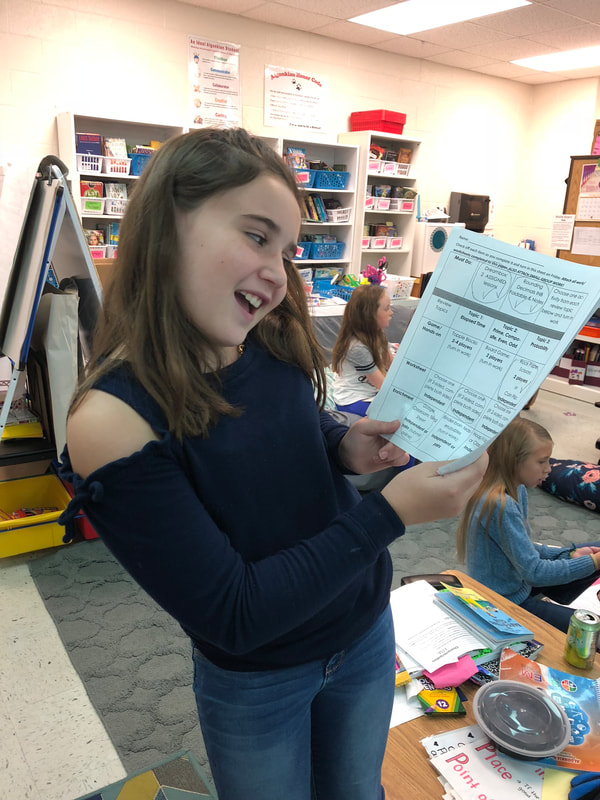
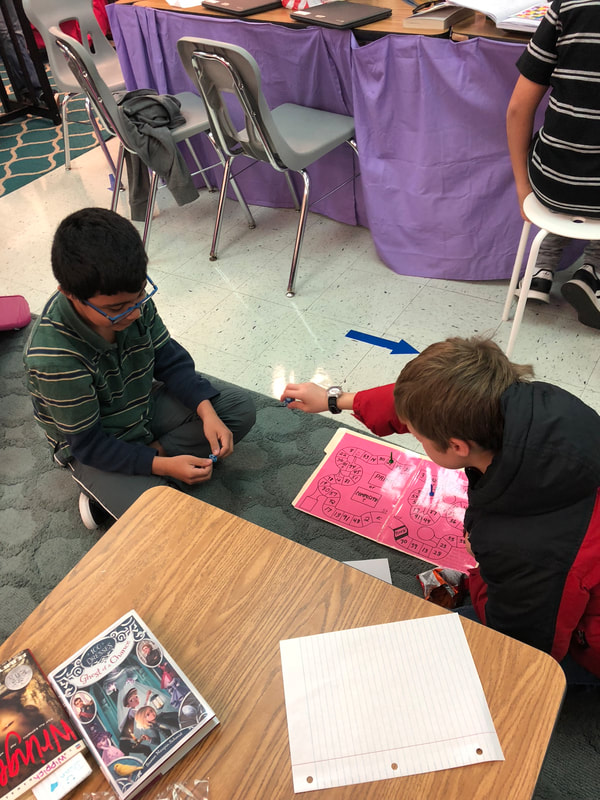
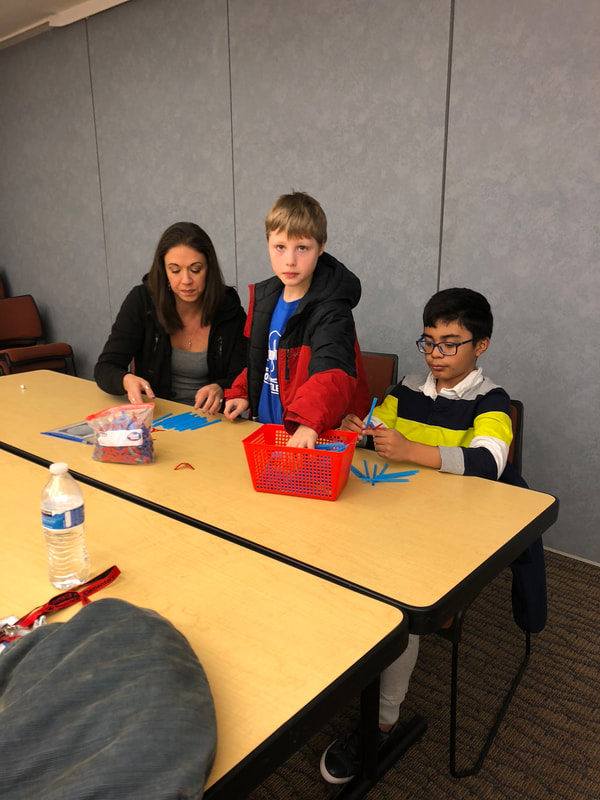
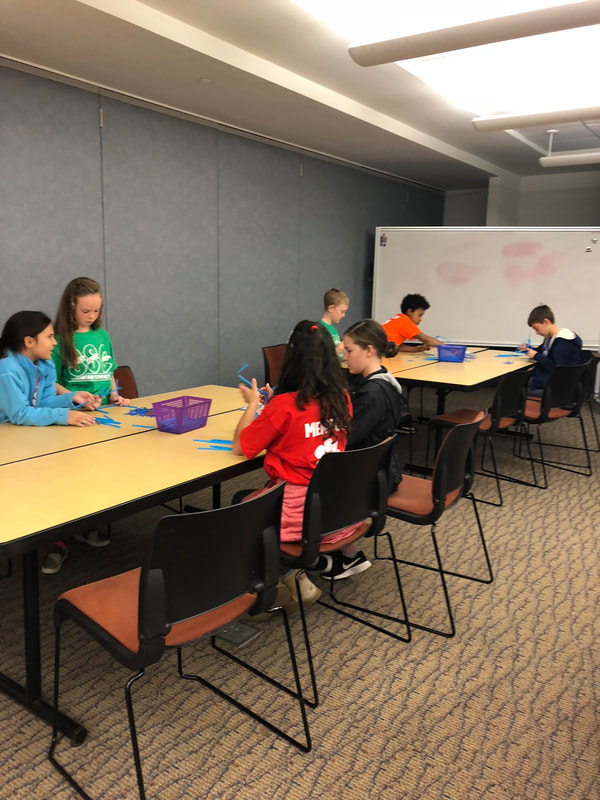
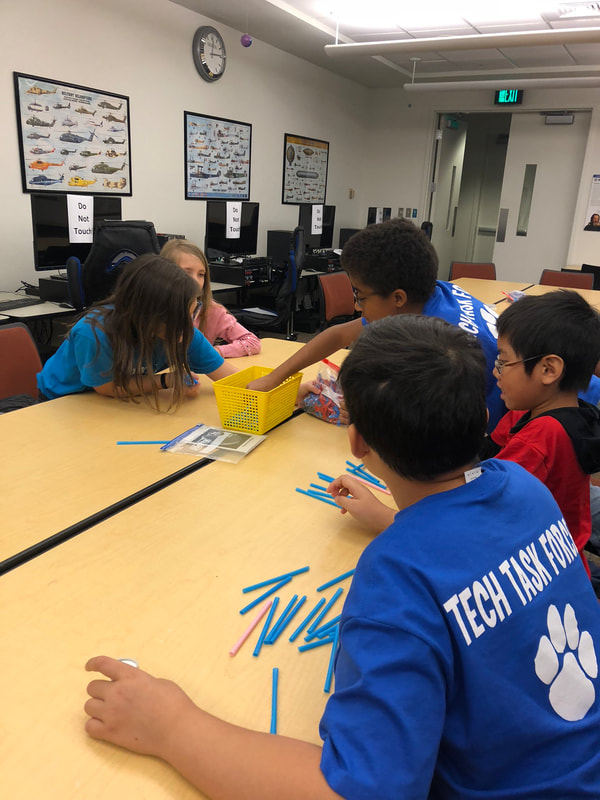
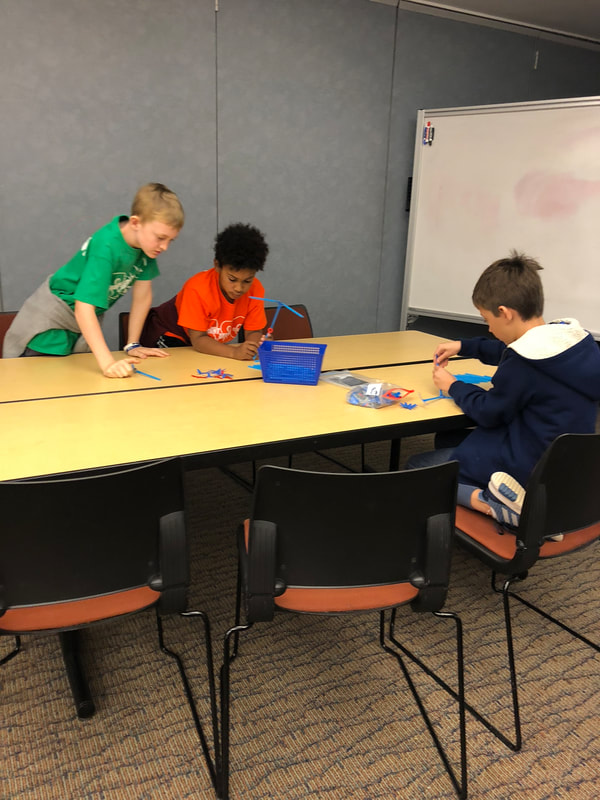
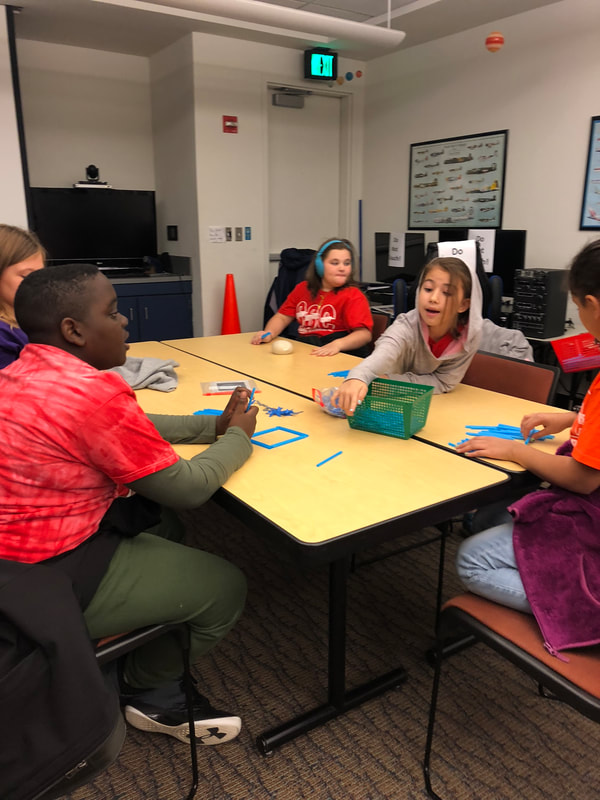
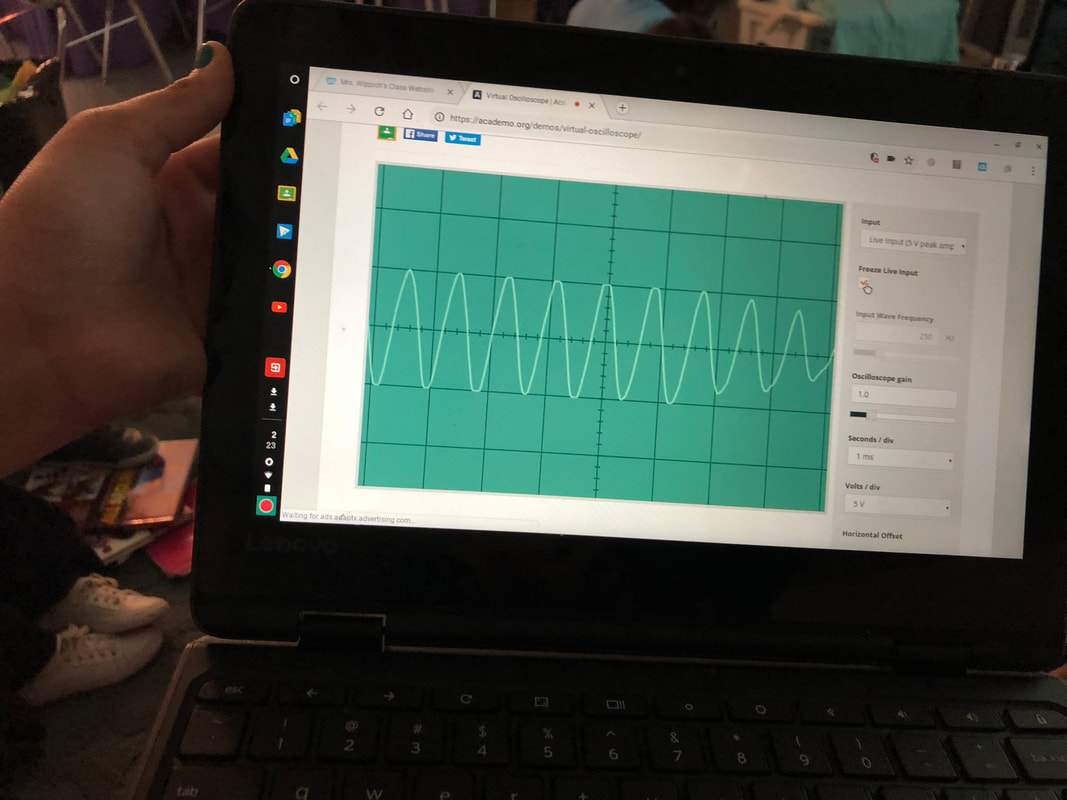
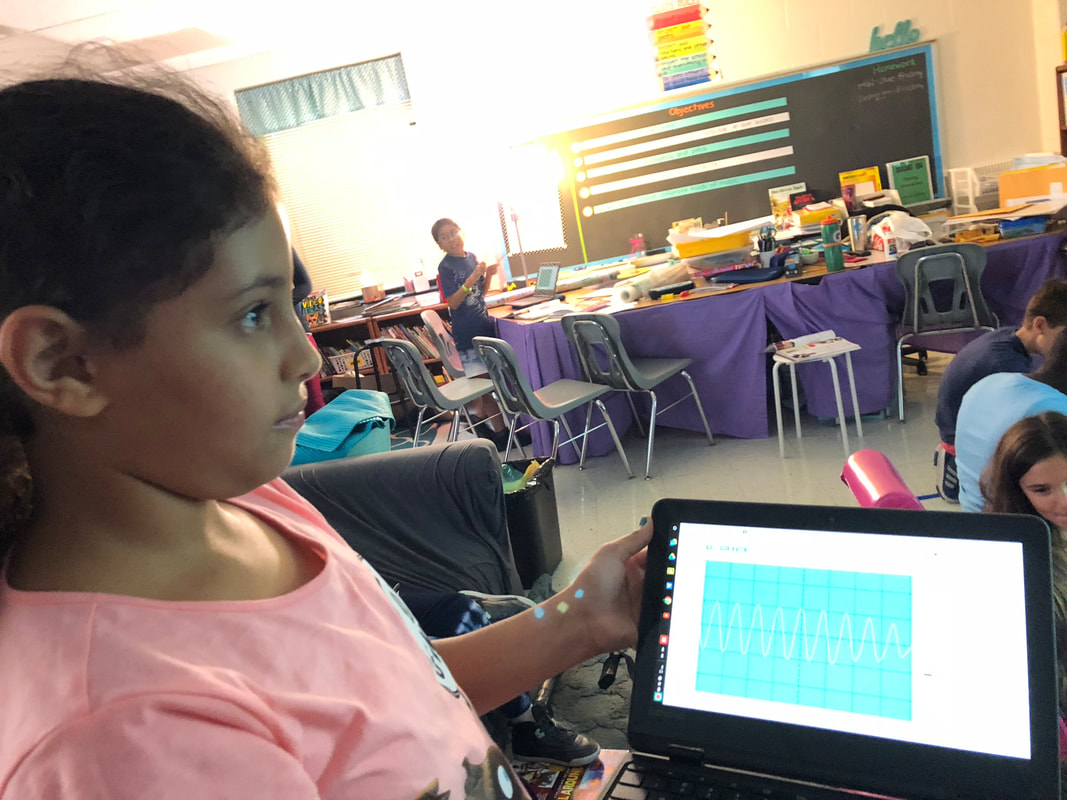
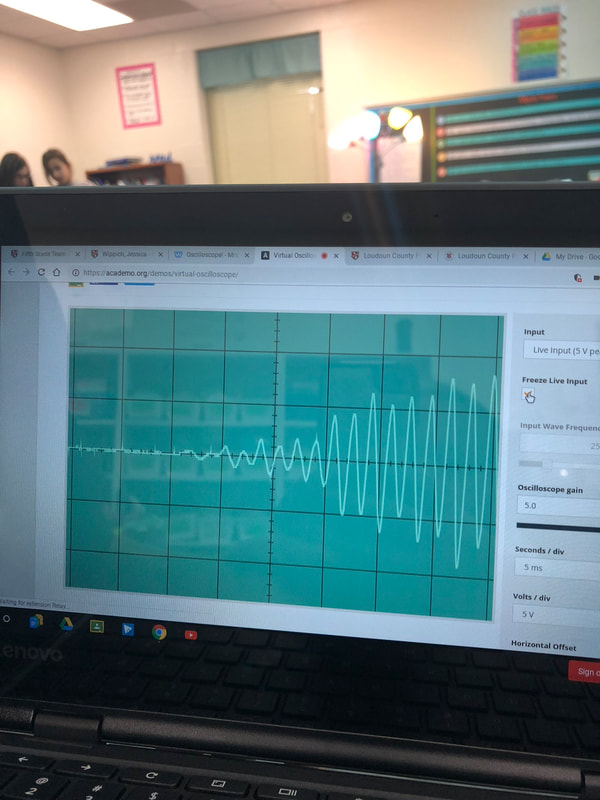
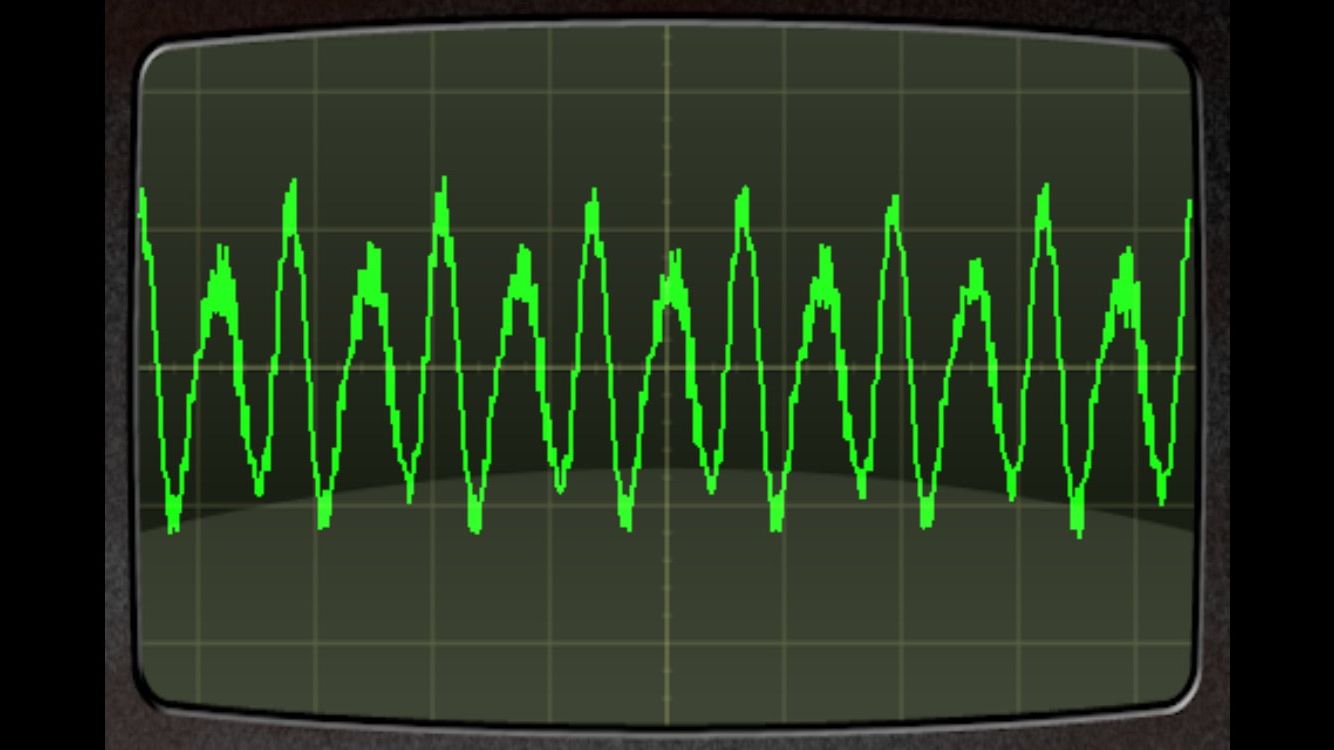
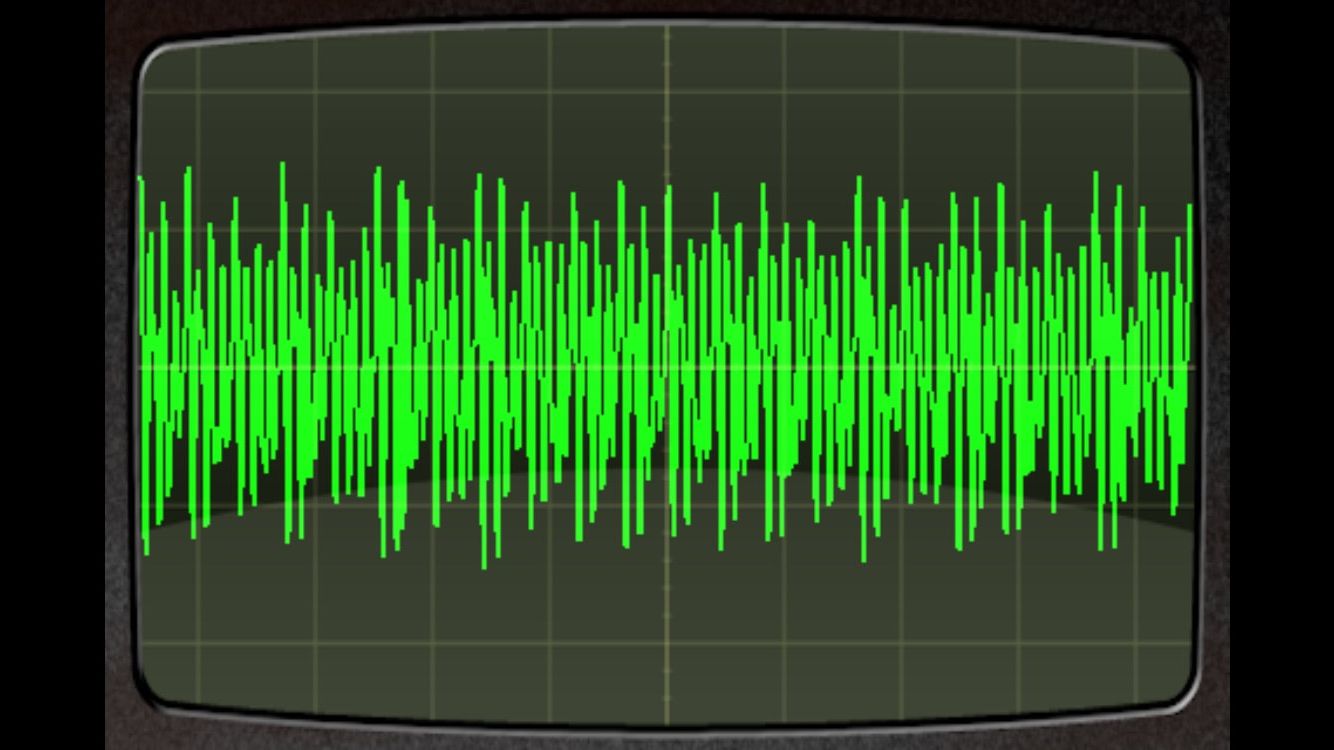
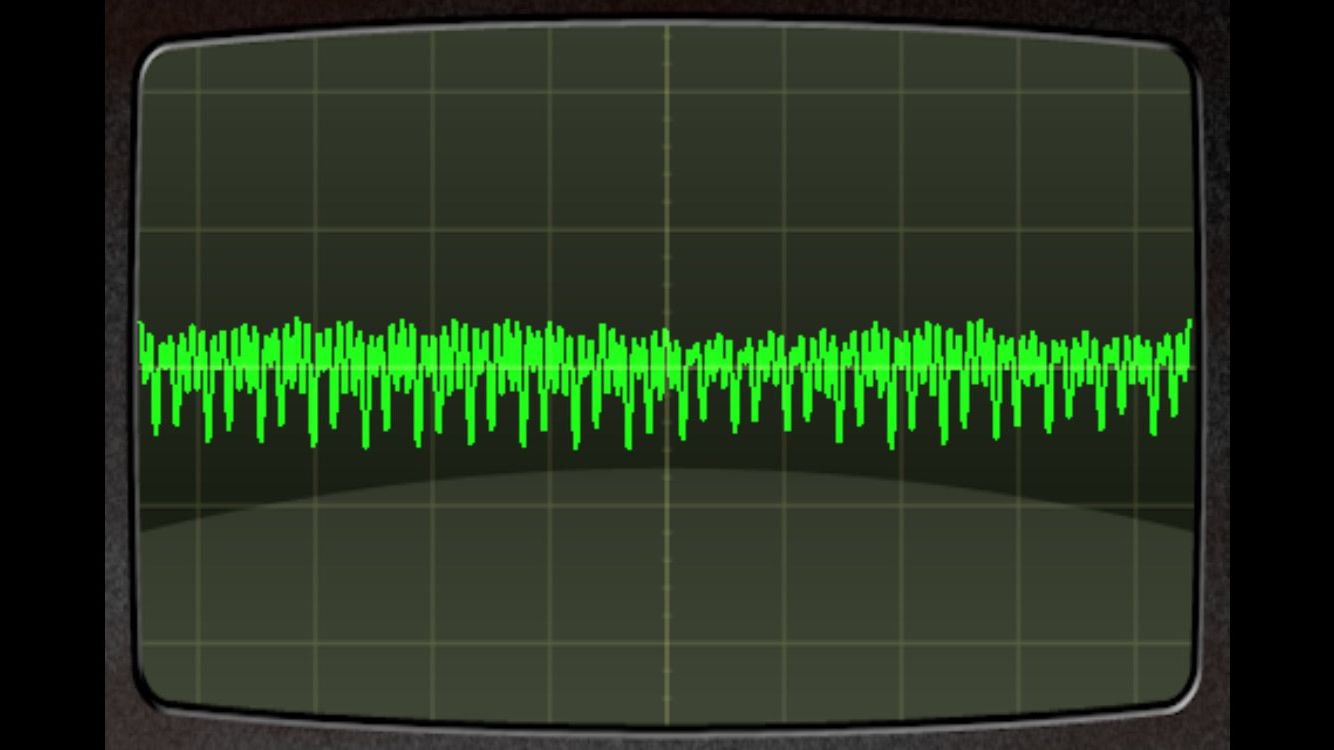
The kids spent the week reviewing old standards (they got to choose the activities they did for each topic) and meeting in small groups with me to go over new concepts. Lots of learning going on! During recess this week, the kids and I had a dance party. Here is a little video of them dancing :) Last week, we did a few more fun activities to get more comfortable with the sound concepts we've been learning. We saw how our voices affected an online oscilloscope and made instruments out of straws to see how the length of the instrument changed the pitch. See the videos and pictures below :) In the first two pictures, we see a sound with the same frequency and pitch that has a decreasing amplitude toward the right side...this means the volume gets a little softer while the pitch stayed the same. In the last picture, the frequency is once again pretty consistent, but look at how loud their sound is to the right of that screen! Here are our instruments!
On the left we have the shorter instruments and on the right, the longer instruments. Can you hear the difference in pitch???
More on this later this week :) This week we are going to talk more about frequency, pitch, waves, and amplitude. We will be using my Oscillo app on my phone to see the waves of our own voices and look at how the wavelengths change with each different sound. Here are some pictures I've taken while using the app.
The height of the waves is called the amplitude and determines how loud or soft a sound is. As you can see in the pictures above, both waves are about the same height, meaning they are about the same amplitude, or loudness. We can tell this by how far above they go above the center line. Though the amplitude (volume) is about the same, the frequency and pitch are much different. The first one has a very low frequency- there are fewer, longer wavelengths and they are much easier to see. This means that this sound was a low pitch. The second picture has a high frequency-a LOT of waves, very close together that creates a high pitch sound. The waves are shorter and it is harder to see each wave.
Once again, the waves directly above have a similar amplitude and much different frequency and pitch. Can you tell which one is the lower pitched sound? The first one! Let's compare the two high pitched sounds next to each other:
These two waves have a very similar frequency and pitch- a very high sound, but a much different volume, or amplitude. The first one is from when I shouted at a high pitch and the second is from when I whispered at a high pitch. You can see the waves are much taller in the one that I yelled than in the one in which I whispered.
I hope that helps to explain amplitude and pitch a bit better! We experimented with frequency, pitch, and amplitude this week using everyone's favorite sound-demonstration tool- the SLINKY! Here are some videos of the activities we did. I've also included a video at the end from last year to show you what we did in the hallway ...we did it this year, but I didn't have it filmed :( Today we got to meet Indie, the service dog Ms. Shields is training! He is adorable. 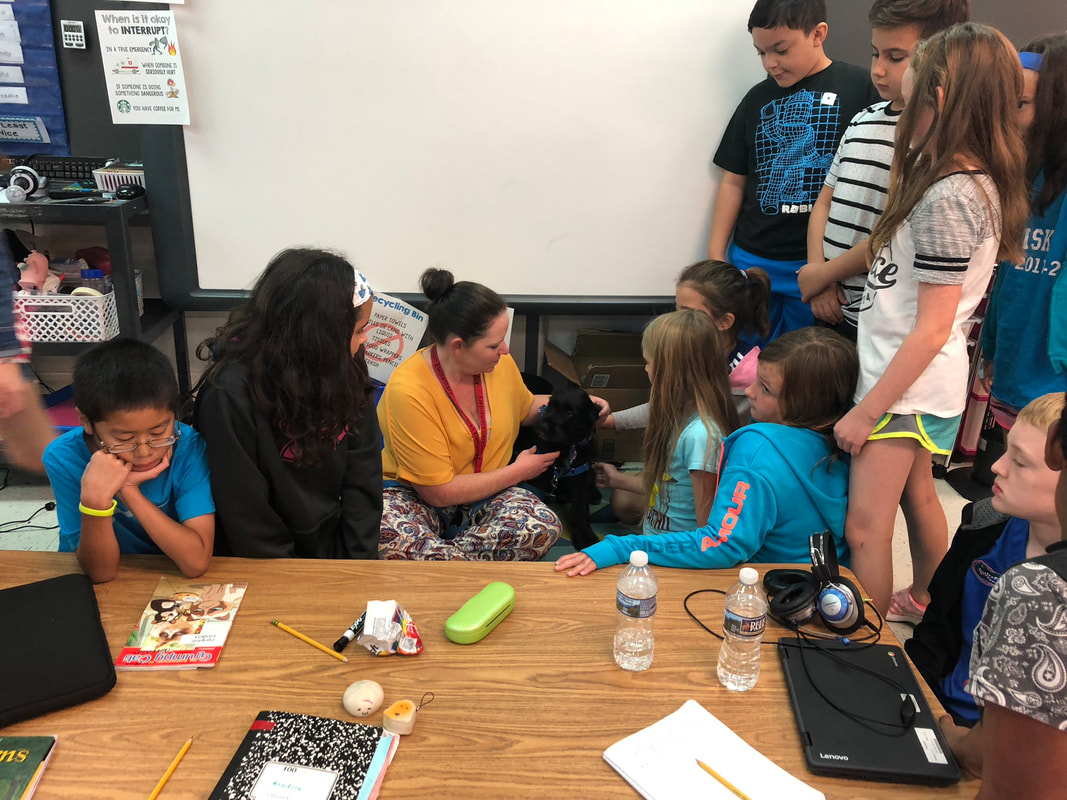 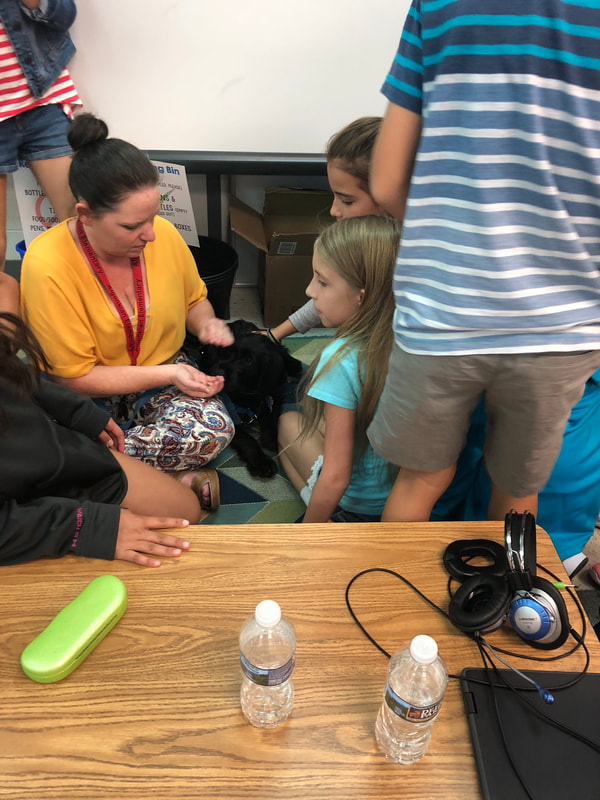 We've been doing several fun activities with sound to learn vocabulary. First, we reviewed how to count the number of sound waves in a visual representation of sound:  Particles in the States of MatterNext, we talked about how all matter is made up of tiny atoms and molecules. We defined matter as "anything that has mass (the amount of "stuff" in something) and takes up space." We then talked about the spacing of atoms and molecules in different phases or states of matter.  As you can see, the atoms in the solid are tightly packed together with very little space to move around, the molecules in liquid are a bit further apart, and the gas are even more spread out from each other. We then discussed what this has to do with sound. We have already defined sound as "a type of energy created by vibrations of matter." Since all matter is composed of atoms and molecules (particles), the sound comes from these tiny particles vibrating against each other. We modeled how a sound can create a ripple effect of molecules vibrating back and forth, starting from the source. 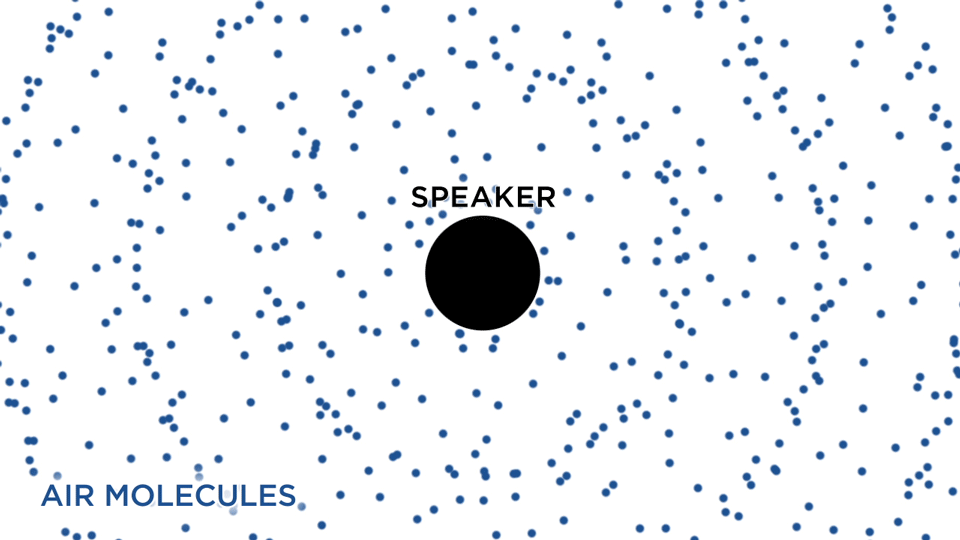 Particle Movement Through States of MatterWe also discovered through a demonstration that matter moves through solids the fastest and gases the slowest. In places with no matter (like outer space, which we call a "vacuum" because it has no air or particles), no sound is heard. So when you see those movies with loud explosions in space, in actuality you would never hear any sound! In this demonstration the blue dominoes represent a solid with tightly packed molecules, the pink represent a liquid with slightly more room between the molecules, and the white represent a gas with molecules spread far apart. It is clear to see which medium sound waves travel through the fastest and slowest. 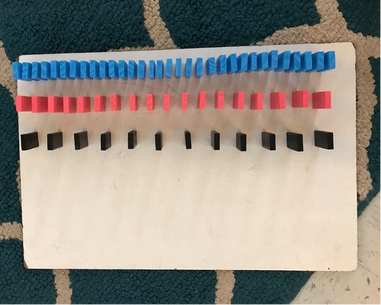 ***Please note that the first video is from last year- I didn't set up the dominoes very well this year (as you can see from the second video). This makes sense because as the molecules start to move back and forth, it takes a gas molecule longer to reach the next molecule to bounce off of. The website Ducksters.com has a great explanation: "The speed of sound is how fast the wave or vibrations pass through the medium or matter. The type of matter has a large impact on the speed at which the sound will travel. For example, sound travels faster in water than air. Sound travels even faster in steel. In dry air, sound travels at 343 meters per second (768 mph). At this rate sound will travel one mile in around five seconds. Sound travels 4 times faster in water (1,482 meters per second) and around 13 times faster through steel (4,512 meters per second). " Read more at: http://www.ducksters.com/science/sound101.php Here is a review of how molecules vibrate back and forth to create wavelengths. 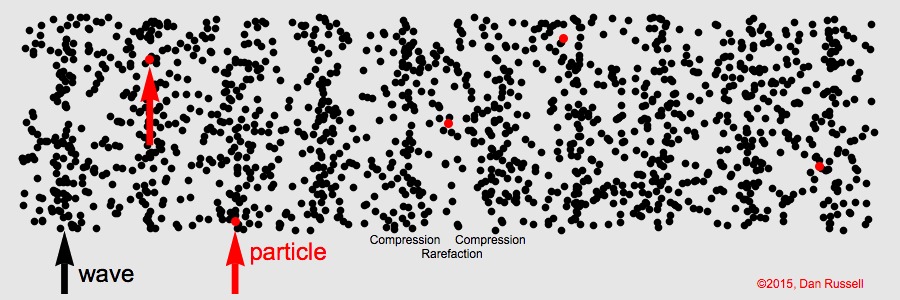 Watch the red particles above closely. See how the red particles (they are in red to make them easier to see) move back in forth in the same area and DON'T move forward with the waves? The waves are created when the molecules bounce into other molecules and then back and forth, kind of like this:  As these molecules bounce back and forth off of one another, a wave is produced. We then draw the waves like you see below: 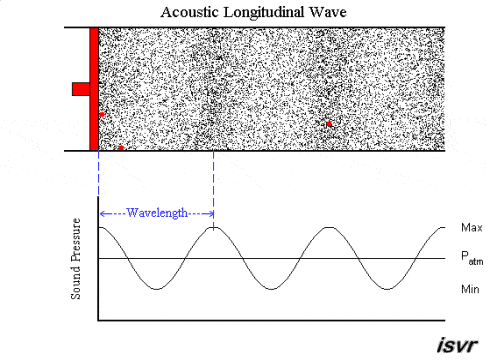 The areas where the molecules are tightly pressed together are called "compressions" and are the high point, or "crest," of the wave. This is why sound waves are sometimes referred to as "compression" waves (they are also known as longitudinal waves)! The areas where the molecules rarely meet and have more space between then are called "rarefactions" and are represented by the lowest point of the waves, the "trough." 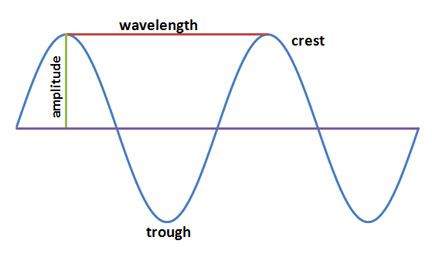 Frequency and WavelengthAfter talking about how matter vibrates to make sound, we acted out the vocabulary word "frequency" by timing the kids "vibrating" in place for 20 seconds. We stressed that in order to be a true vibration, they could not step away from where they were- just rock back and forth (or up and down) in place. These vibrations would later be considered wavelengths. Real-life sound is measured in something called "Hertz." Here is a great explanation from www.howmusicworks.org. "Frequency is measured as the number of wave cycles that occur in one second. The unit of frequency measurement is Hertz (Hz for short). A frequency of 1 Hz means one wave cycle per second. A frequency of 10 Hz means ten wave cycles per second, where the cycles are much shorter and closer together."  Here is a video of the kids doing our frequency activity. Some of us got a little more into this activity than others ;) After the kids had made vibrations for 20 seconds, we split the kids into three groups- one that did between 1-12 vibrations over the 20 seconds, one that did between 13-18, and one that did 19 or more vibrations. After they were in their groups, we had each group model for each other their "frequency," or how frequently/often they vibrated in that span of time (i.e., the number of waves). Those that were in the 1-12 vibrations group were considered "low frequency" because they didn't vibrate very many times. Those who were in the 19+ group were considered "high frequency" because they had a lot more vibrations in that time span. 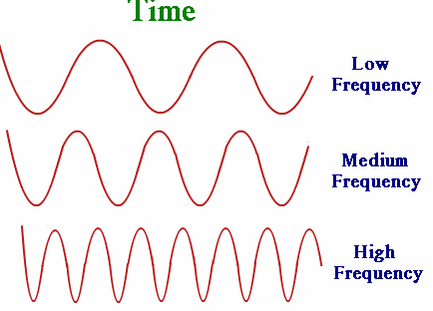 The low frequency group was highlighted at the end of the last video. Here is the medium frequency group: Here is the high frequency group (we had quite a few kids join this group at the end): Frequency and PitchAfter we demonstrated frequency, we had a discussion about what we noticed. Here is a clip: We learned that the higher the frequency (number of waves), the shorter the movement (wave length) and higher the pitch. The lower the frequency (number of waves), the longer the wave/movement and lower the pitch. We then sang in the appropriate pitch as each frequency was pointed to. The high frequency we sang in a high pitch, the low frequency in a low pitch, and the medium frequency in a medium pitch. This video cracks me up :) In the animation below, you can see differences in frequency and how they affect wavelengths. Lower frequency= longer wavelength=low pitch Higher frequency= shorter wavelength=high pitch 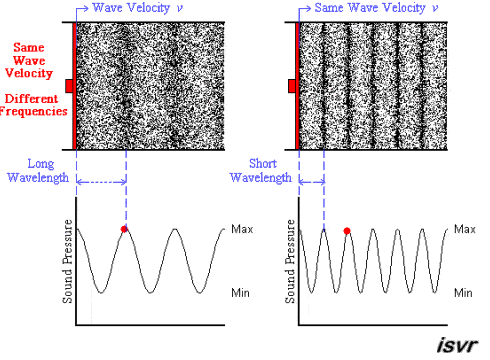 Here are some videos of the kids as they tried to sing at various frequencies as I changed them up on the board. We also attempted to change our amplitude (volume) based on the height of the waves, but still need a lot of practice ;) These kids crack me up LOL! We may have had a little TOO much fun doing this. |
Archives
June 2019
Categories
All
|


 RSS Feed