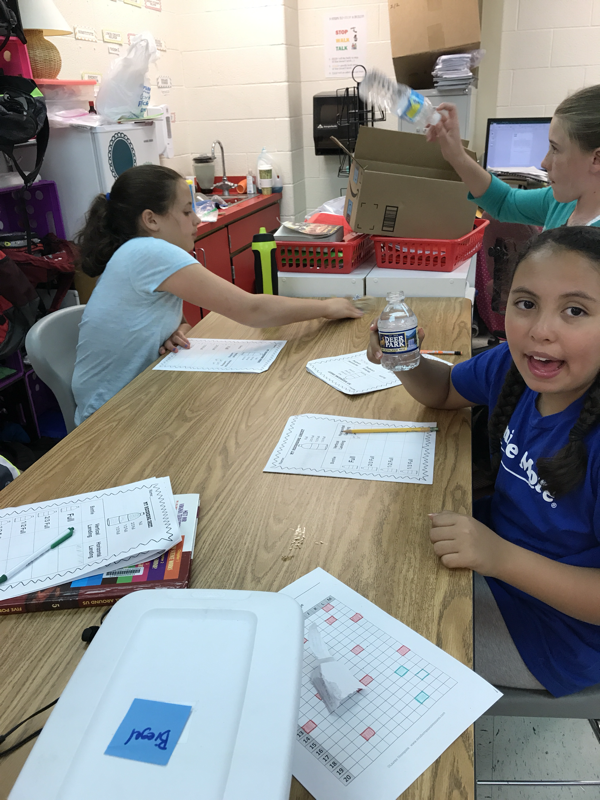
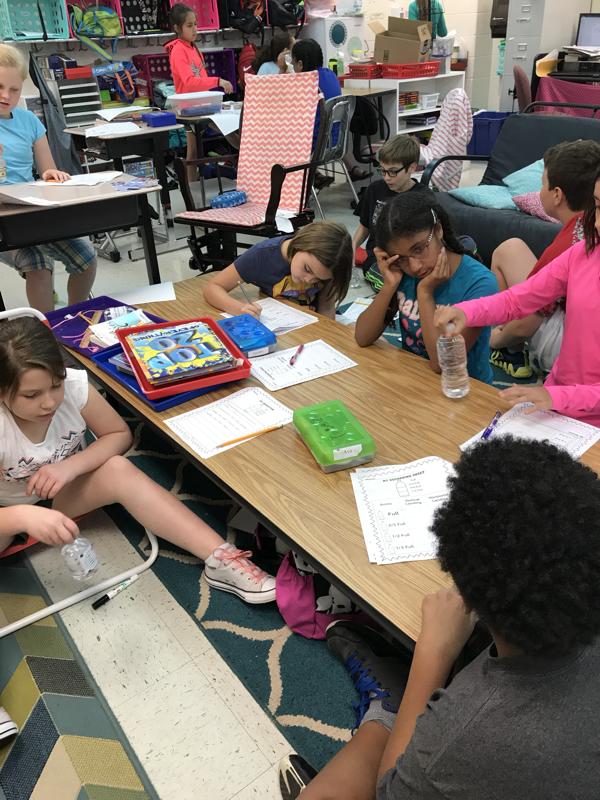
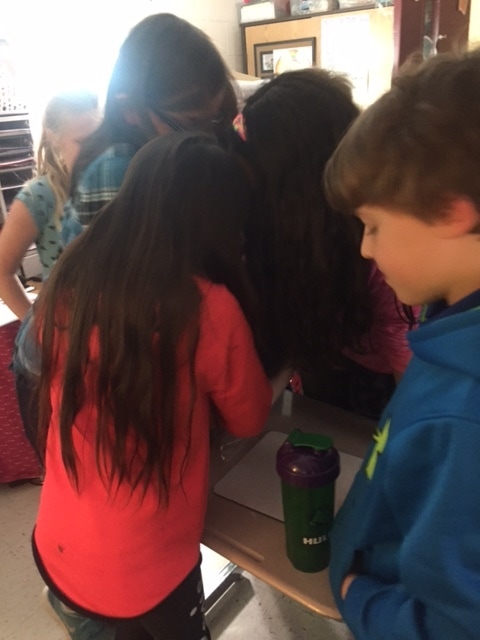
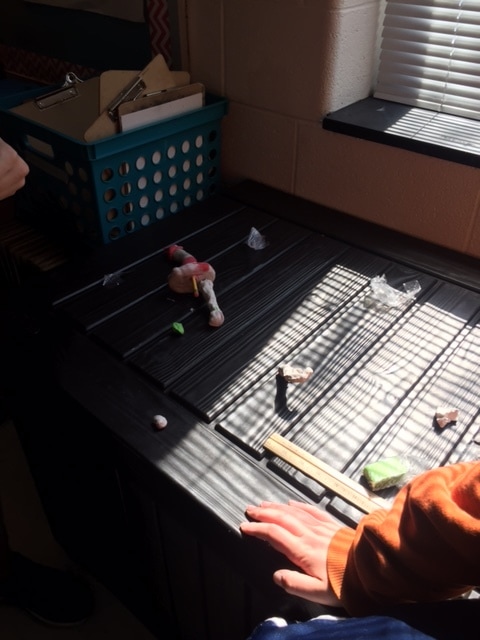
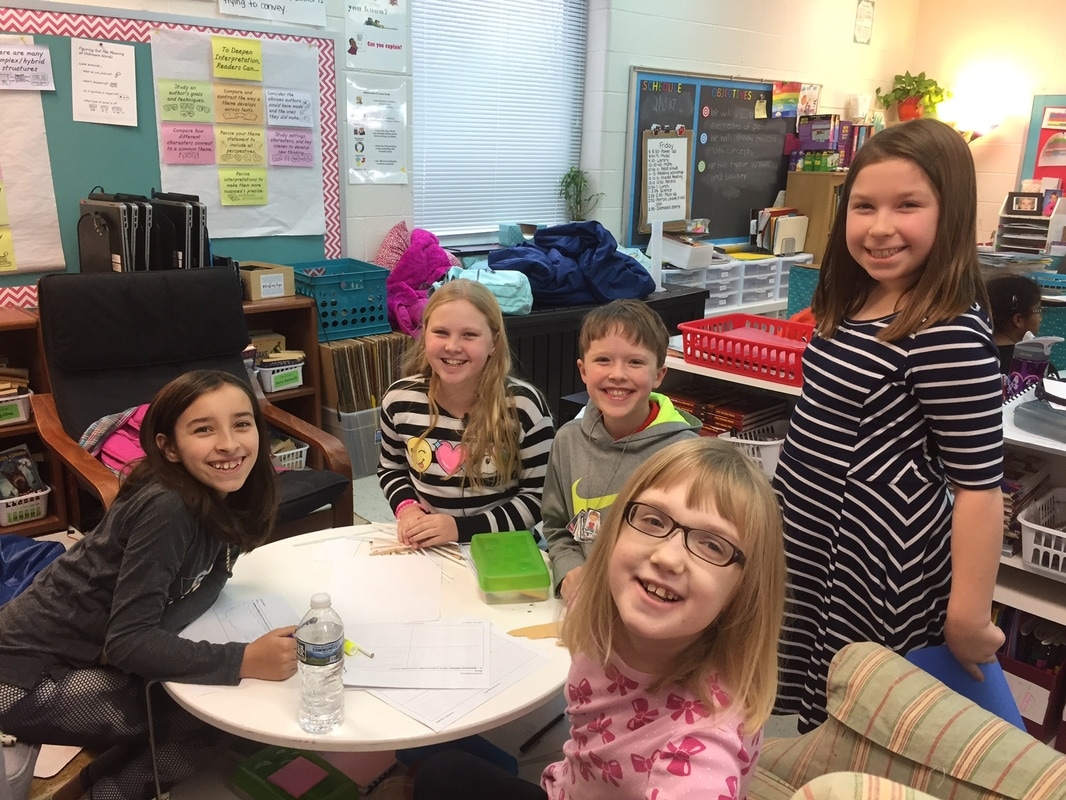
STEM-Water Bottle Flipping
Kids in room 26 were flipping water bottles today, and for once not getting in trouble for doing it ;) We did an investigation to see what water level would enable a water bottle to land upright the best.We discussed variables and constants, the importance of repeating an experiment, and conclusions based on our data. Here are some pictures!

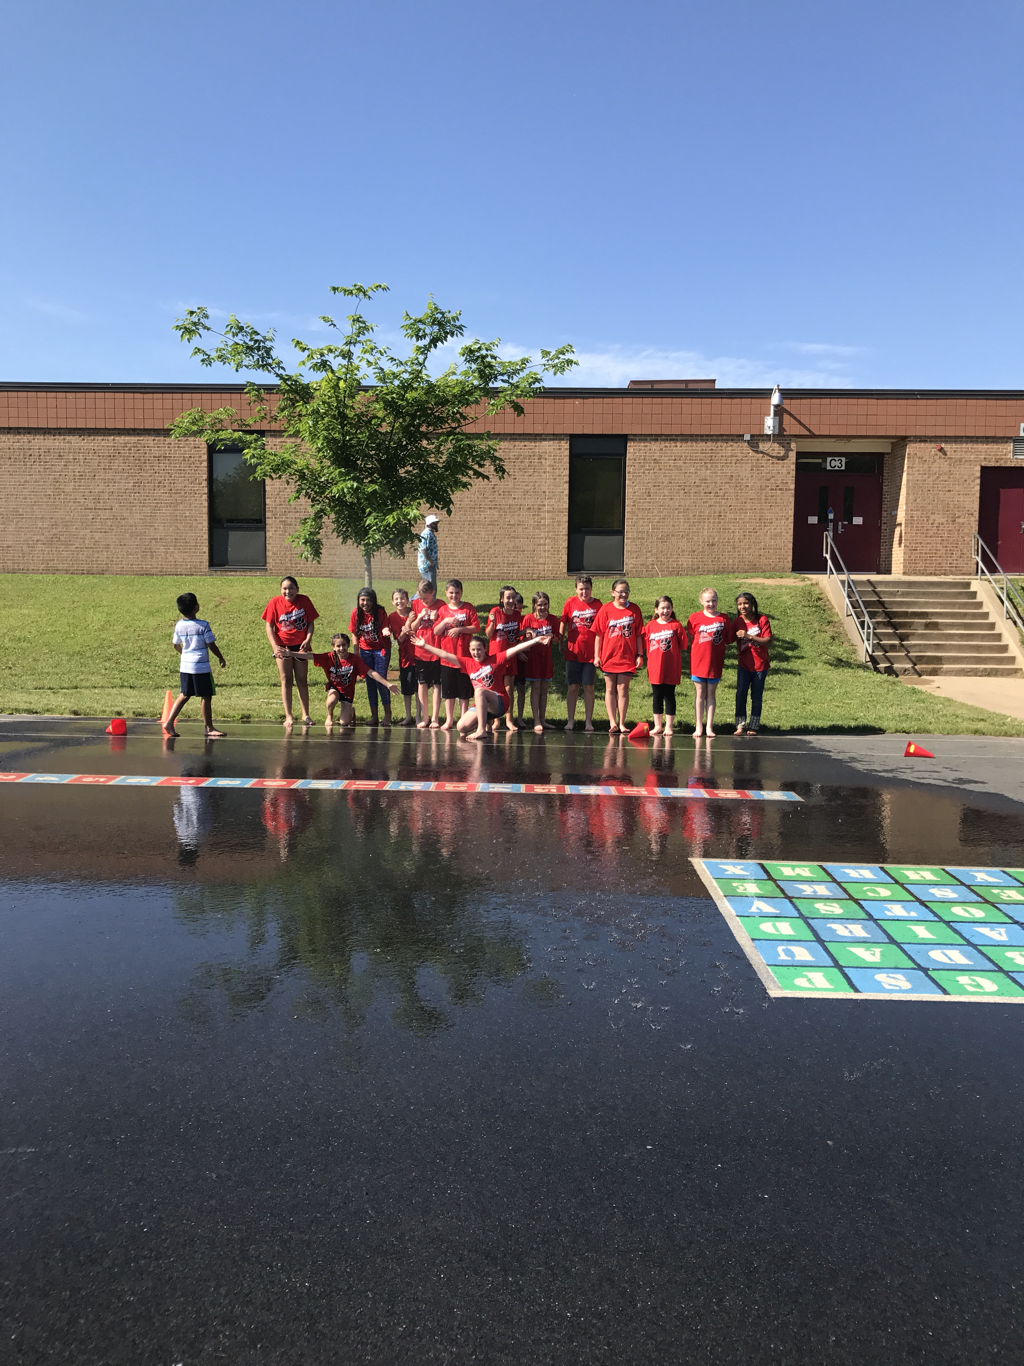
Field Day
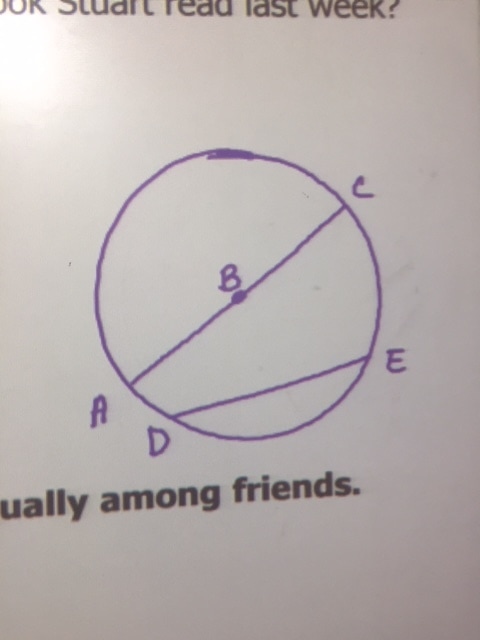
Circles!
Today we were talking about circles so, of course, I drew one on the board. The kids were so funny- they couldn't get over how "perfect" the circle was and shrieked in horror when I tried to erase it as we were working. They asked me to take a picture of it and put it on the website, so here it is ;) Silly kids.
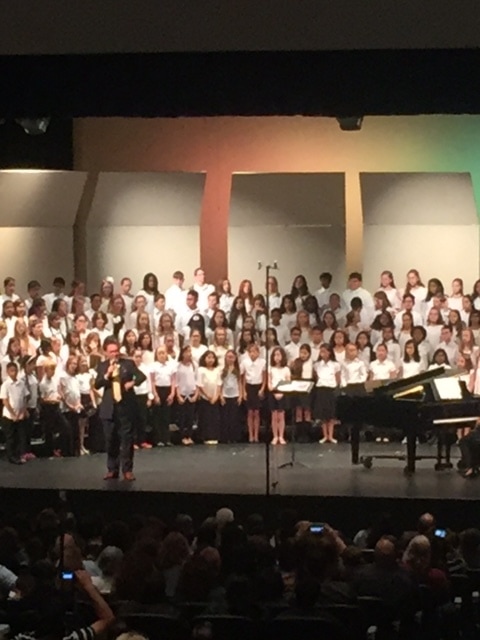
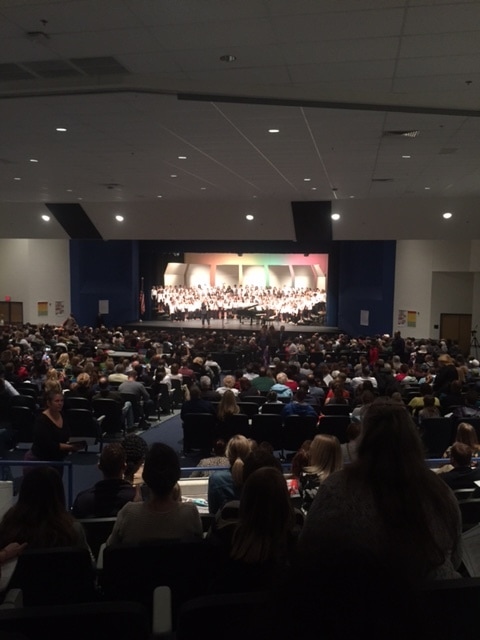
All-County Chorus
Congratulations to Alexis for representing our school at the All County Chorus concert on Saturday, 4/22! They sounded amazing!
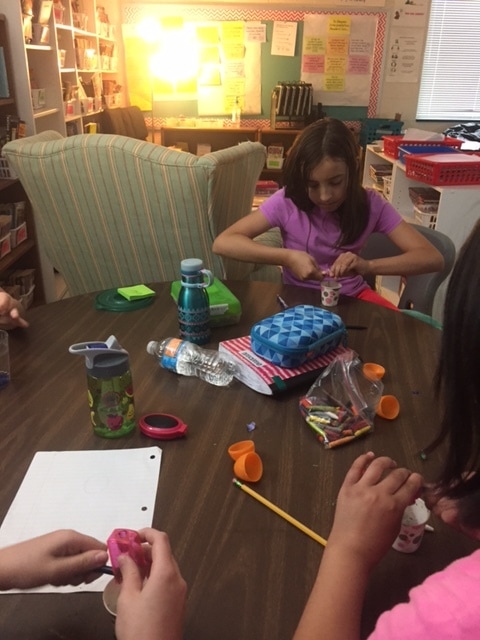
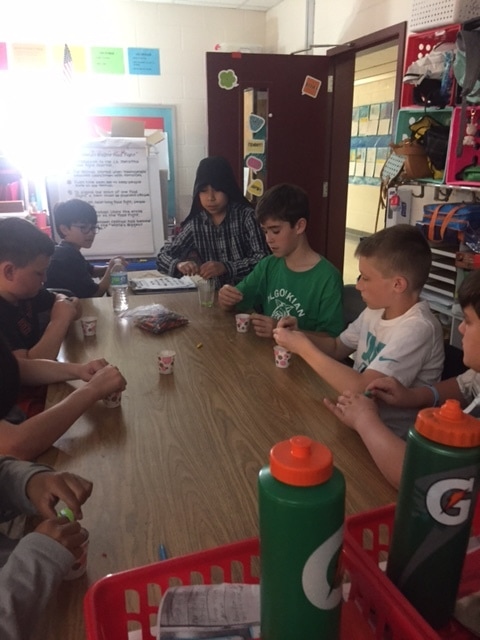
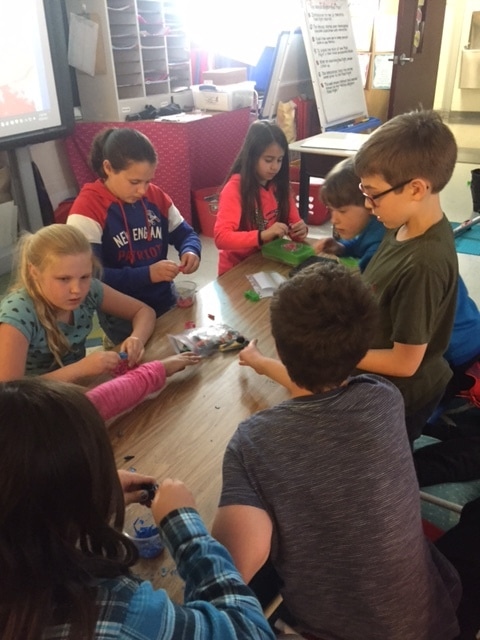
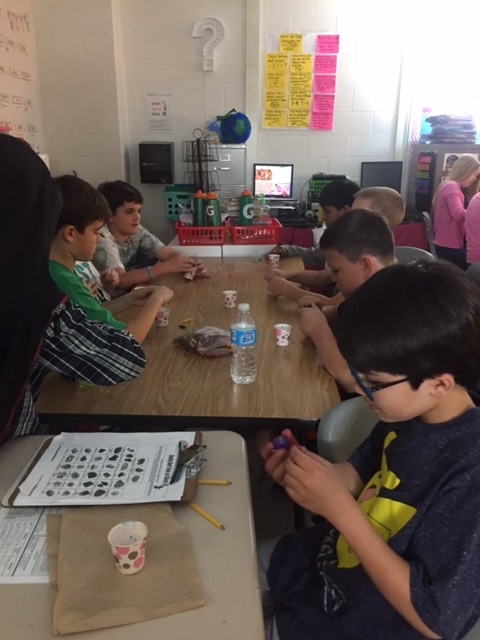
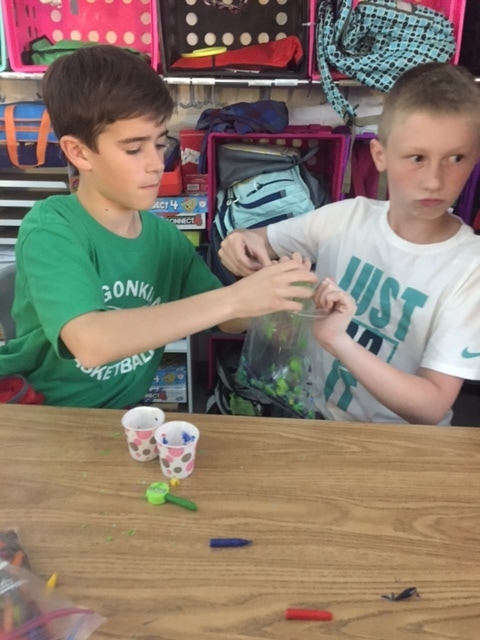
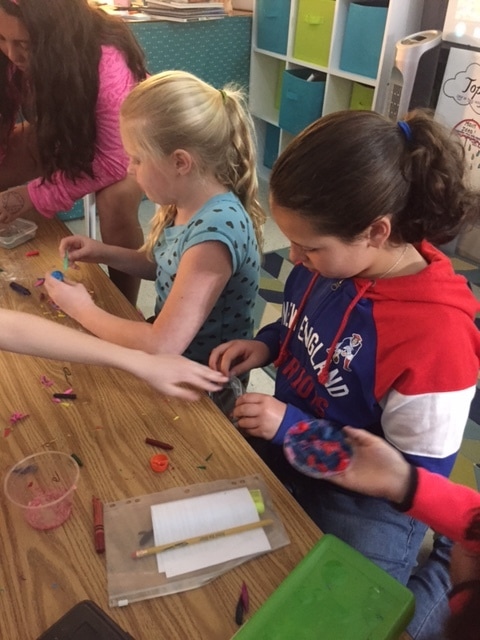
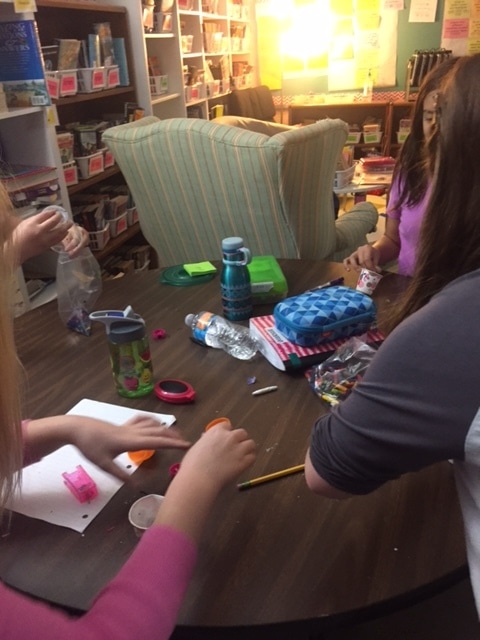
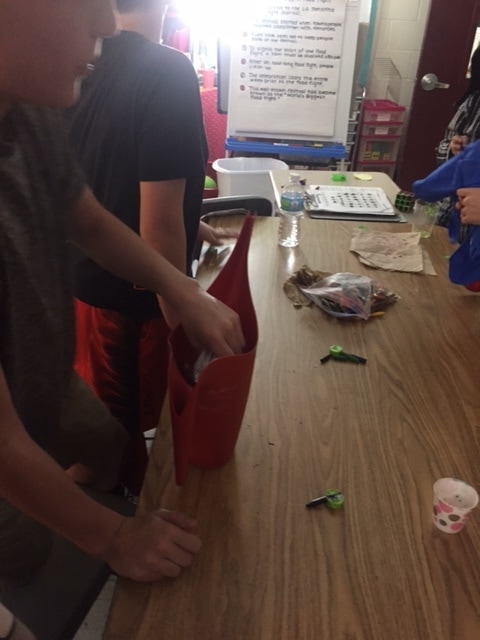
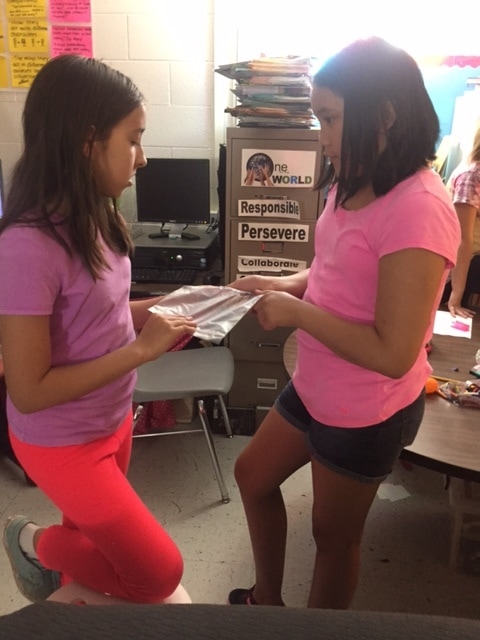
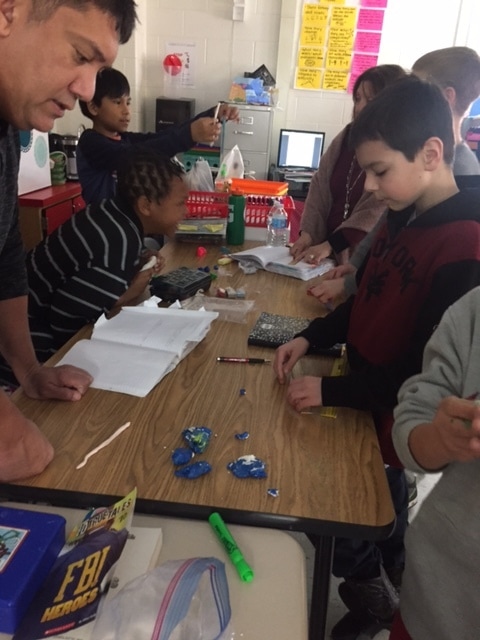
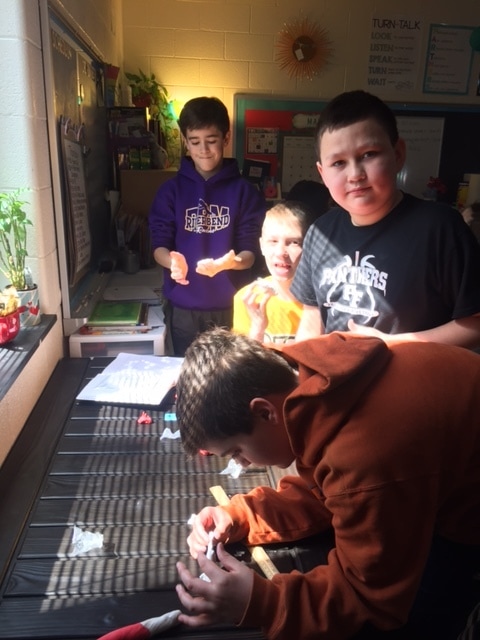
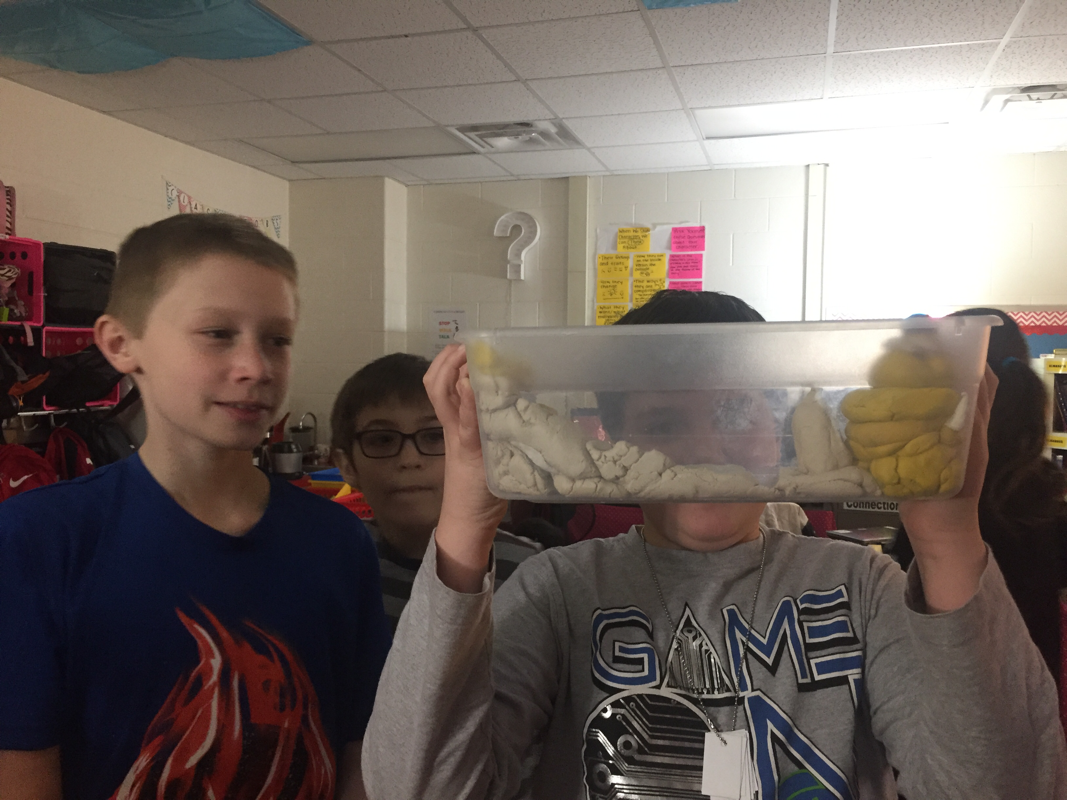
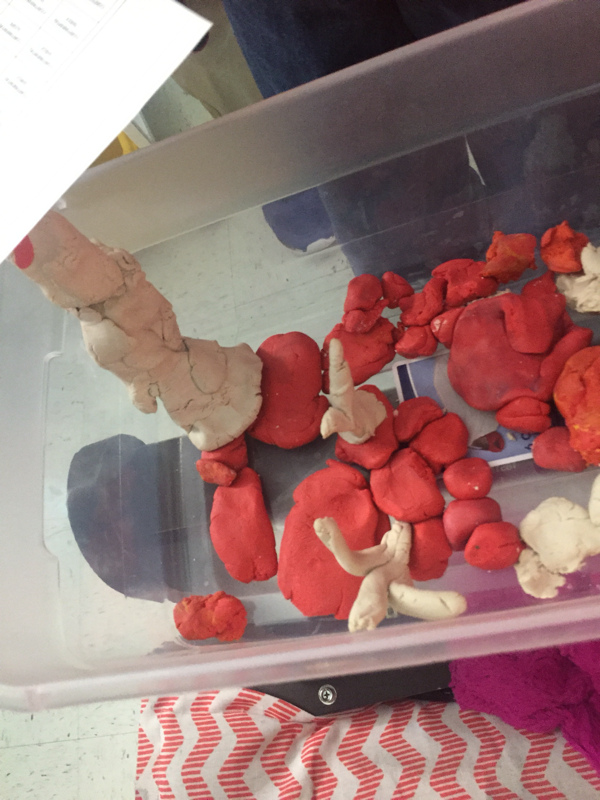
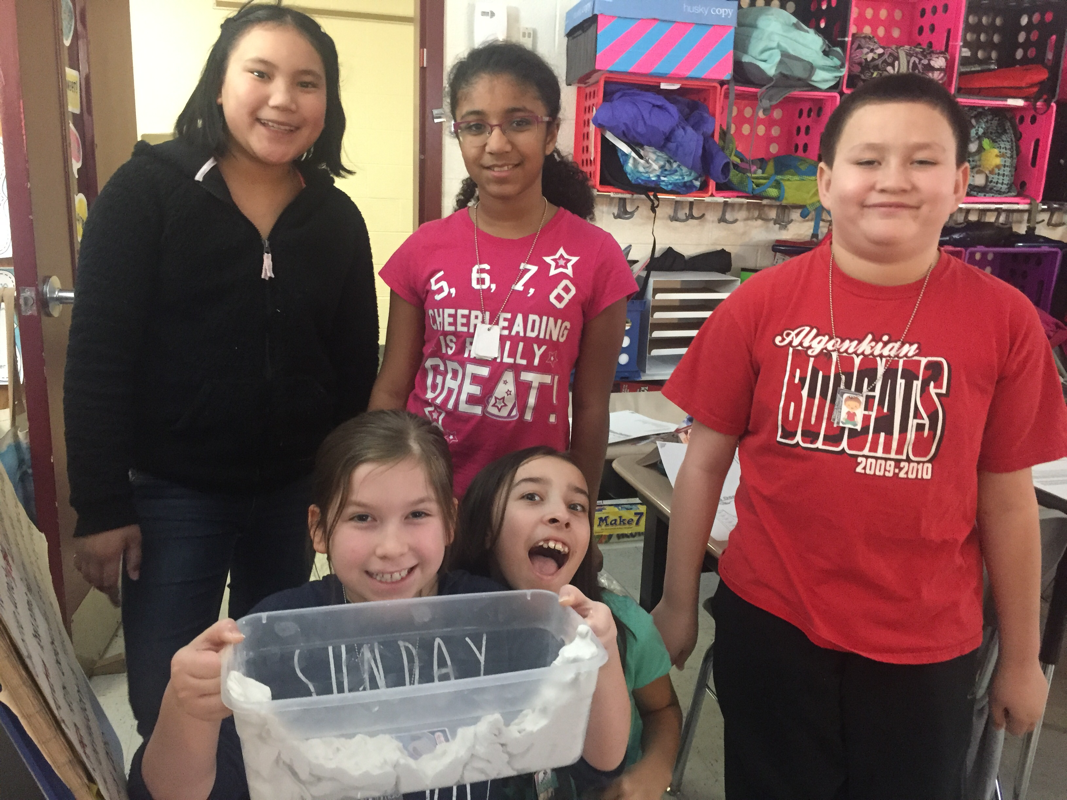
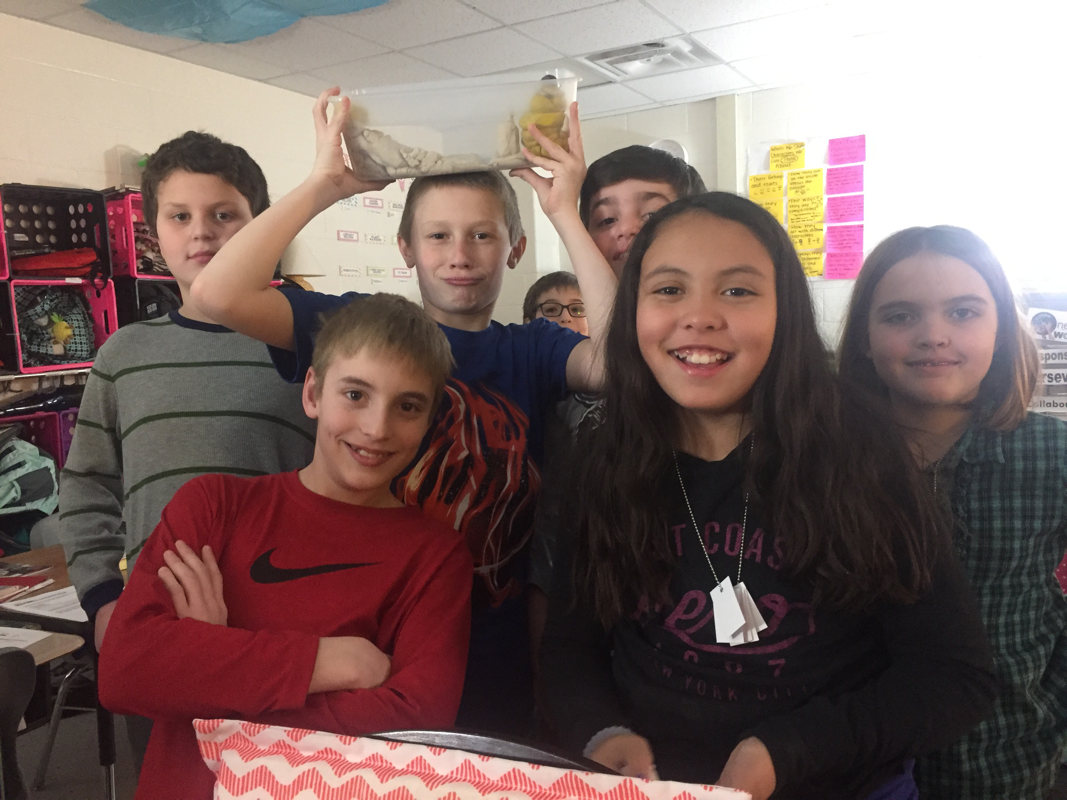
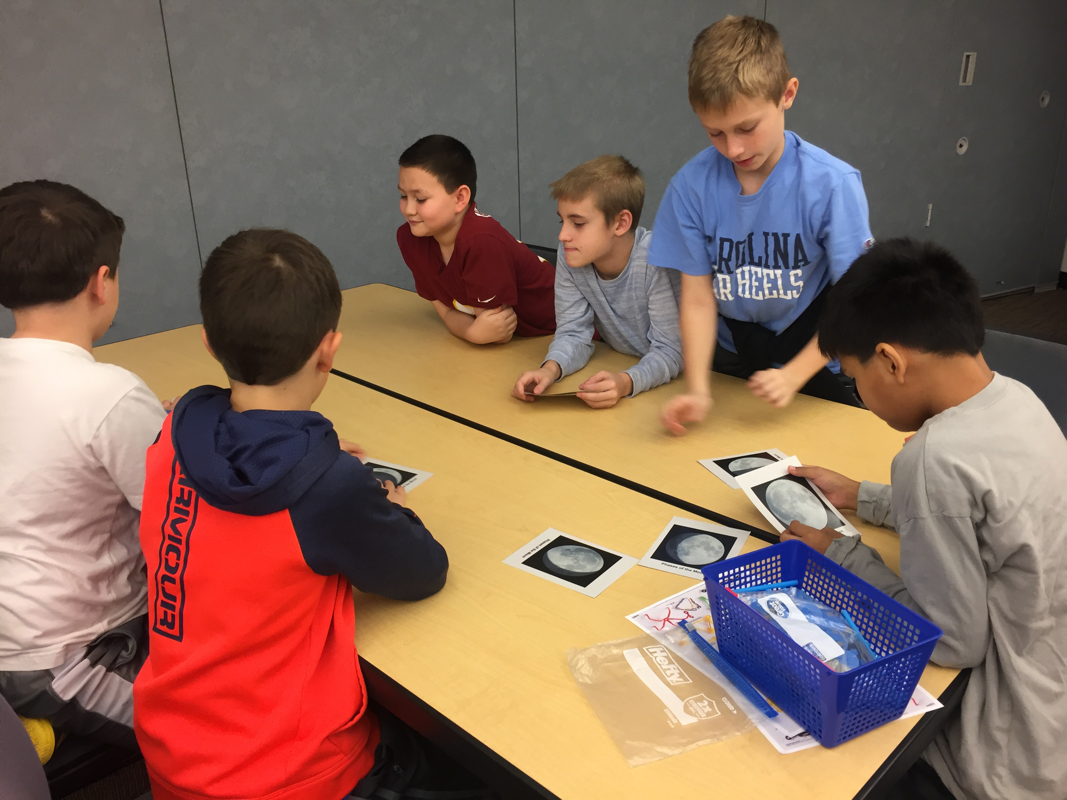
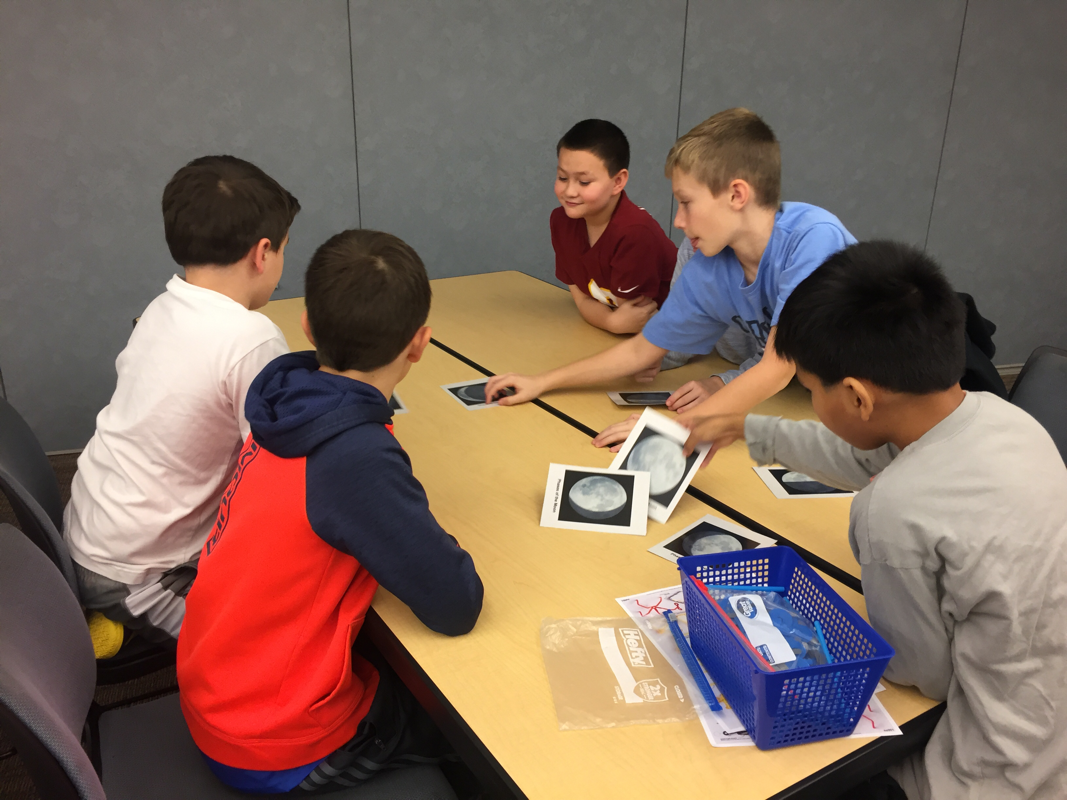
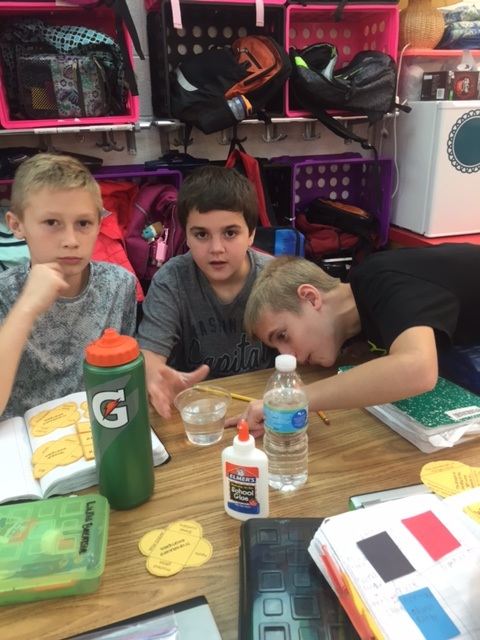
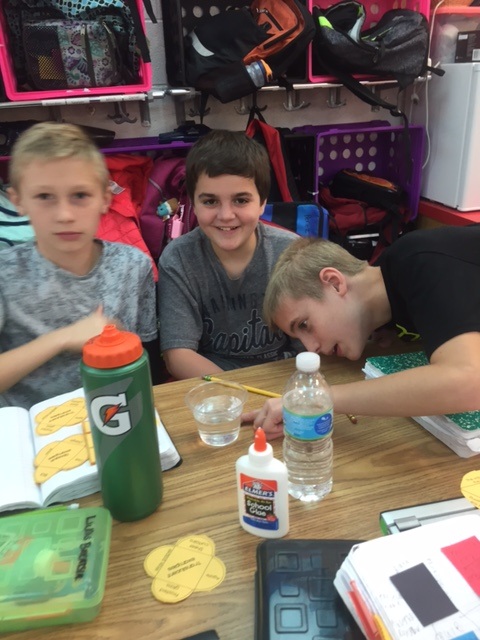
Crayon Rock Cycle Investigation-4/19
In Science, the kids were asked to sharpen a bunch of old crayons and gather their shavings into a bag. I then asked them to find a way to take the shavings and turn them into a solid crayon again. The kids came up with very interesting ways to do this! Some rubbed their hands together to create friction and then used the heat from their hands to warm the crayons. Some stacked books on top of the bag to smush the crayons together with pressure. Others used hot water from the classroom sink to heat up their shavings, pressed them together into a crayon shape, and then placed them in the freezer to cool them down. Little did the kids know but they were modeling the rock cycle!
The process of shaving the crayons was representative of weathering. Then, they poured the shavings from their cups into a bag (erosion and deposition). Then, the students who used pressure to smush their shavings were using the process used to make sedimentary rock. The students who used hot water or heat from their hands and then pressed the warmed crayon shavings together and let them cool were using the process used to make metamorphic rocks- rocks created from heat and pressure! Then, I showed them an example of what the shavings looked like after I heated them to a liquid state and cooled, which resulted in the third type of rock, igneous which are made from melted rock that cools.
Here are some pictures of the activity.
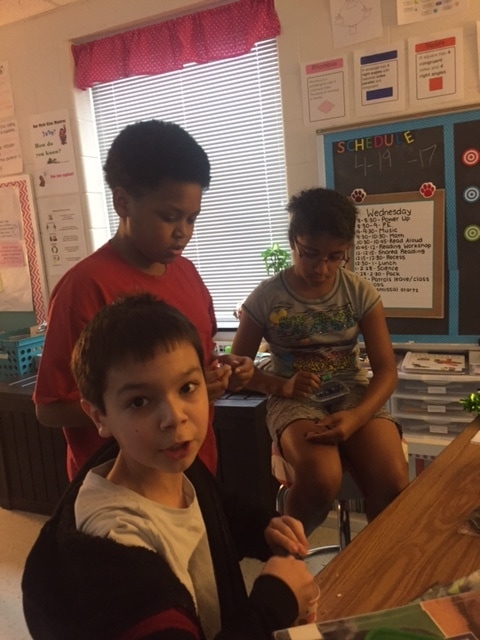


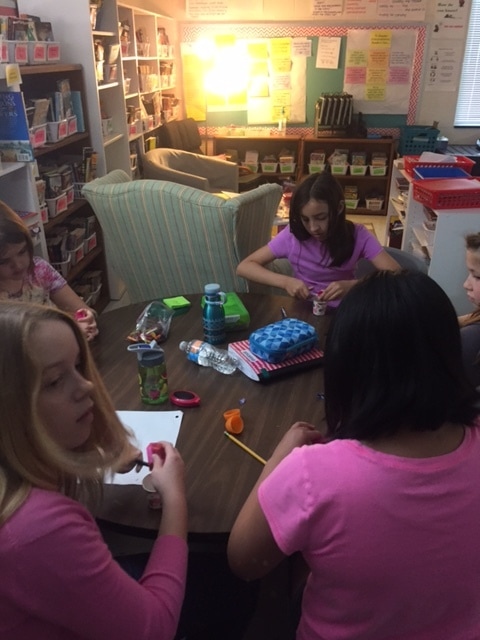
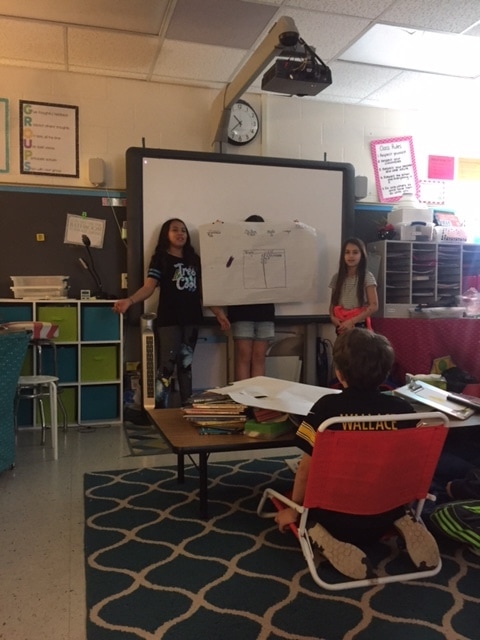
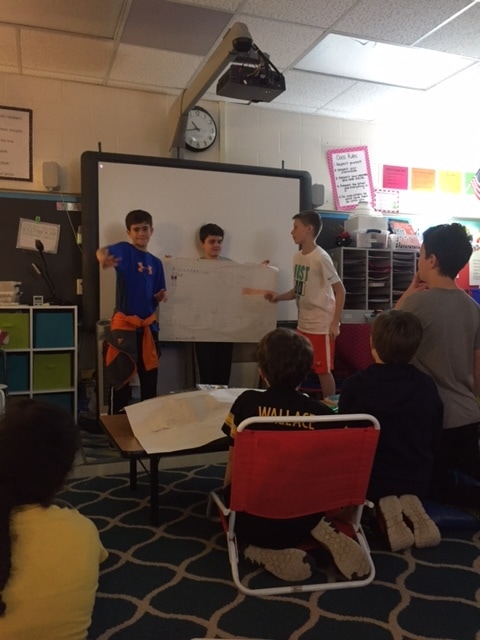
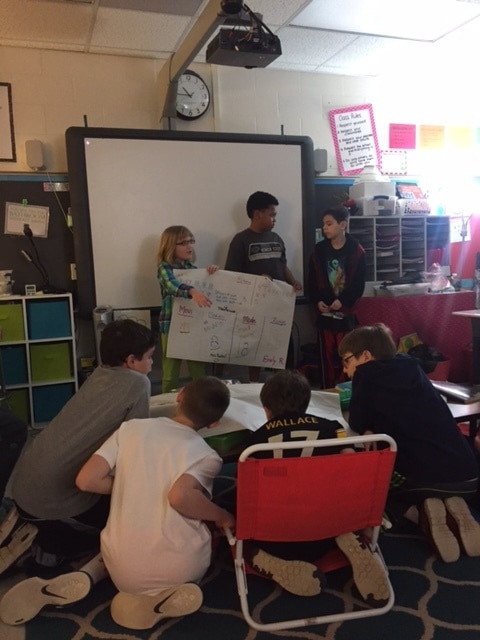
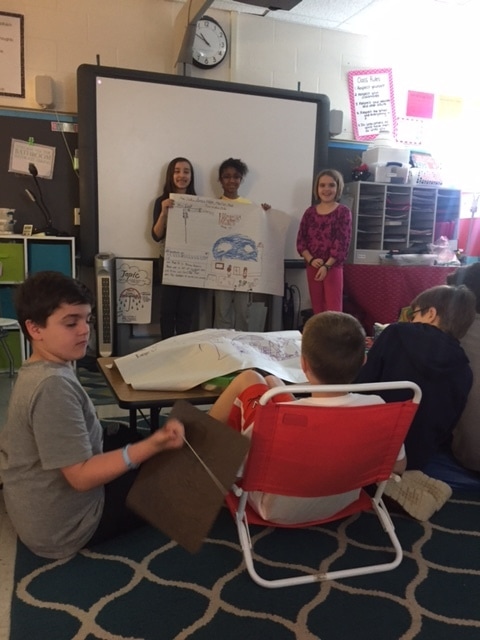
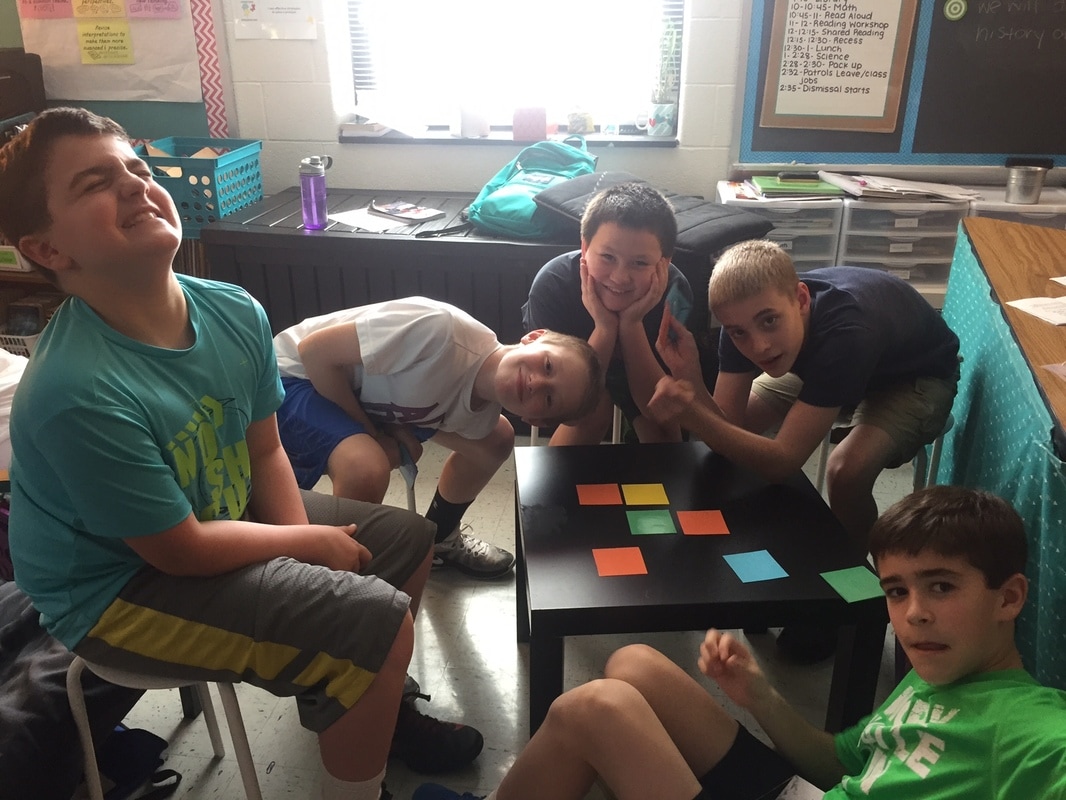
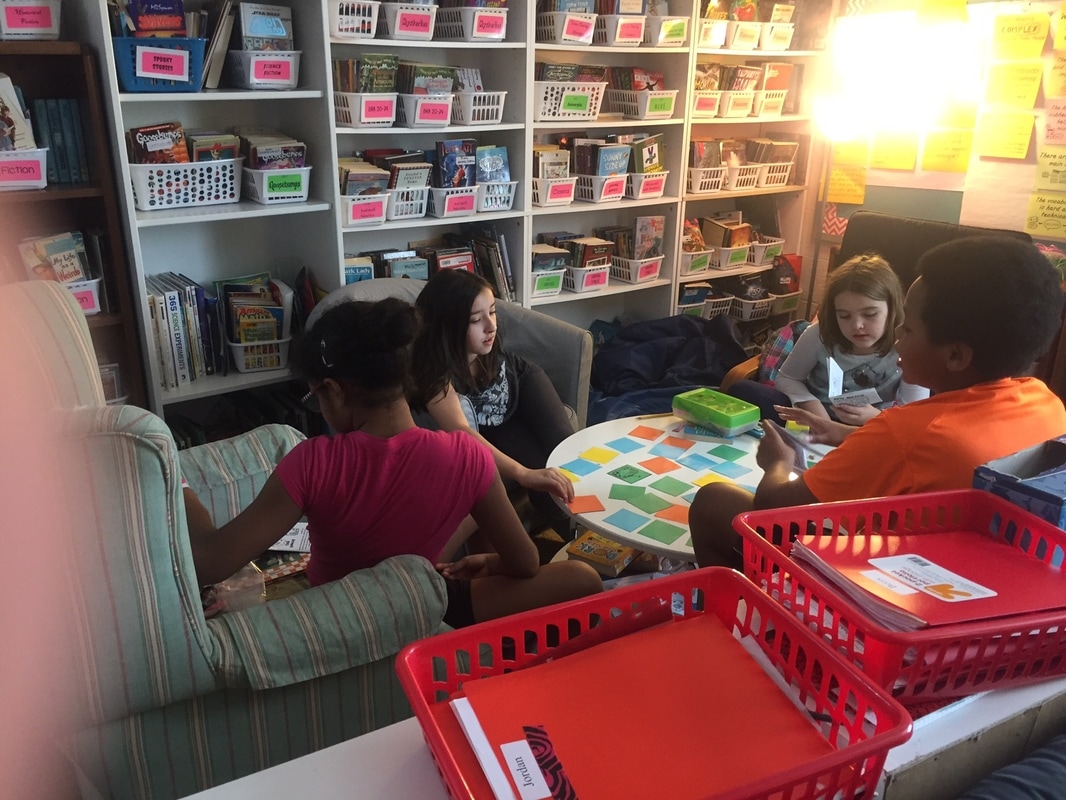
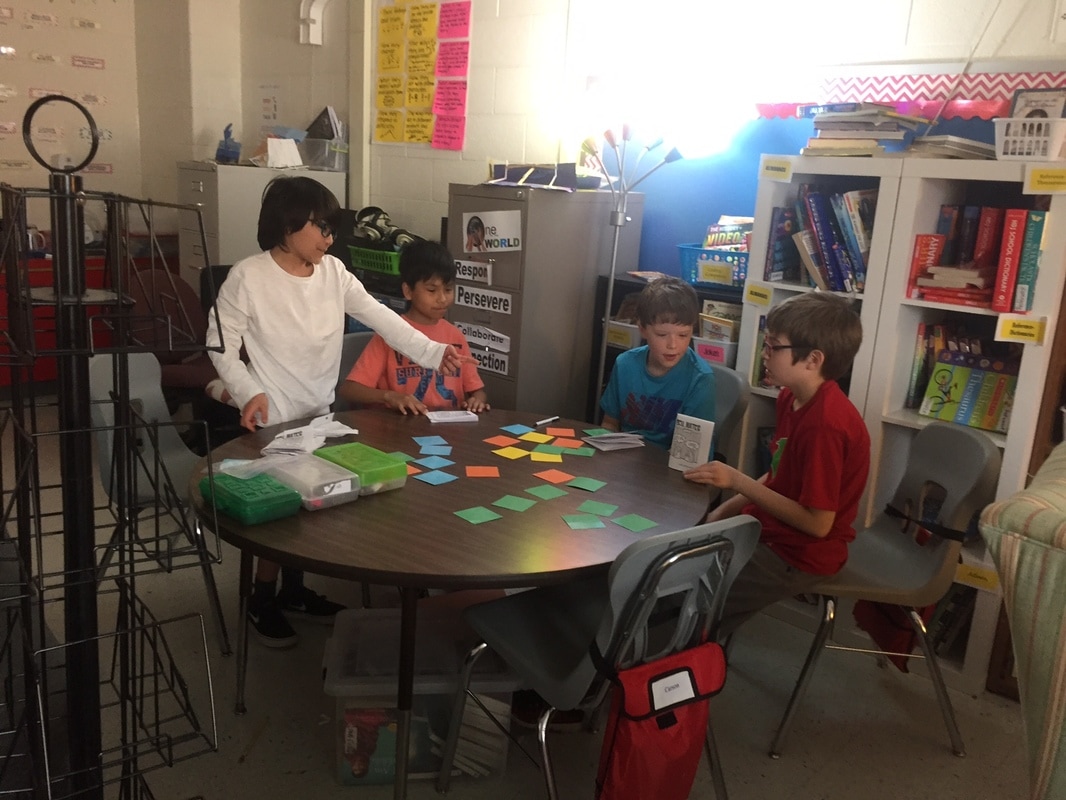
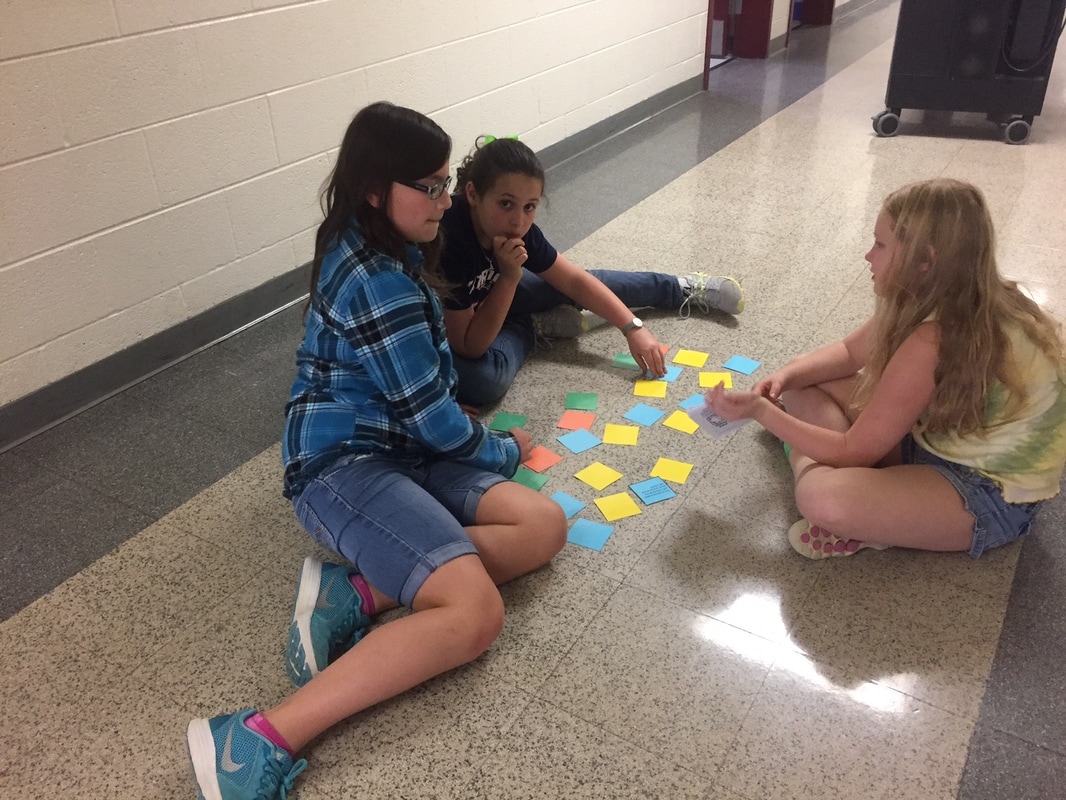
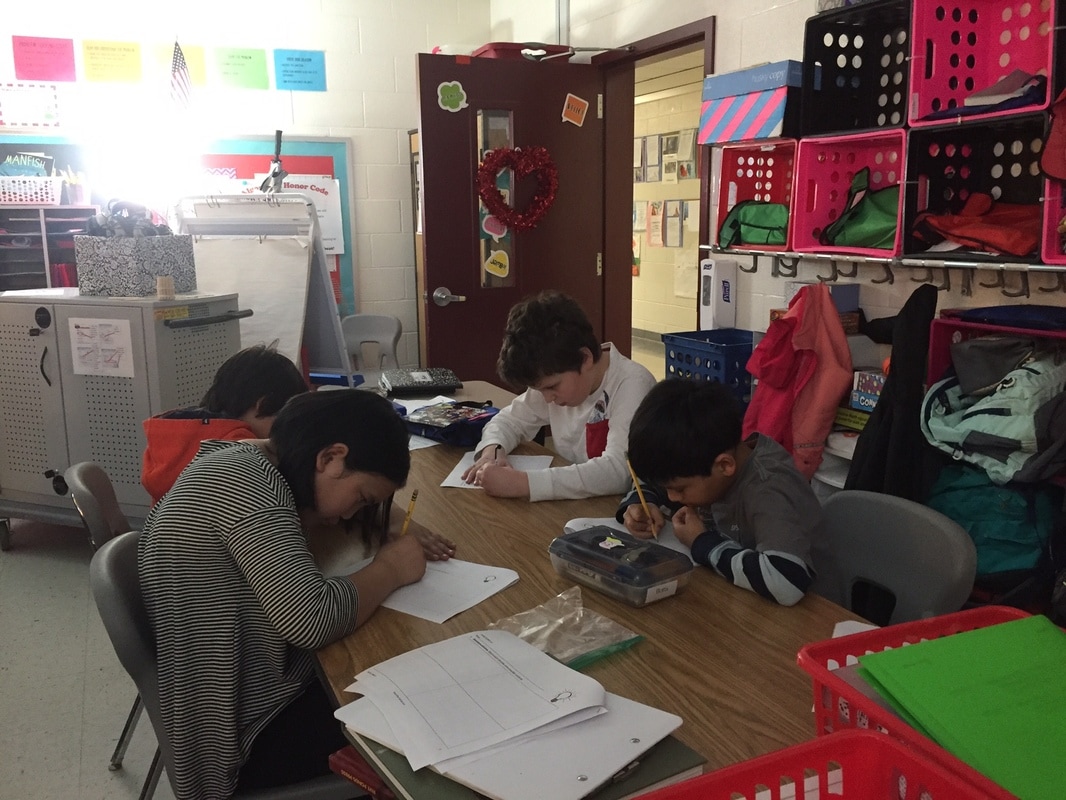
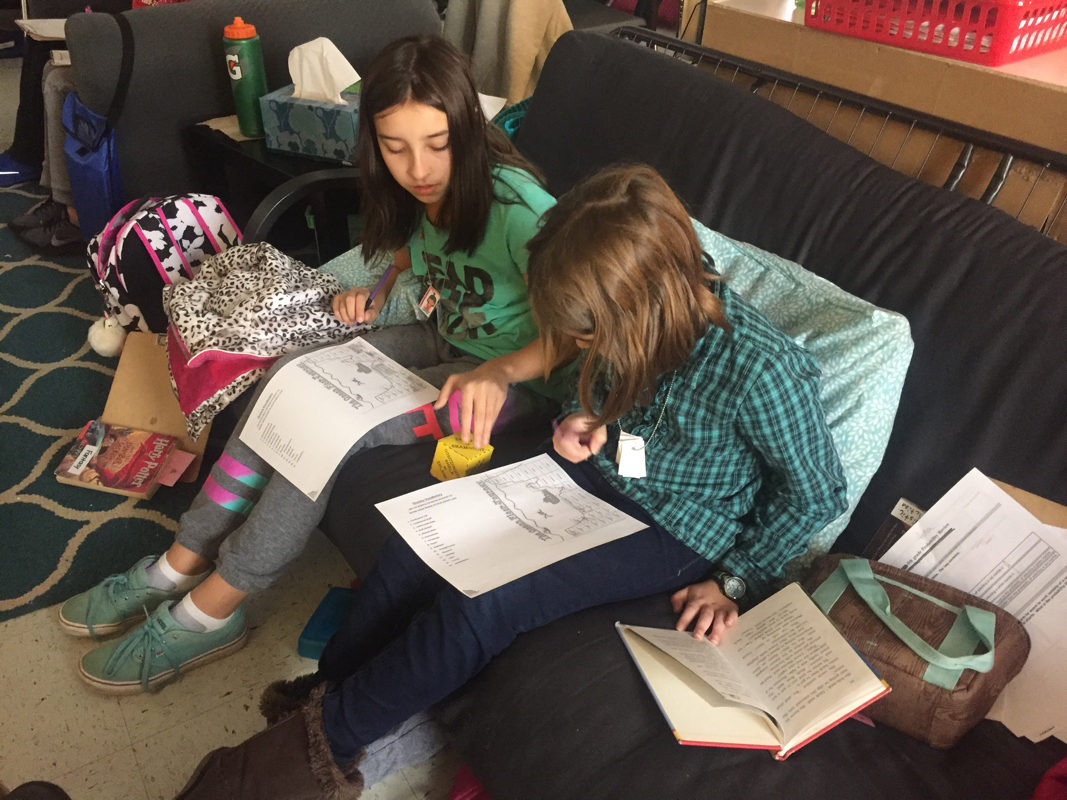
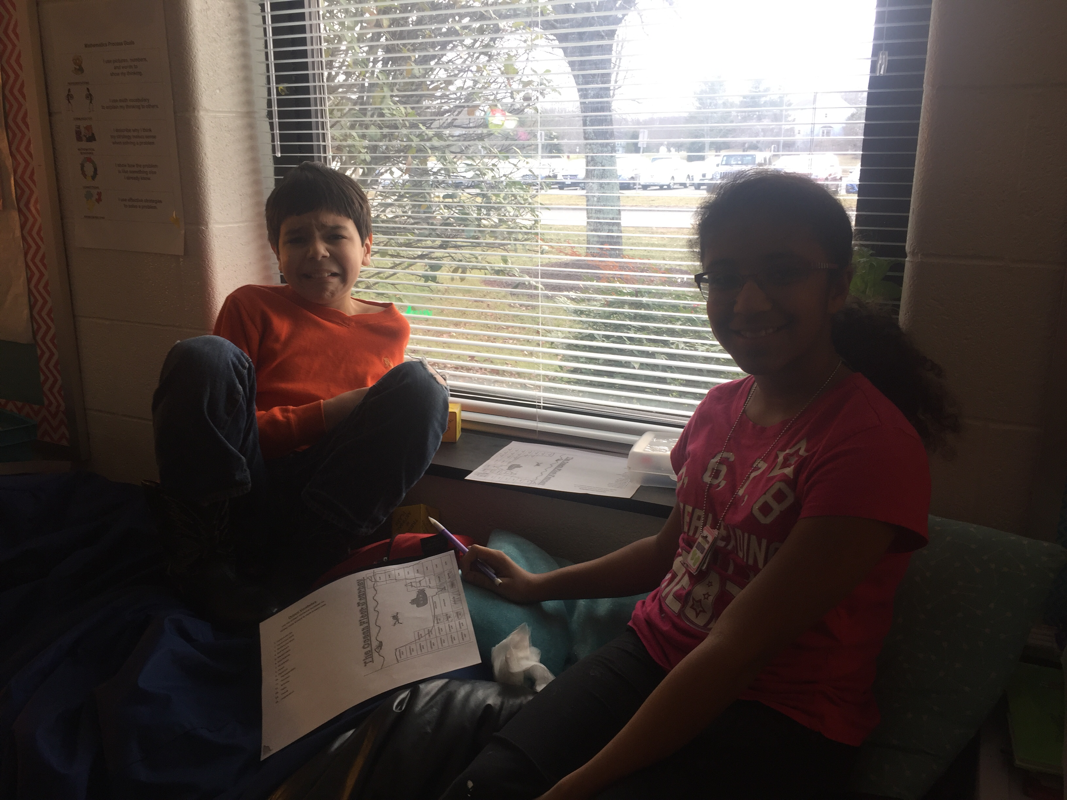
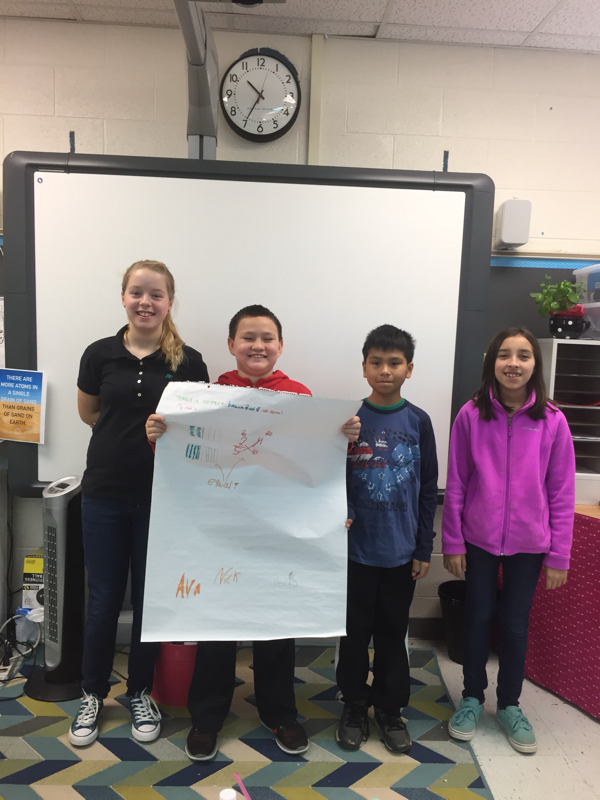
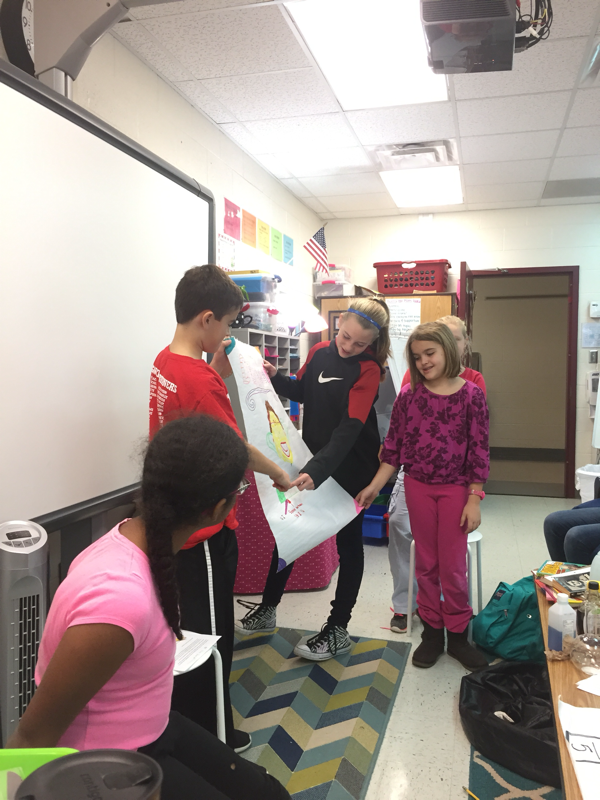
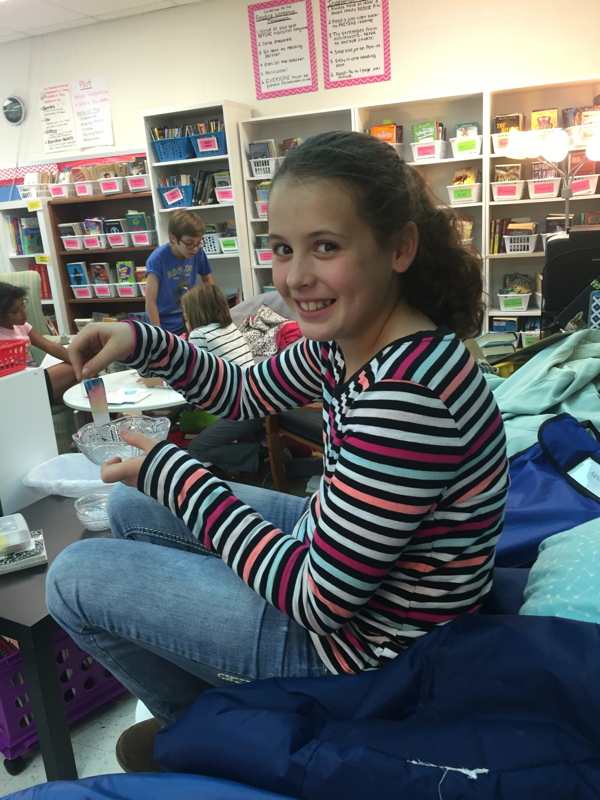
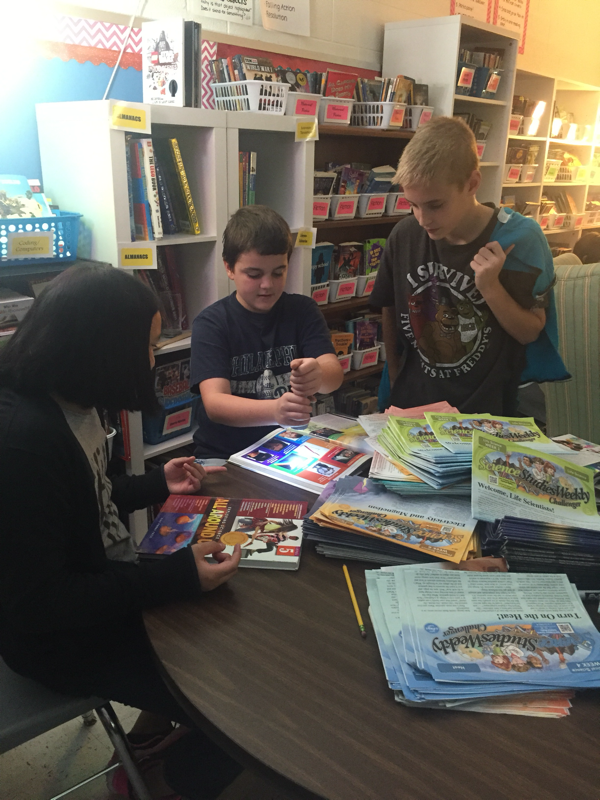
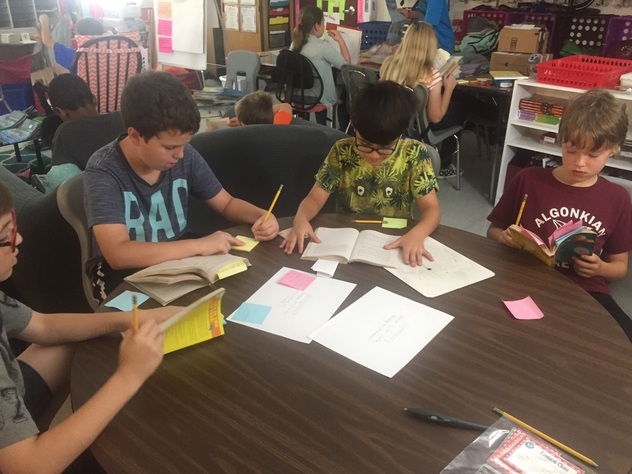
Stem and leaf plot presentations-4/6
The kids were tasked with displaying a set of data in a stem and leaf plot and then analyzing it to see if they could guess what group of people the data represented (each set of data was different and listed a bunch of ages of the people from that survey). The kids made posters, came up with stories to go with their data, and calculated the mean, median, mode, and range of the data. Here are some pictures from the activity.

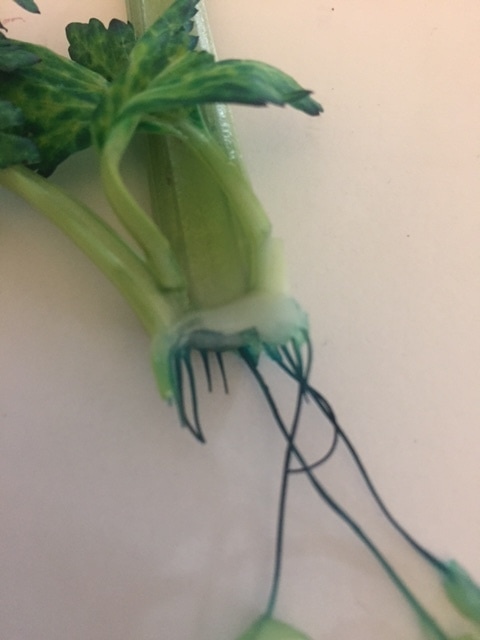
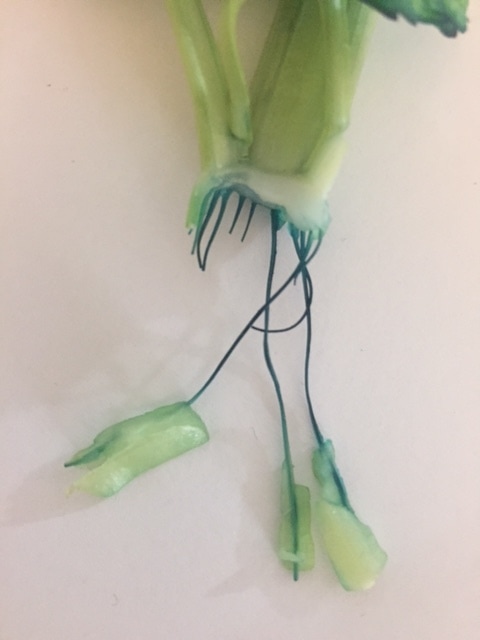
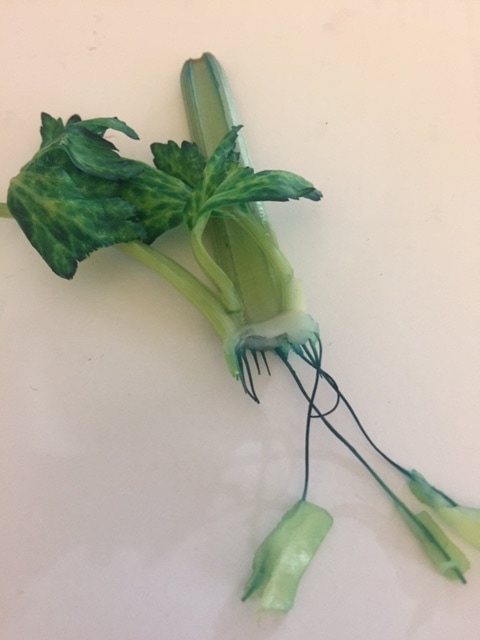
Vascular plant experiment- 4/3
On April 3, the students did an experiment with celery and colored water (see pictures below). They made hypotheses about what would happen if the celery sat in the blue water all day. We discovered that the celery sucked up the blue water through tiny tubes called xylem (pronounced zy-lem) and then the blue spread to the leaves. The xylem and phloem are what make vascular plants, well, vascular plants! These xylem tissues enable water to "zoom" up through the stem to the leaves so the plant can go through photosynthesis. The phloem then spreads the nutrition throughout the plant, you could even say it "flows" (phloem is pronounced flow-em ;). In the pictures below, you can see the xylem as blue tubes- cool, right?
With xylem and phloem, vascular plants are able to grow much taller than their counterparts, the nonvascular plants. Nonvascular plants have a tendency to stay close to the ground or surface where they absorb their water as they don't have specialized tissues to transport water throughout. Examples of nonvascular plants are moss, hornwort, and liverwort. In class, the kids all had opportunities to hold sphagnum moss.
With xylem and phloem, vascular plants are able to grow much taller than their counterparts, the nonvascular plants. Nonvascular plants have a tendency to stay close to the ground or surface where they absorb their water as they don't have specialized tissues to transport water throughout. Examples of nonvascular plants are moss, hornwort, and liverwort. In class, the kids all had opportunities to hold sphagnum moss.
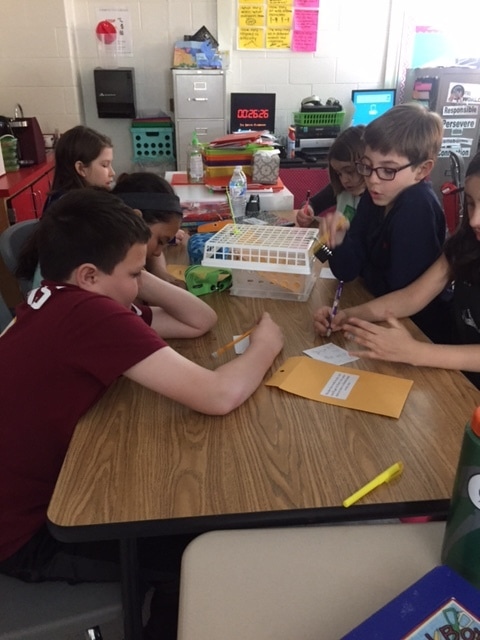
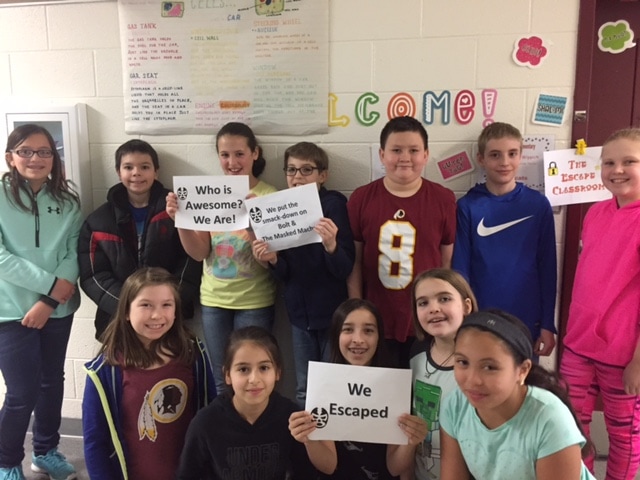
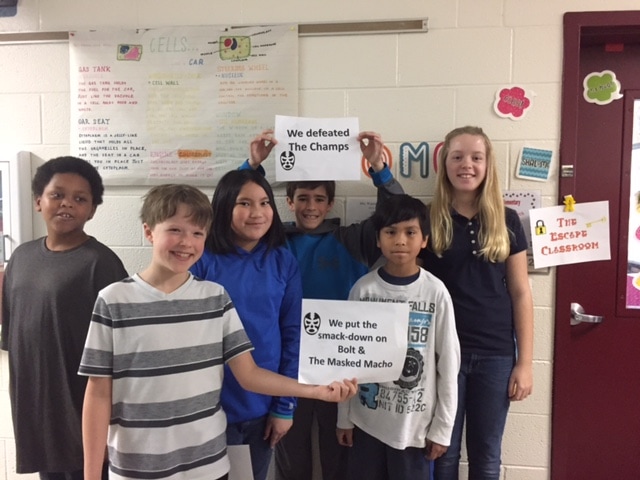
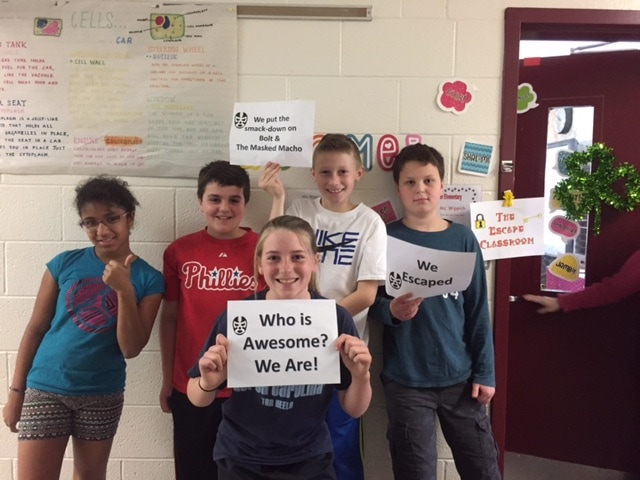
Classroom Escape- Math 3/23
The kids d id a great job with the Classroom Escape today! They worked hard on all of the clues, and with some help, were able to escape the room :) Here are some pictures from our challenge today.
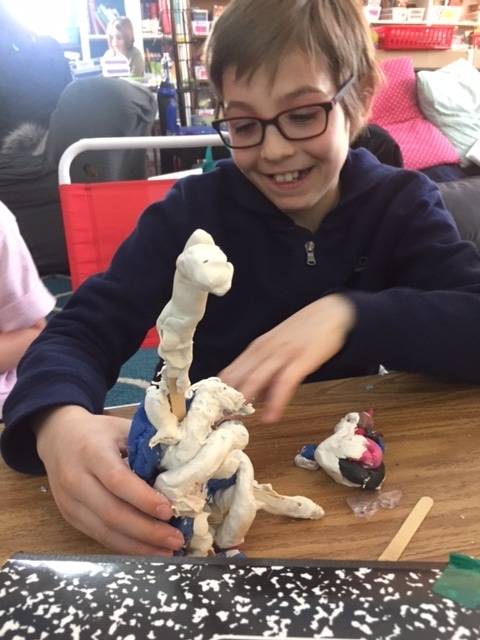
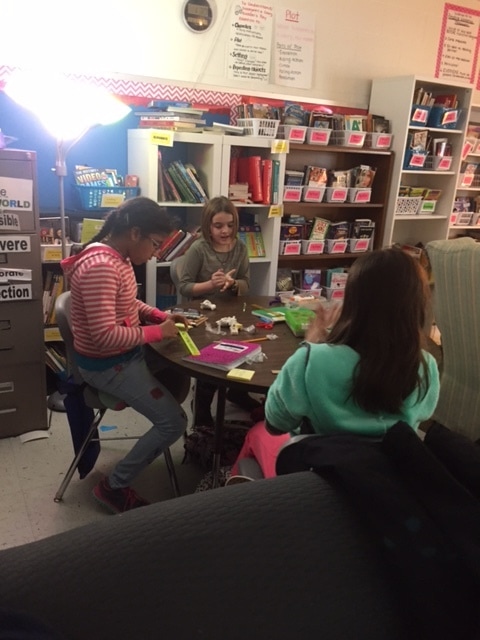
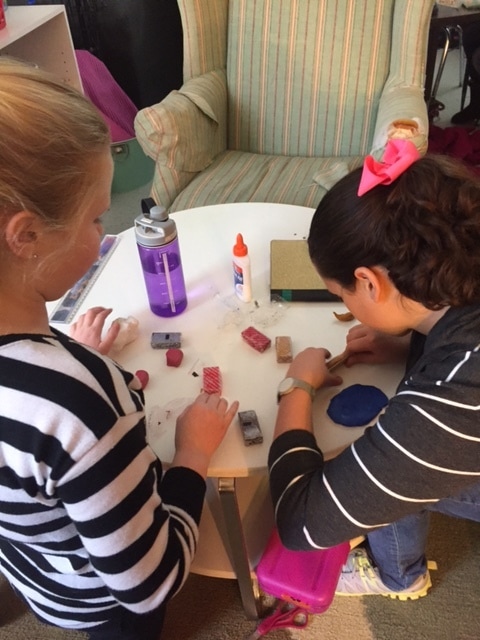
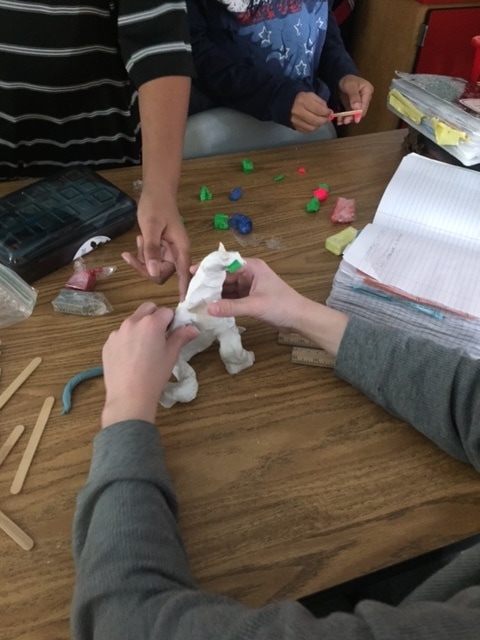
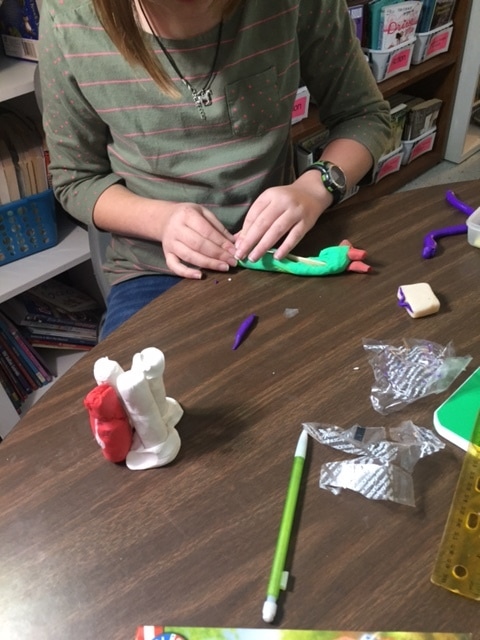
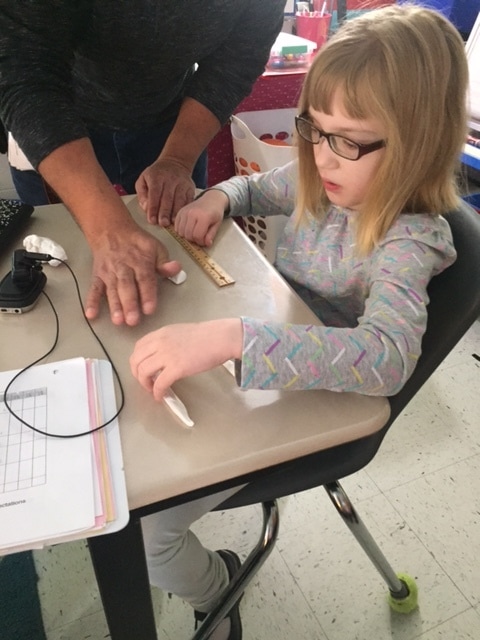
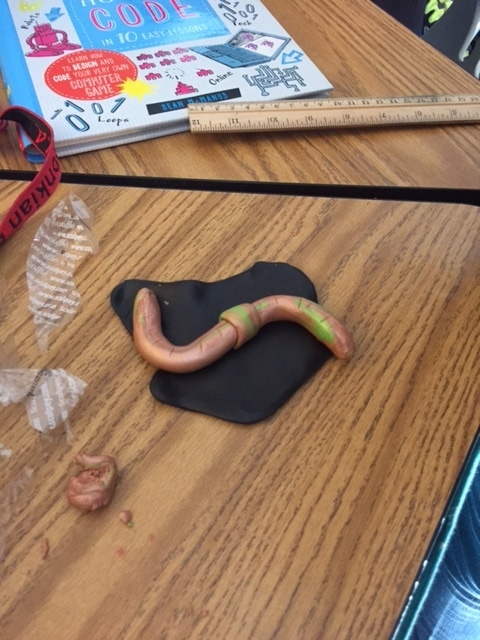
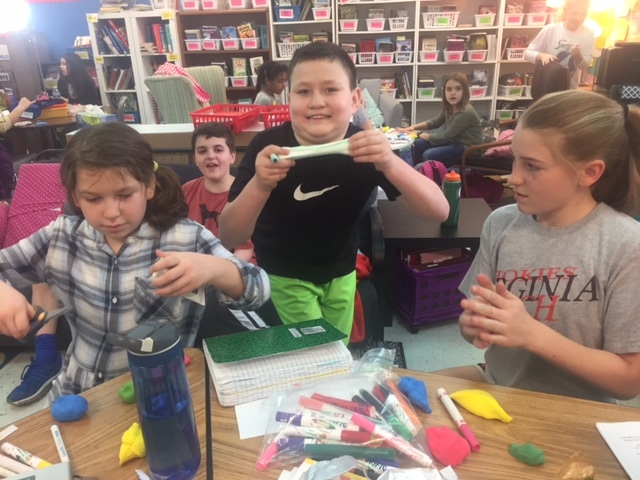
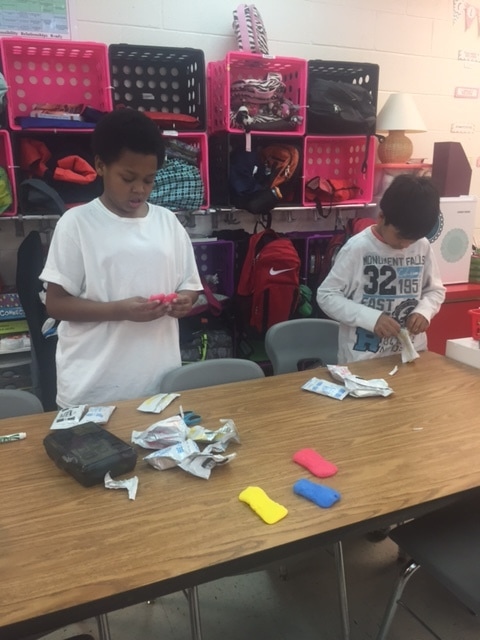
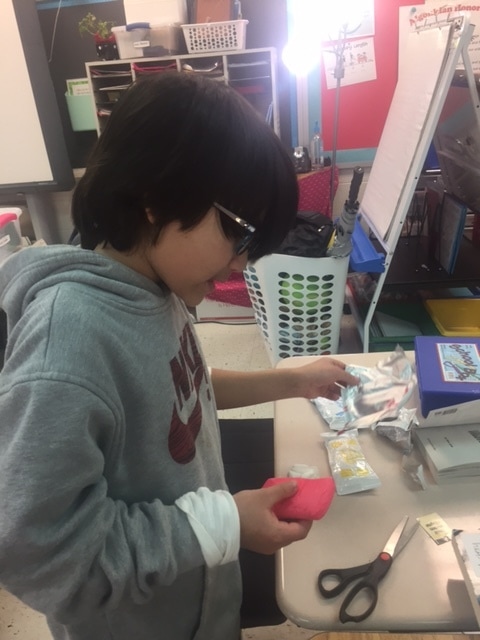
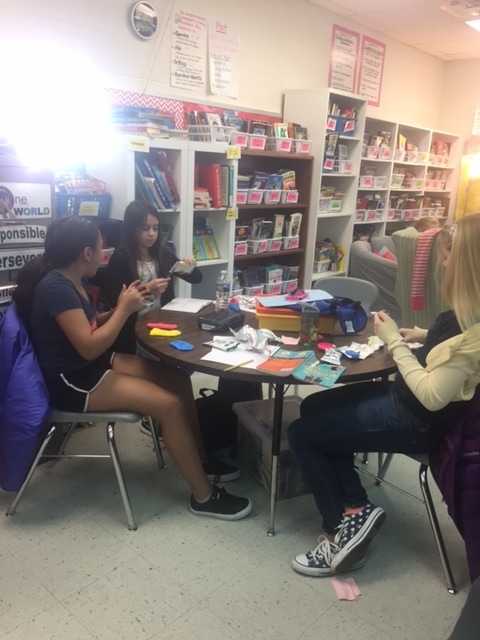
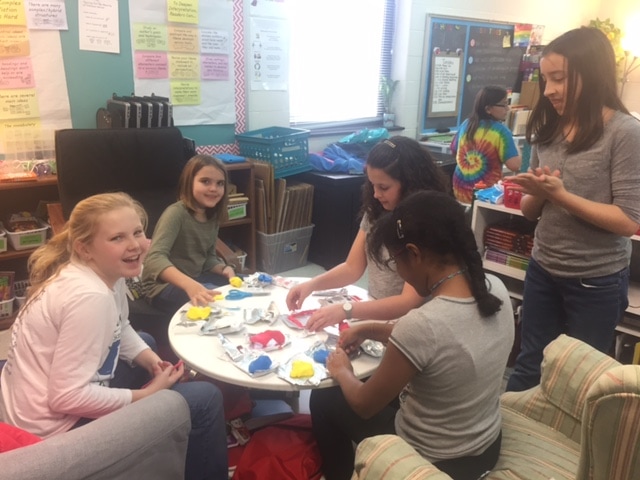
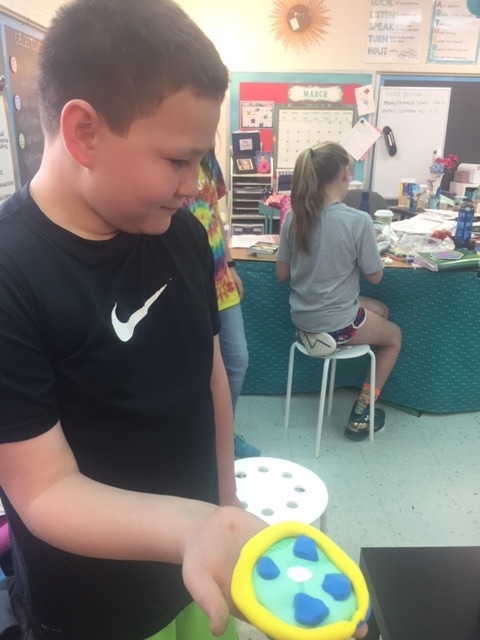
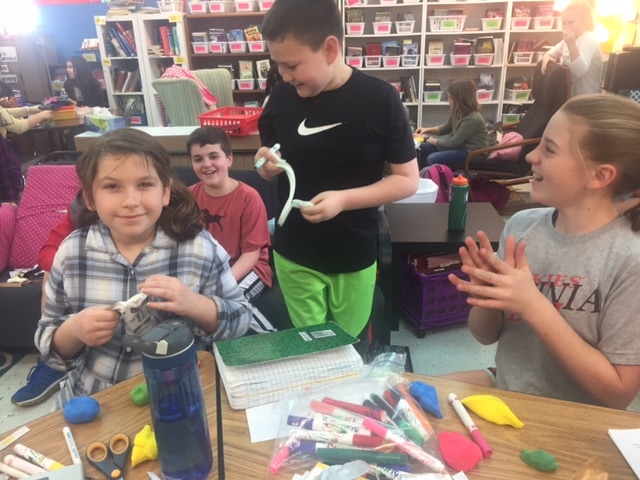
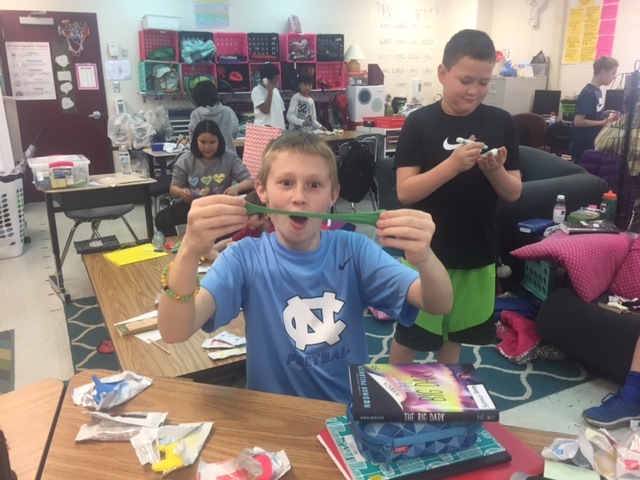
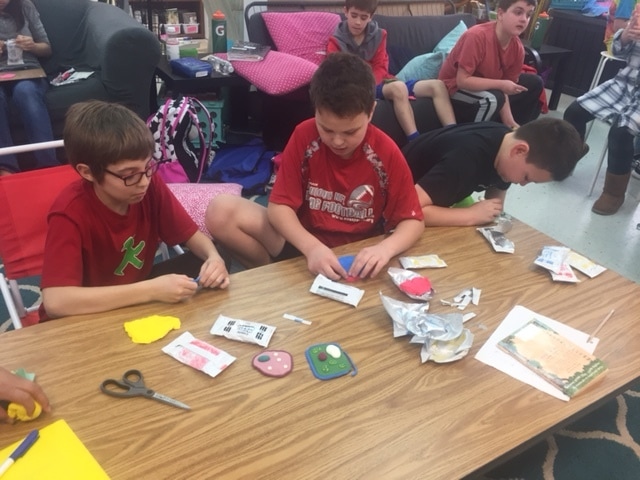
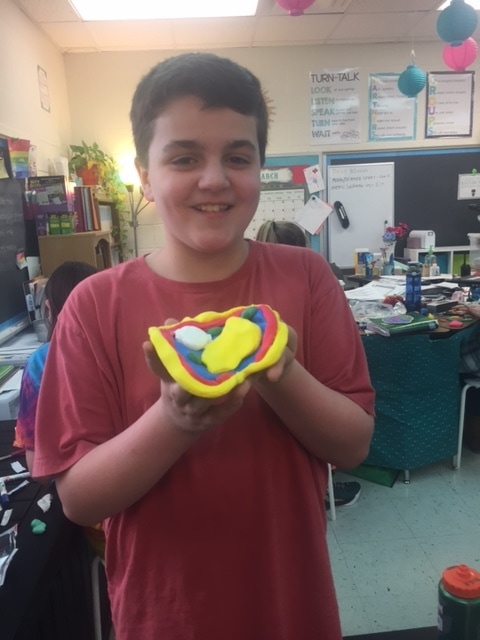
Vertebrates and Invertebrates-3/16
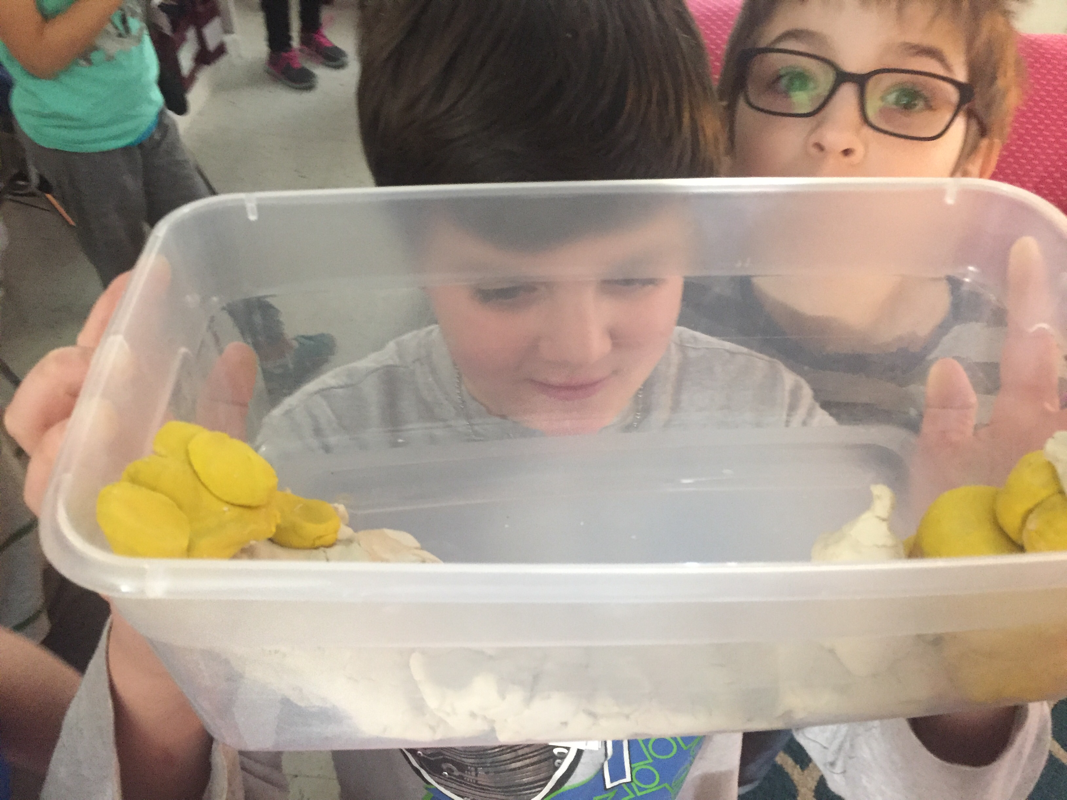
After our nice little snow break, we started the next part of our life science unit on vertebrates and invertebrates. We discussed what it means to be a vertebrate (an animal with a backbone) and an invertebrate (an animal without a backbone). We then created models of an invertebrate (worm) and vertebrate (giraffe) with clay (thanks to Gabi's family for the donation!). The kids learned that it was impossible to make a giraffe with a long neck that could stand upright without a support structure to hold the neck and legs up- the spine and skeletal system! We then used various materials (pencils, popsicle sticks, etc.) to add support to the giraffe and were successful in many instances. We also talked about a common misconception that a snake is an invertebrate. We then watched a fun Bill Nye video on invertebrates and learned that over 90% of all animals on earth are invertebrates!


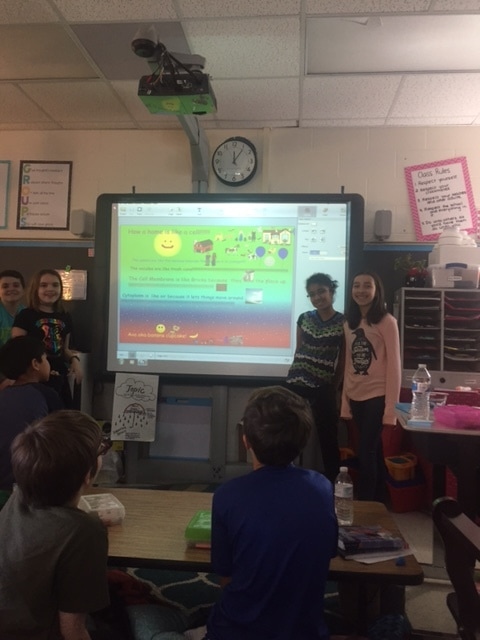
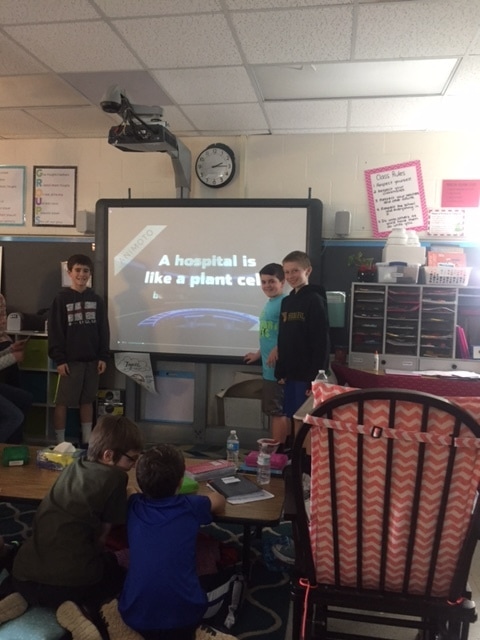
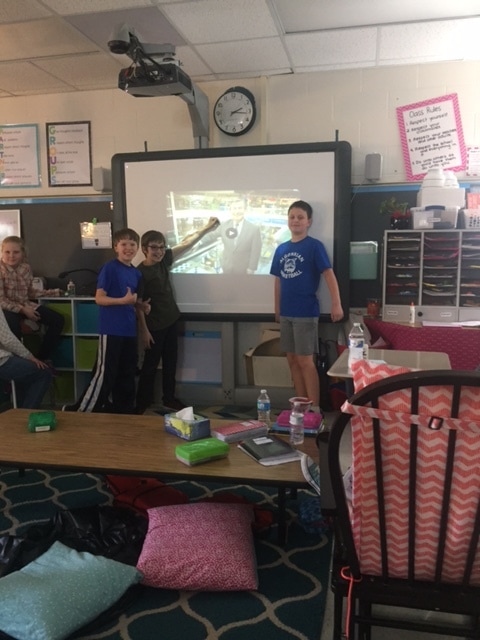
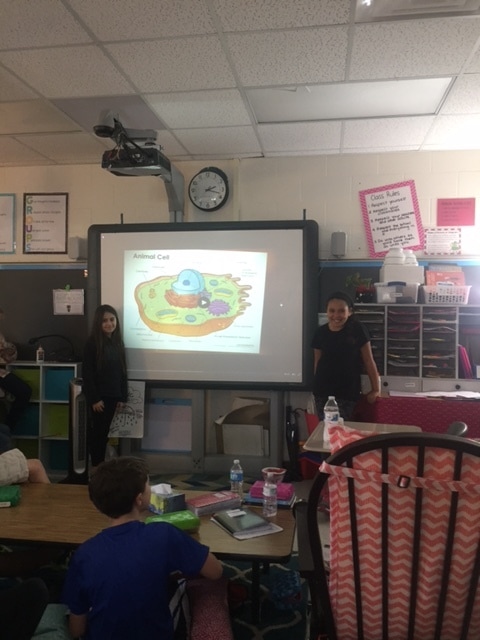
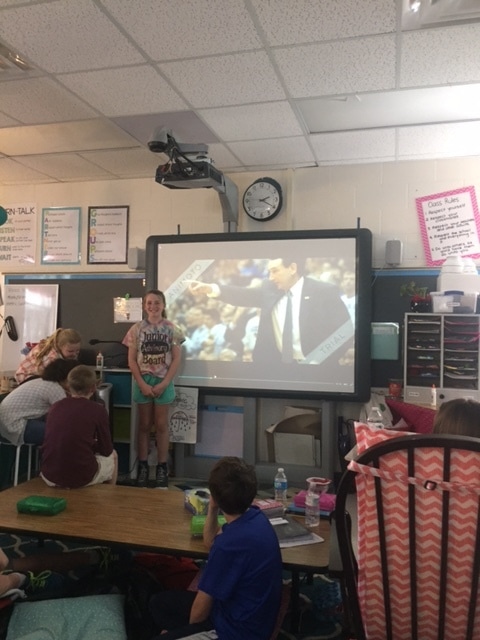
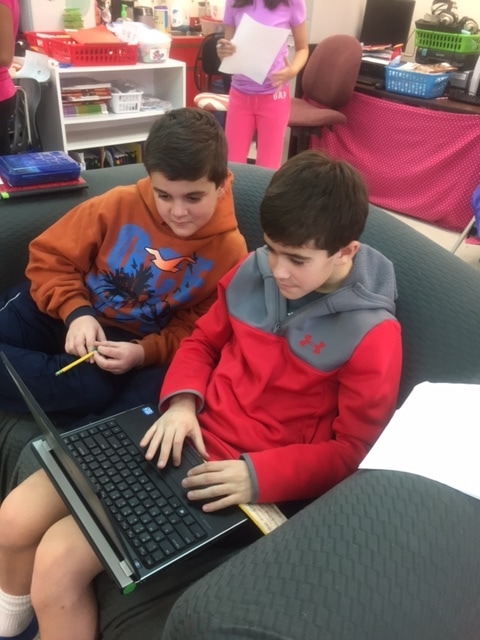
Onion Cells and Cell Analogies
We created well mounts of plant cells using onion skins and observed them under the microscopes last week. The kids discovered that plant cells do, in fact, look a lot like bricks The pictures are the best I could get with my iPhone through he microscope :) We also presented our Cell Analogy projects. There were some very creative ideas!


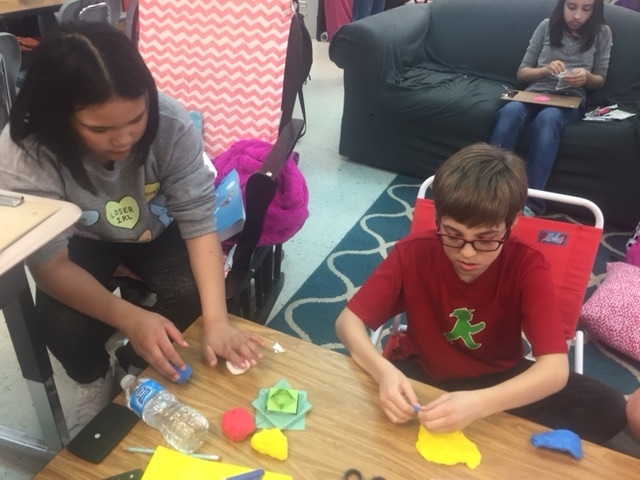
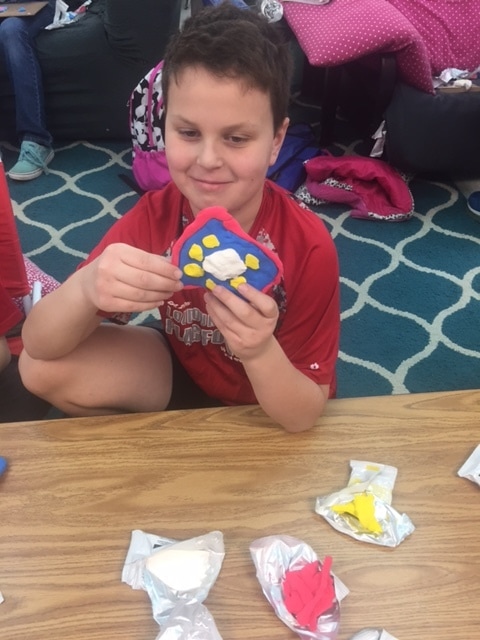
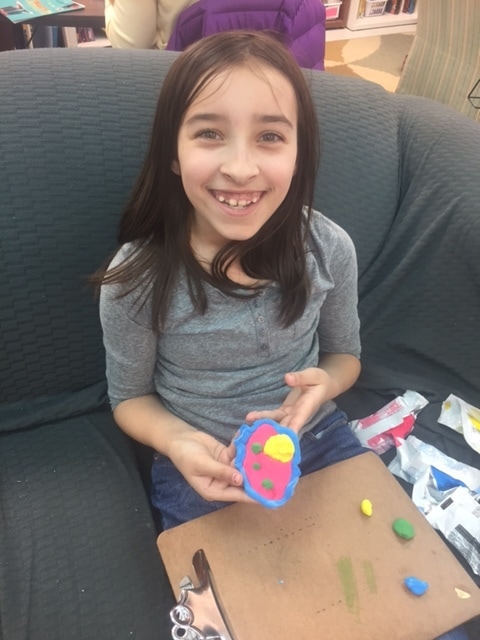
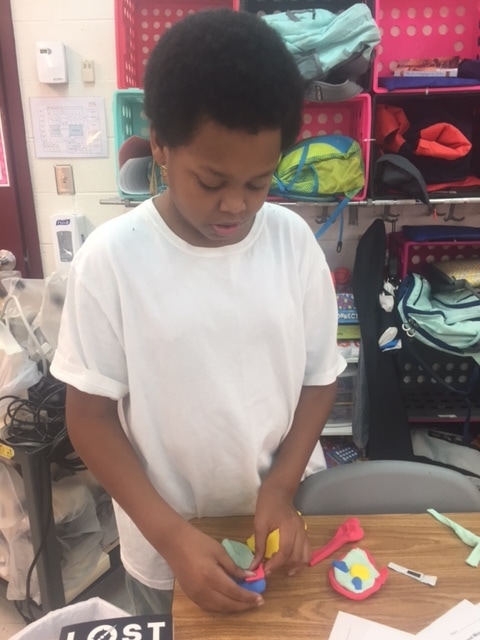
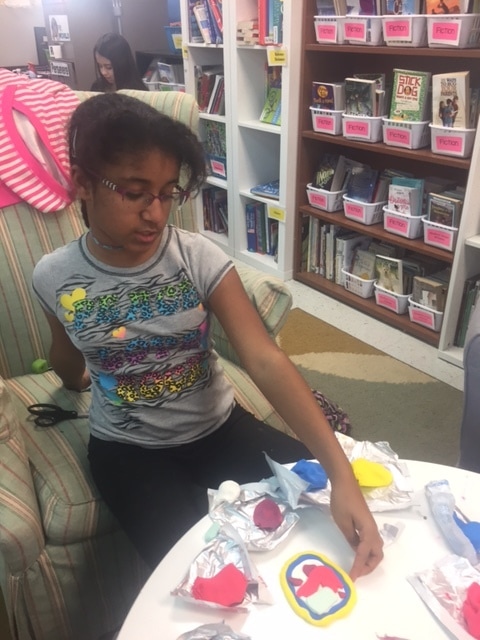
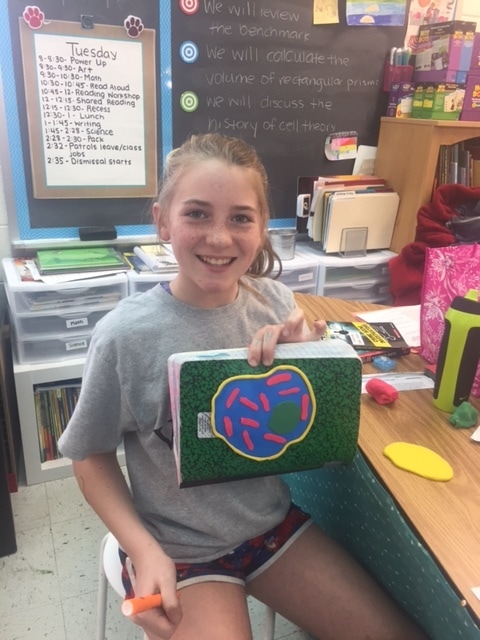
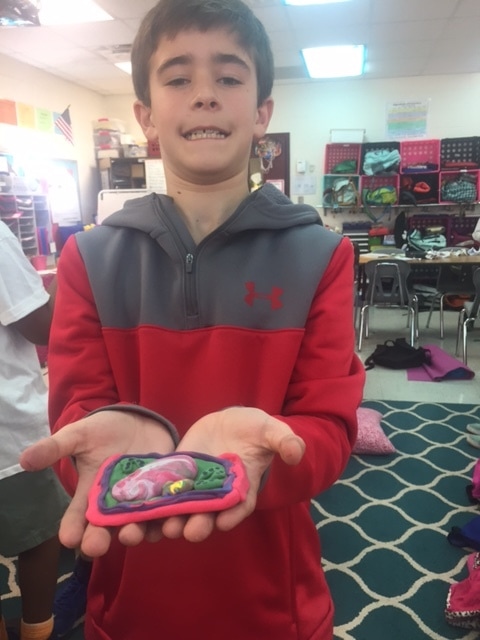
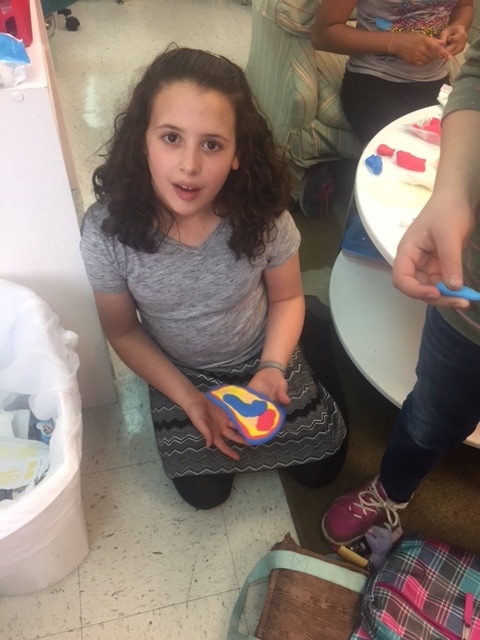
Cell Models-3/14
Here are some pictures from when the kids made cells out of Model Magic.


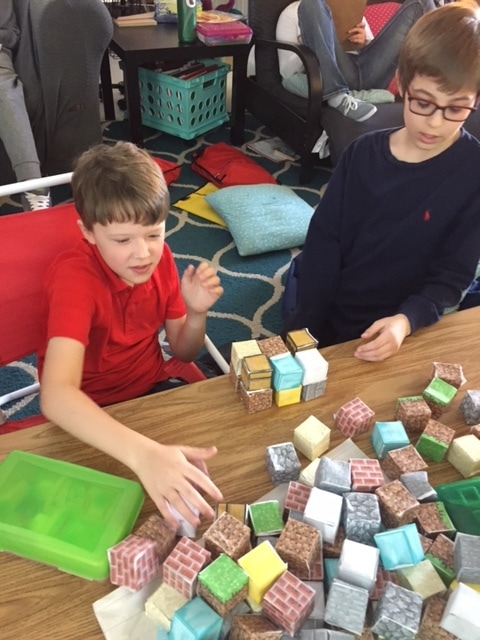
Volume
To discover the formula for volume, the kids made rectangular prisms with Minecraft cubes. They were told to make a perfect rectangular prism with a certain number of cubes. We compared the shapes groups came up with. Then, by studying the relationship between the number of cubes across, wide, and high and the number of cubes in each rectangular prism, they discovered that the numbers when multiplied together tell the number of cubes in the prism. For example, in the middle picture below, the students were asked to make a rectangular prism with 12 cubes. They made a 2 cube wide by 3 cube long by 2 cube high prism. They also made a 1 by 6 by 2, a 3 by 4 by 1, etc. When these three dimensions were multiplied together, it gave the volume of 12 cubic units. We discussed that this is the formula volume!
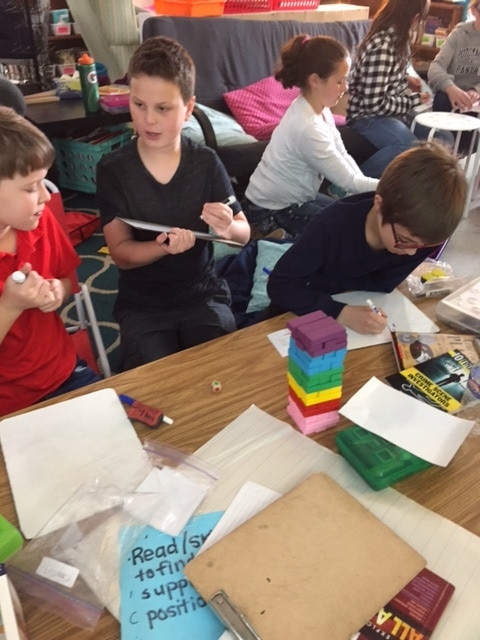
The kids then played Volume Jenga in which the kids had task cards and had to calculate the volume of various rectangular prisms and if they got their question correct, they got to remove a piece from the tower.
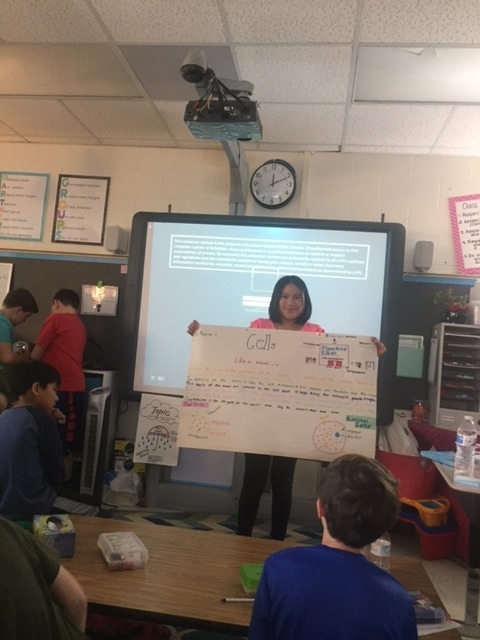
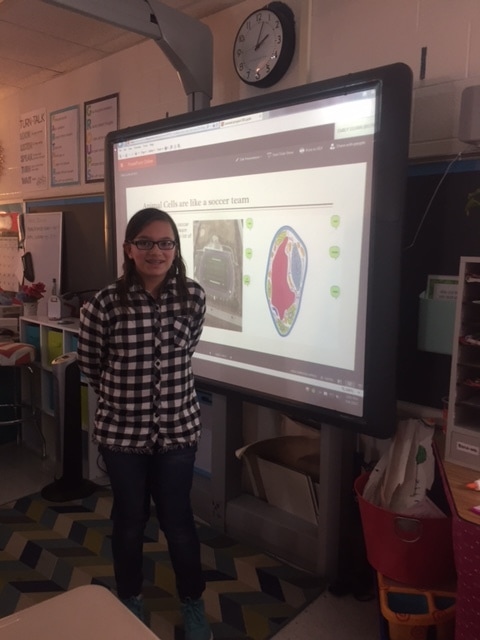
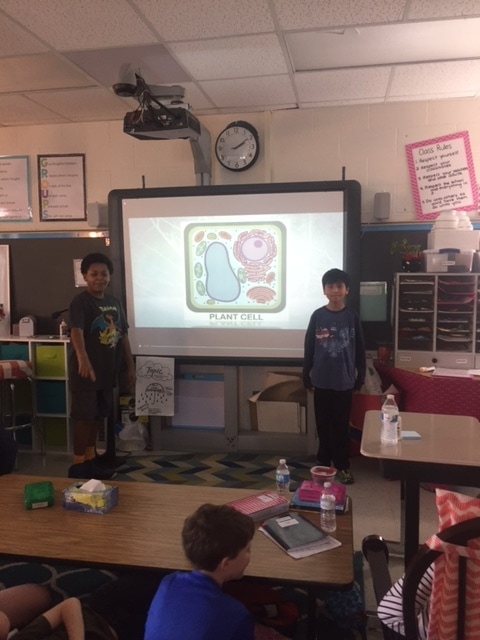
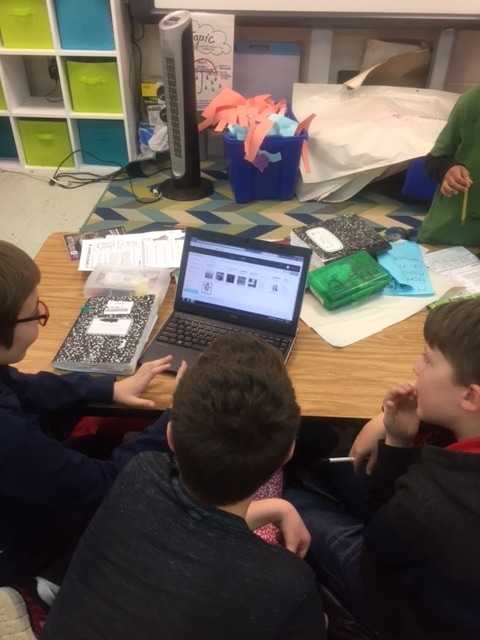
The kids also worked on their digital cell analogy projects. Here are some pictures of these activities.
The kids then played Volume Jenga in which the kids had task cards and had to calculate the volume of various rectangular prisms and if they got their question correct, they got to remove a piece from the tower.
The kids also worked on their digital cell analogy projects. Here are some pictures of these activities.

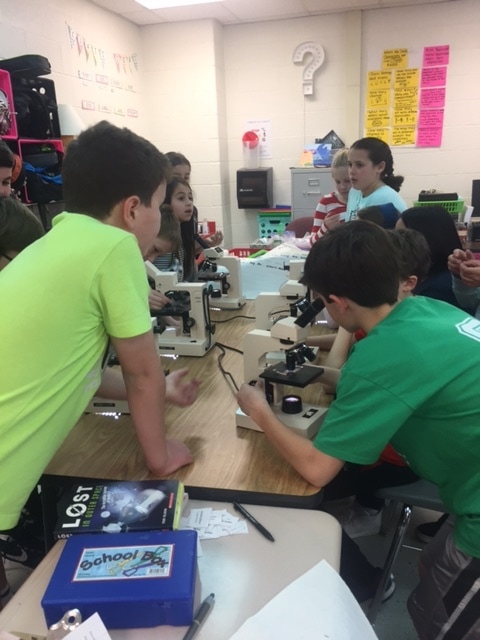
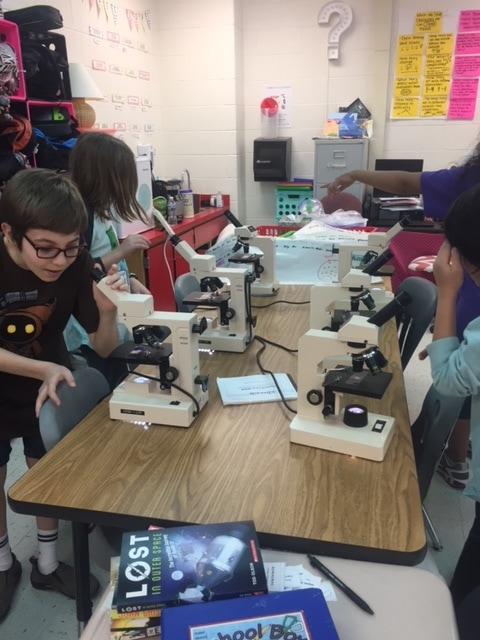
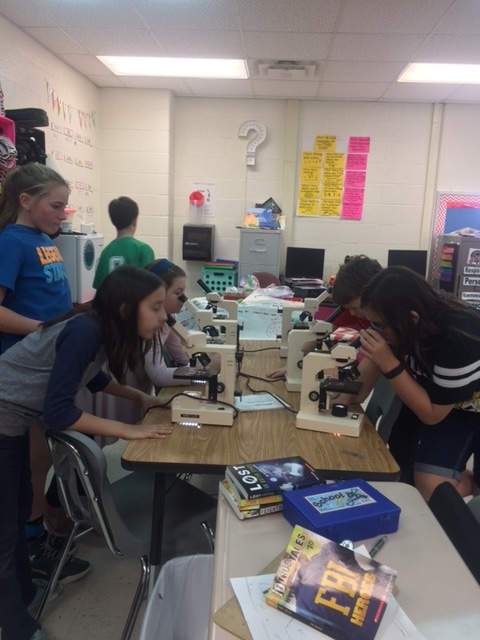
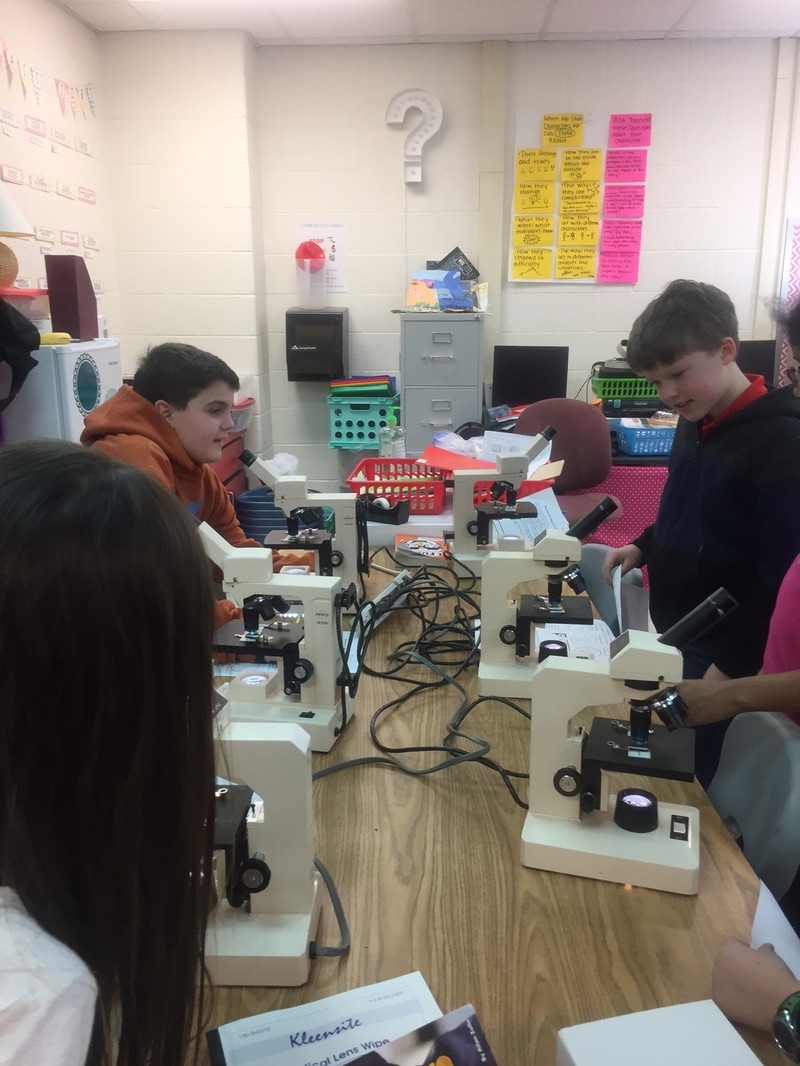
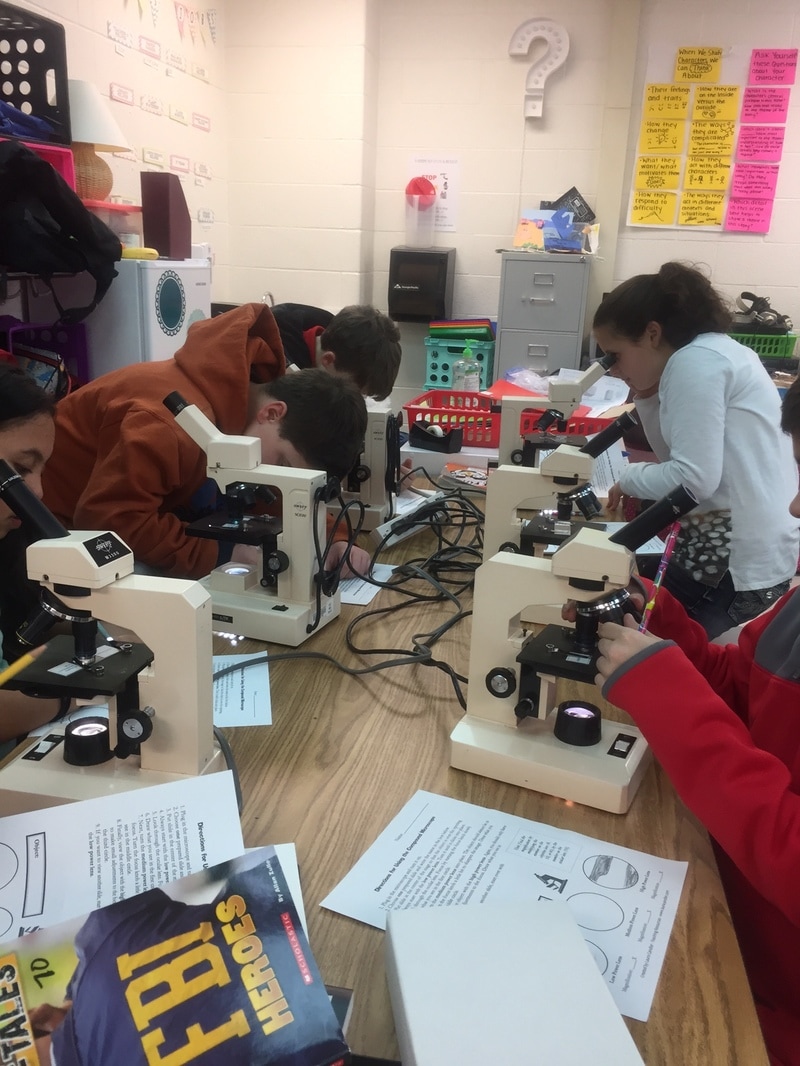
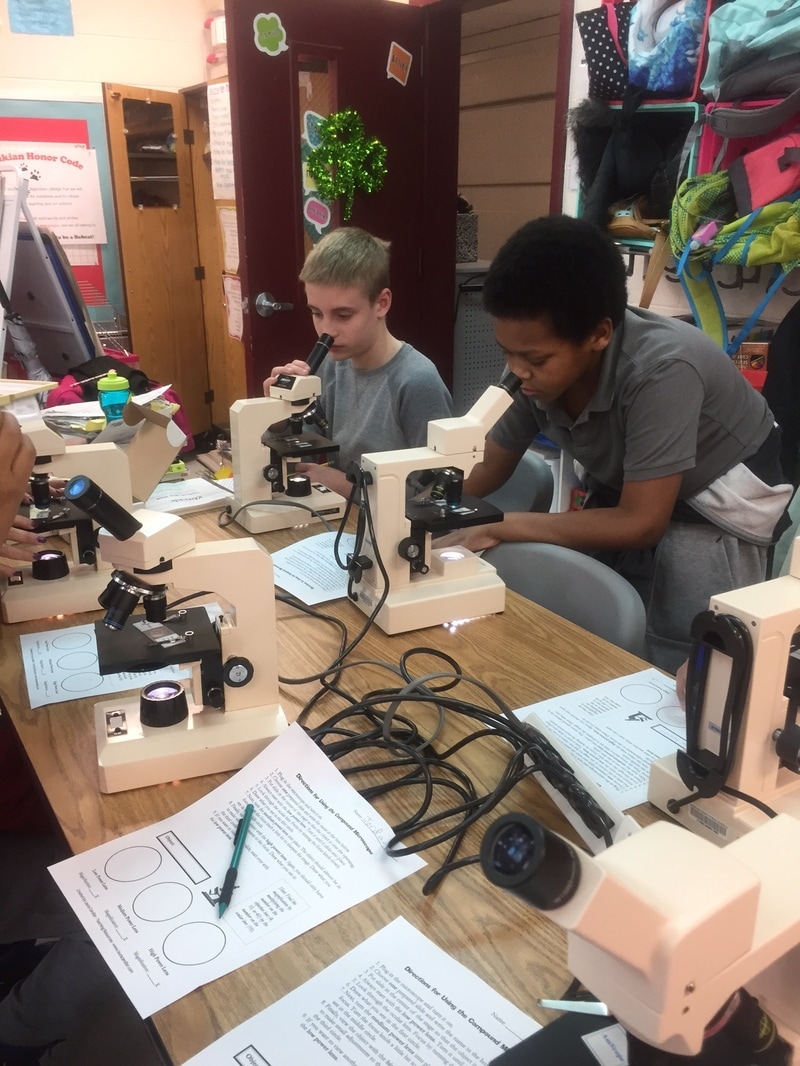
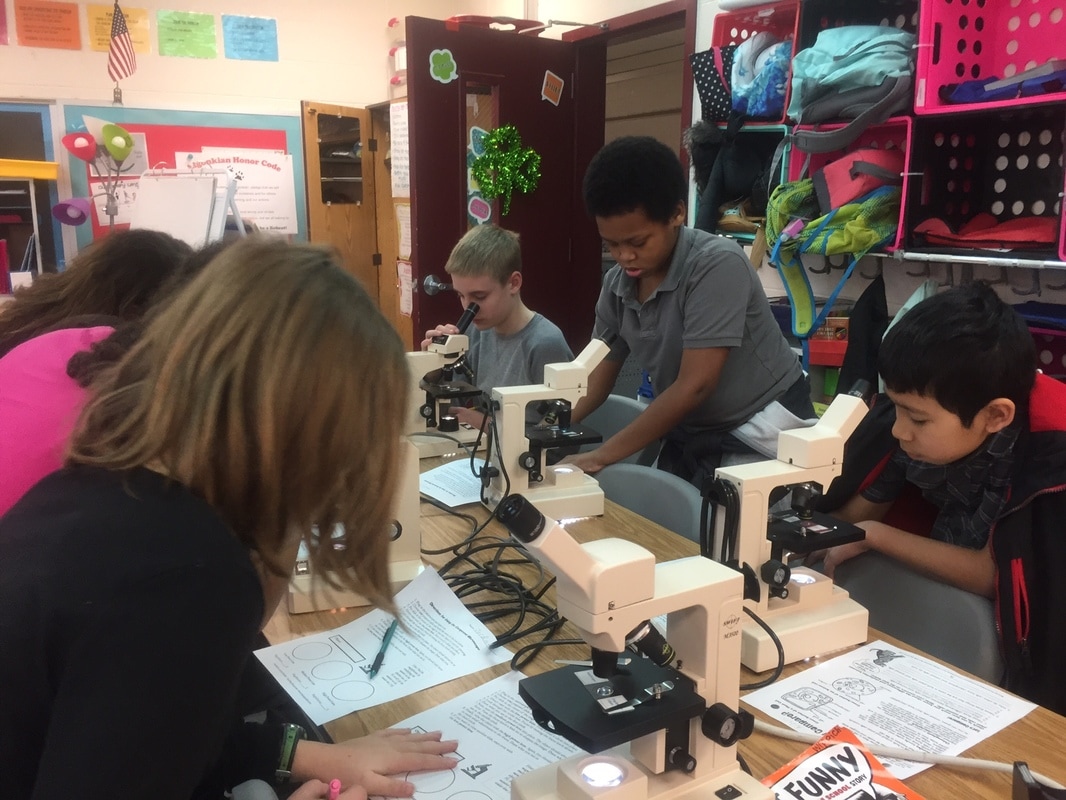
Trying Out Microscopes!
As part of our life science unit this week, the kids got to try out microscopes, first on regular lined notebook paper, then they got to see actual slides with things like mosquito mouth parts, housefly compound eye, frog skin, heart muscle, etc. It was pretty fascinating stuff!

3D Cell Models-2/28/17
This week we started talking about what it means to have volume and be 3D (3 dimensions- length, width, and height) and made 3D cell models. A lot of kids have the misconception that cells are flat because all of the images of them they see are, well, FLAT! We made 3D models out of everyday household items this week and talked about how each part of the model represented parts of an actual cell. Here are some photos:
Measurement and Cells
Last week was a short week, but it was a busy one! We continued to work on measurement by converting customary units and also played a fun game outside with our visiting Watchdog Dad- thanks to Anna's dad for helping us with the game! I wish I'd thought to take pictures- we had a good time :)
In Science, we started talking about cells. We did two fun reader's theaters about cells and their parts, made minibooks about cells, and then played a game of concentration to match cell parts, functions, and pictures. Here are some pictures of the kids playing the game.
In Science, we started talking about cells. We did two fun reader's theaters about cells and their parts, made minibooks about cells, and then played a game of concentration to match cell parts, functions, and pictures. Here are some pictures of the kids playing the game.

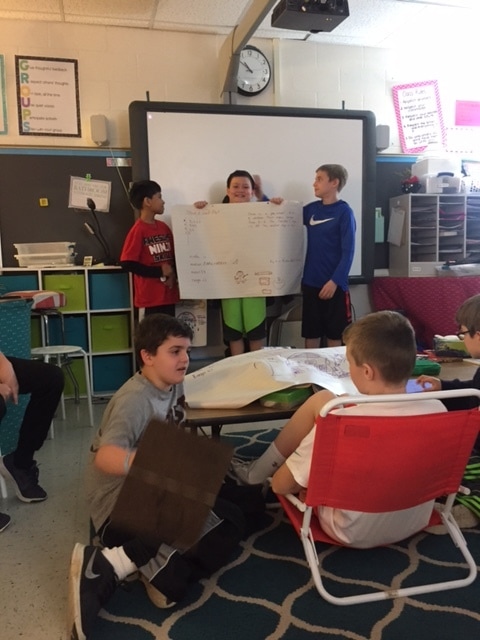
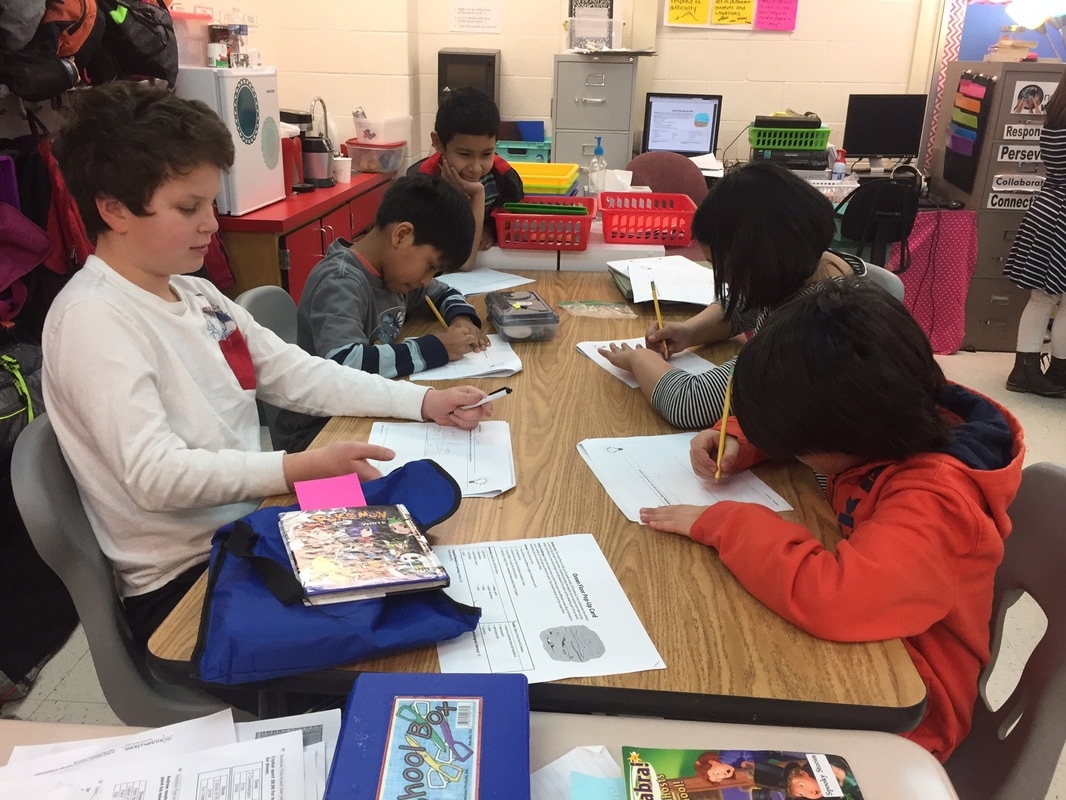
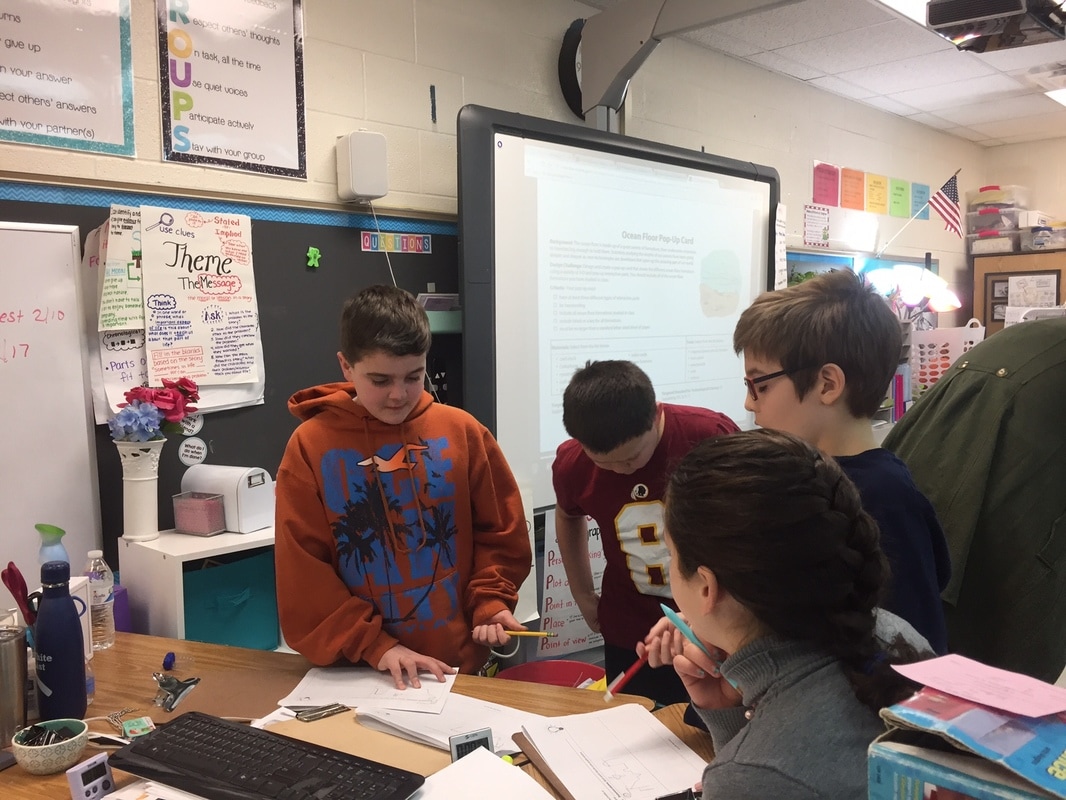
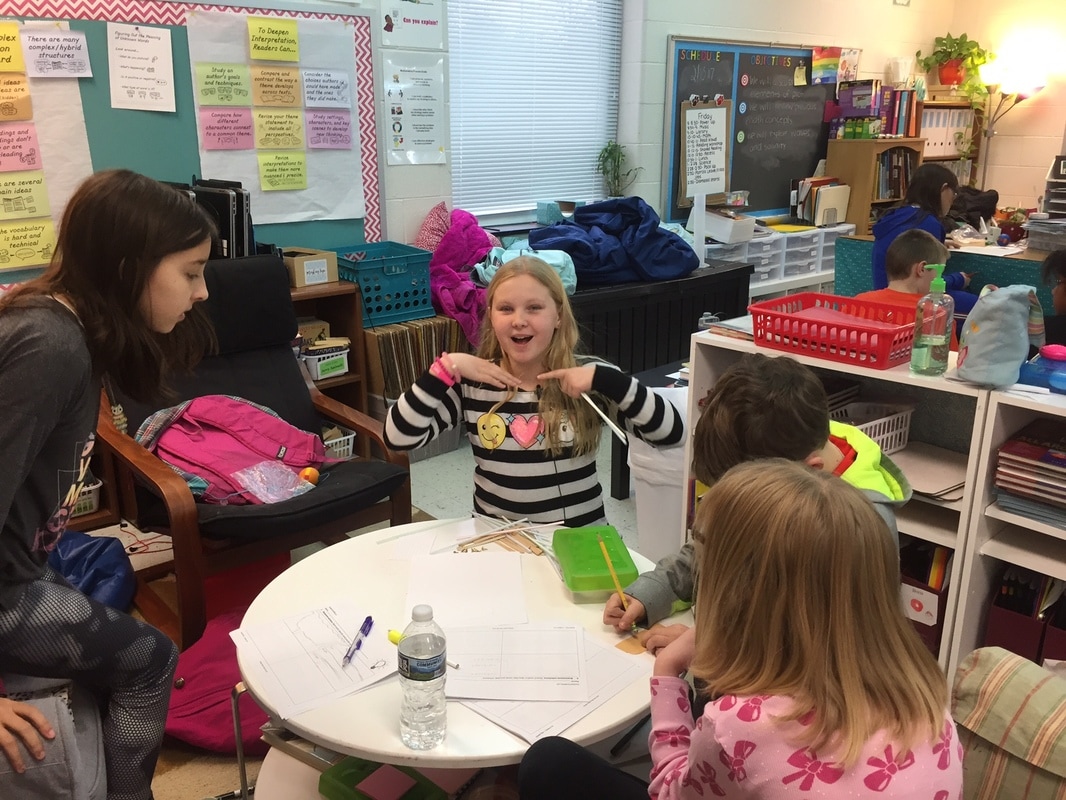
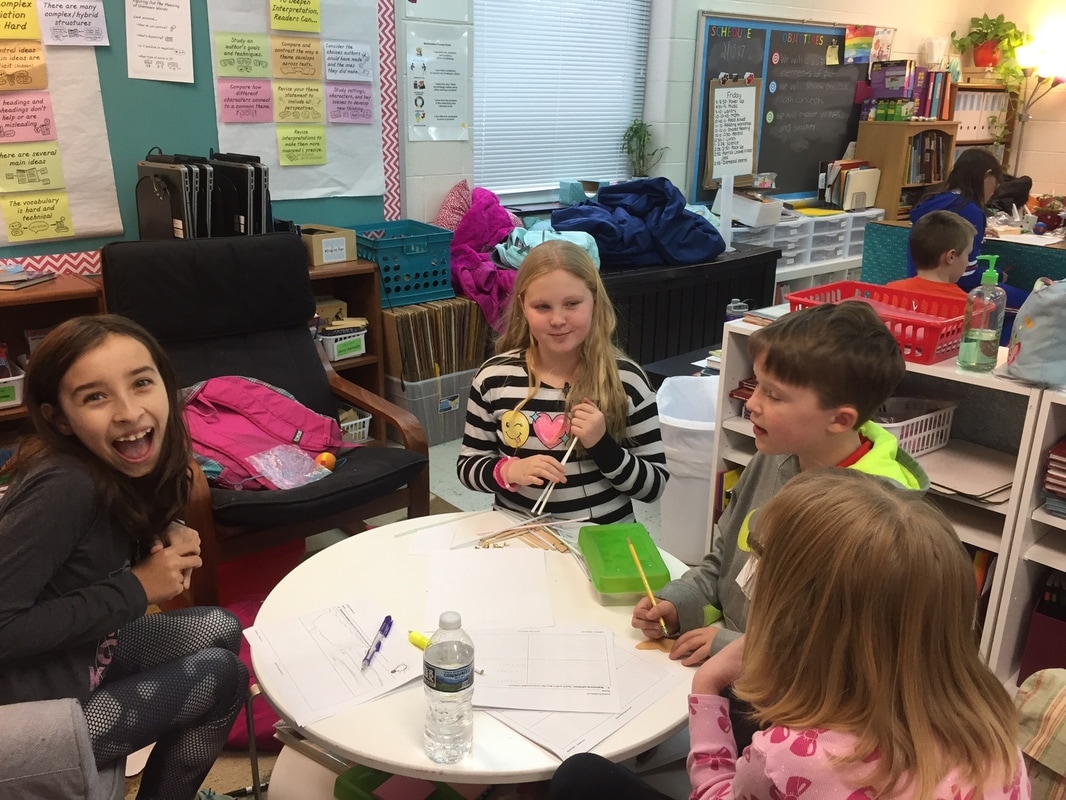
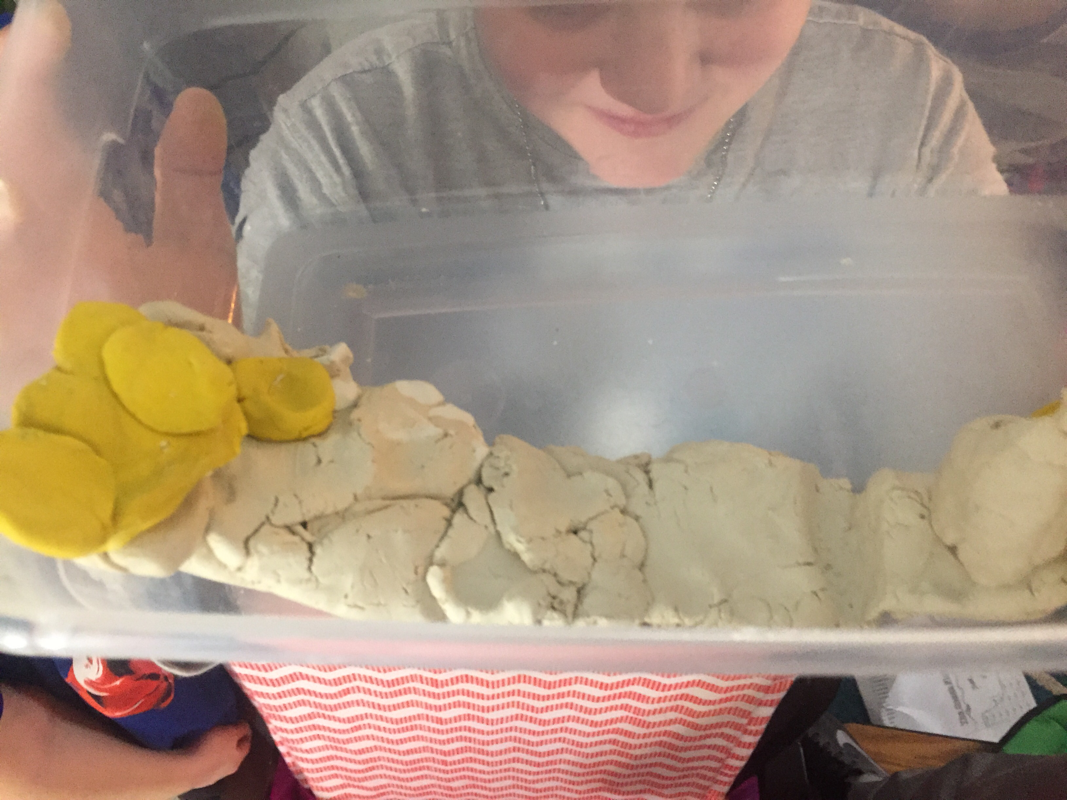
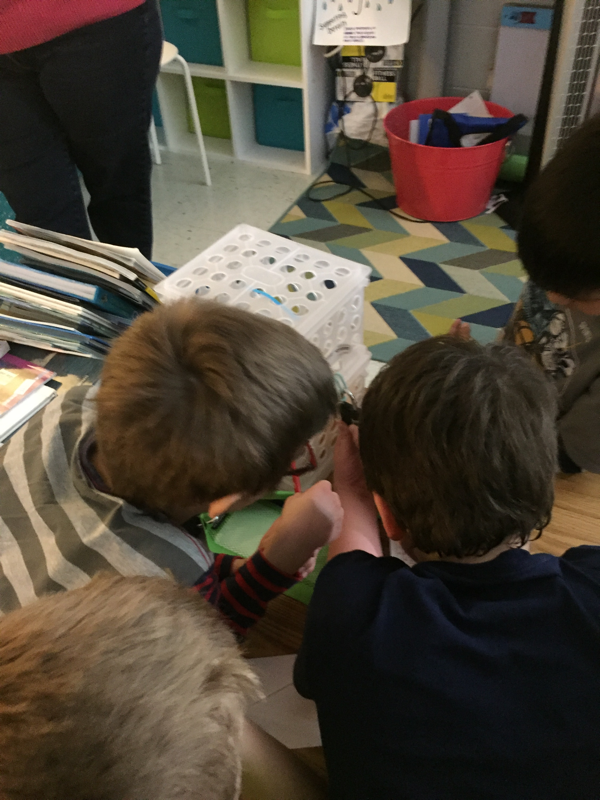
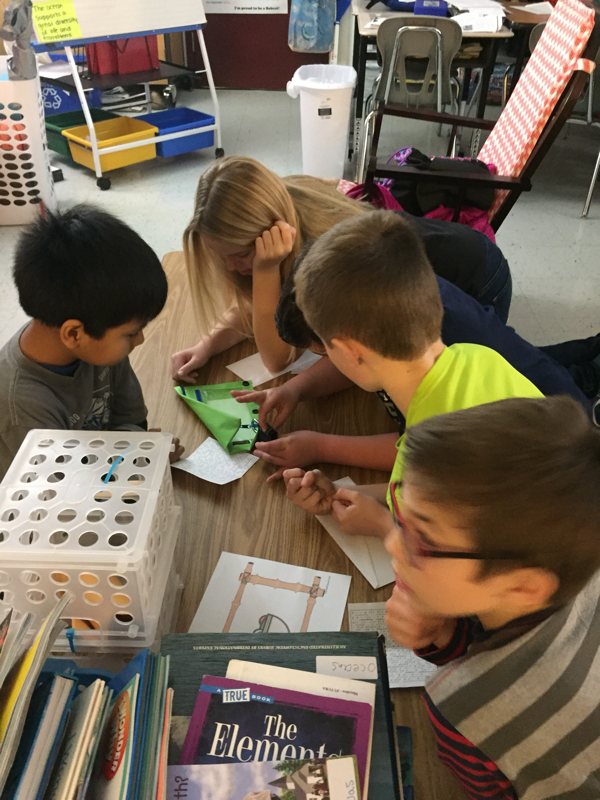
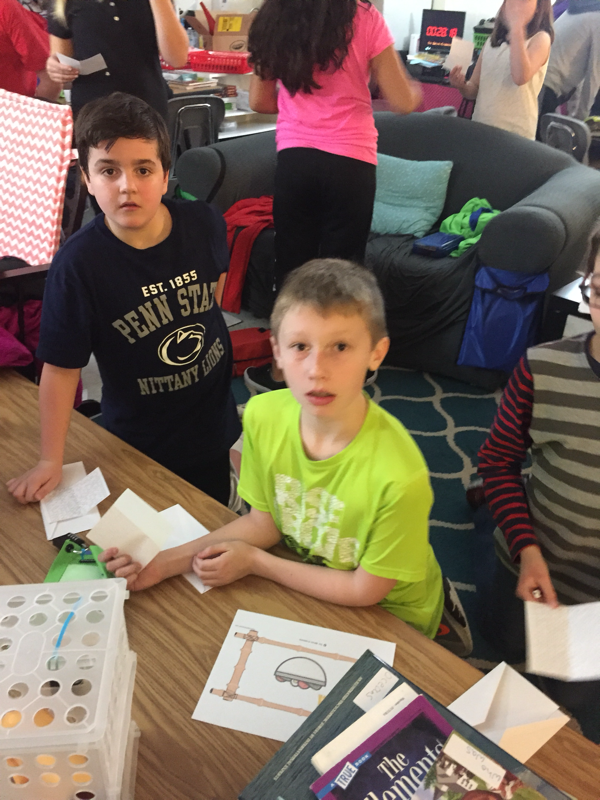
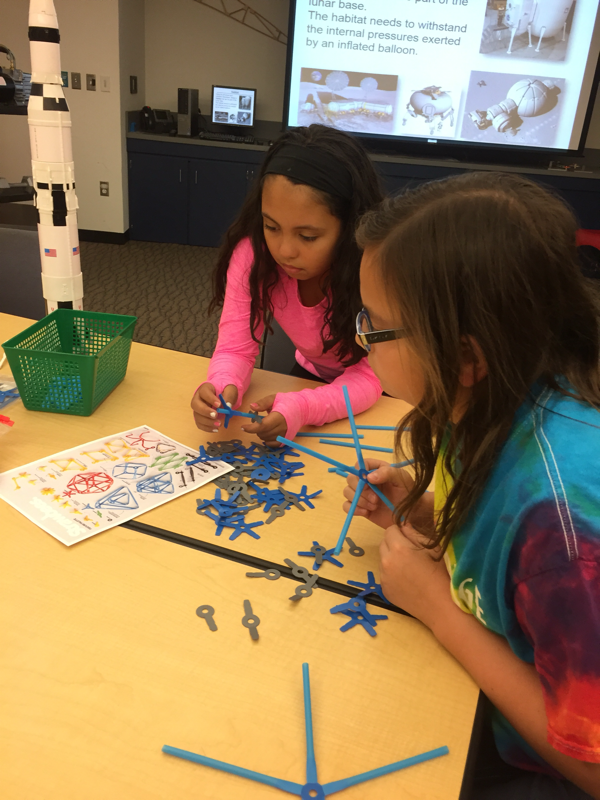
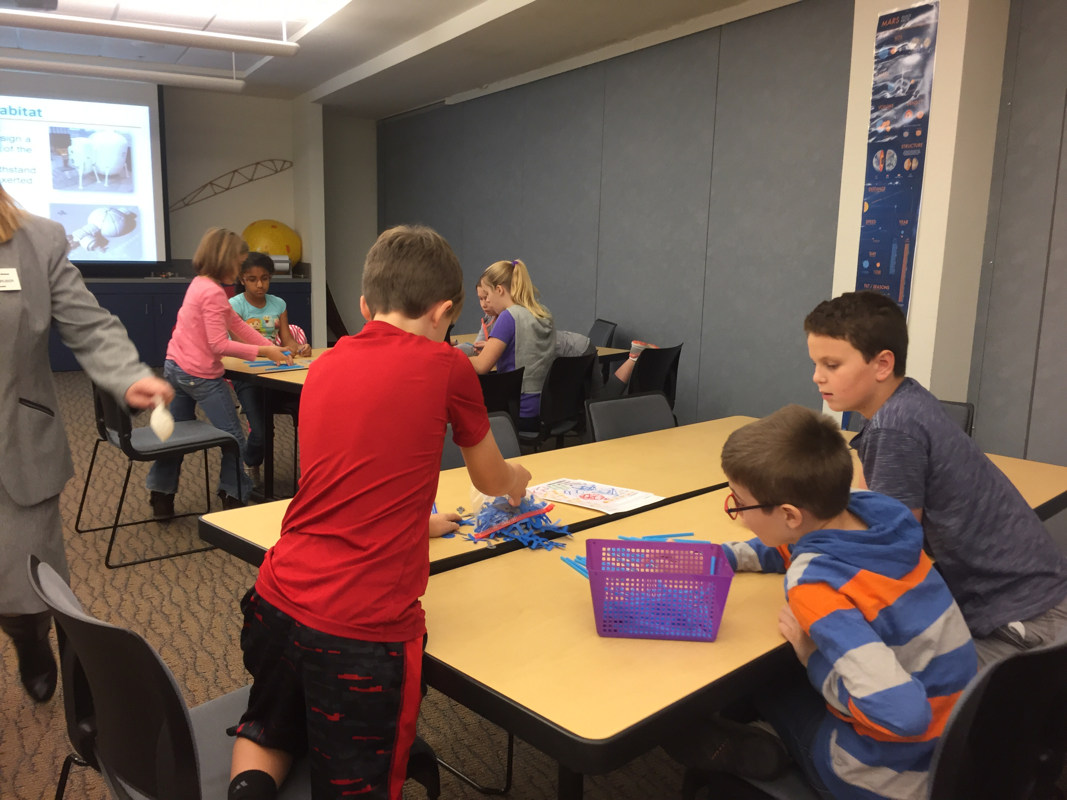
Ocean Design Briefs
On Friday, students designed a 3-d pop up model of the ocean floor that had to meet the following criteria:
have at least three different types of interactive parts
be freestanding
include all ocean floor formations studied in class
include labels or a key for all formations
must be no larger than a standard letter-sized sheet of paper.
They then started to construct their models. Here are some photos of the process. I'll post photos of the finished products once they are complete!
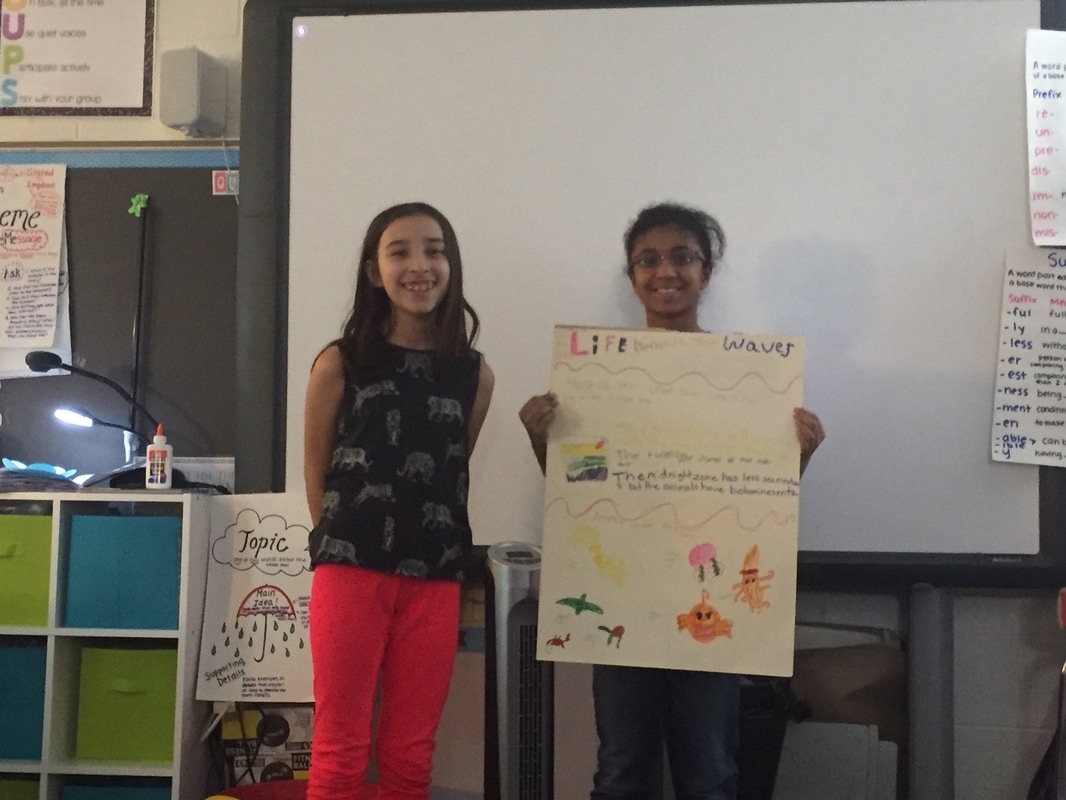
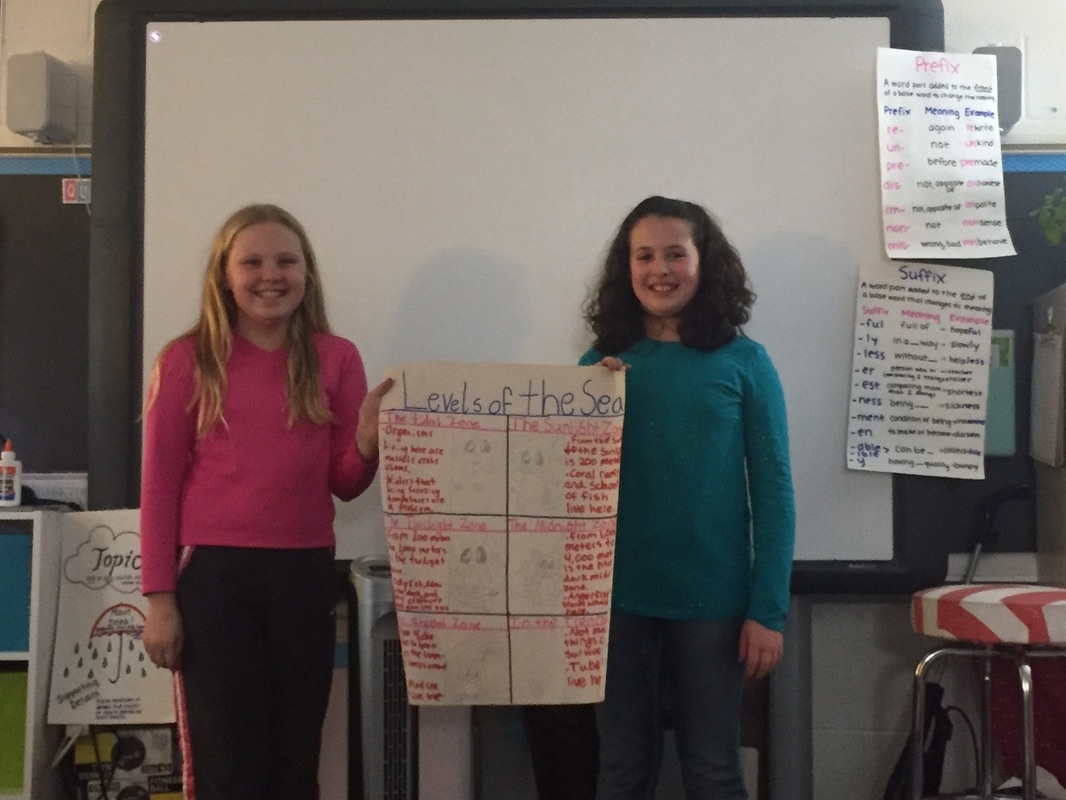
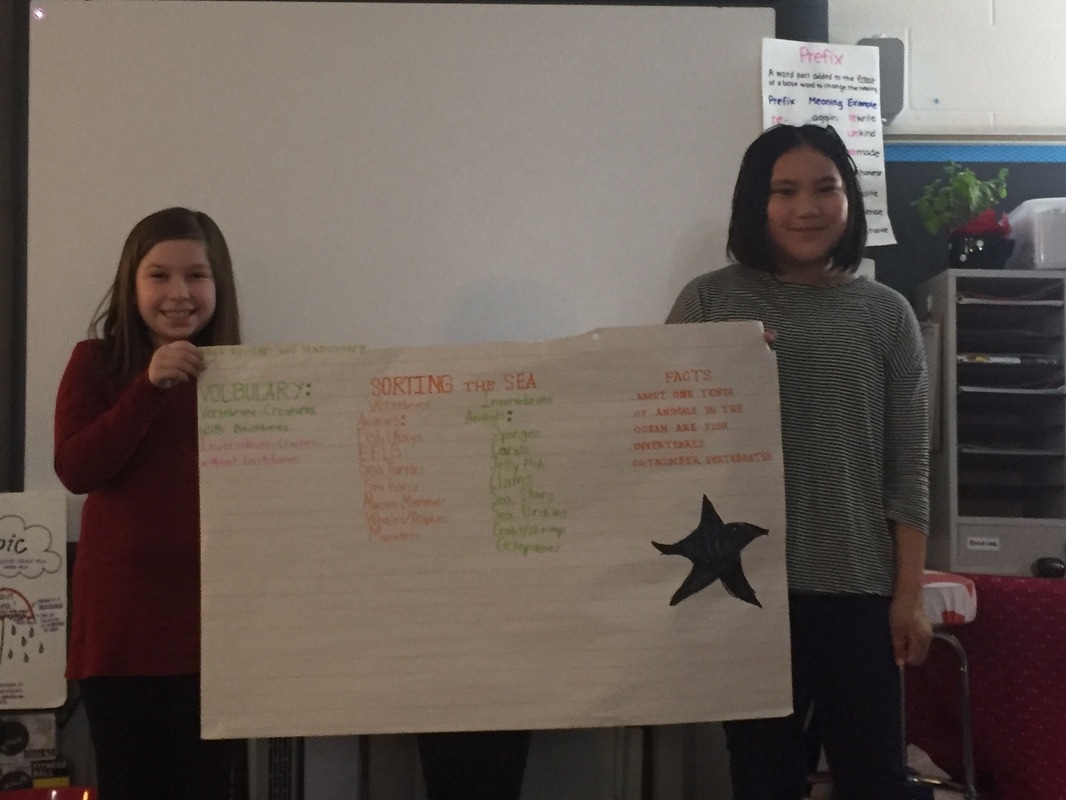
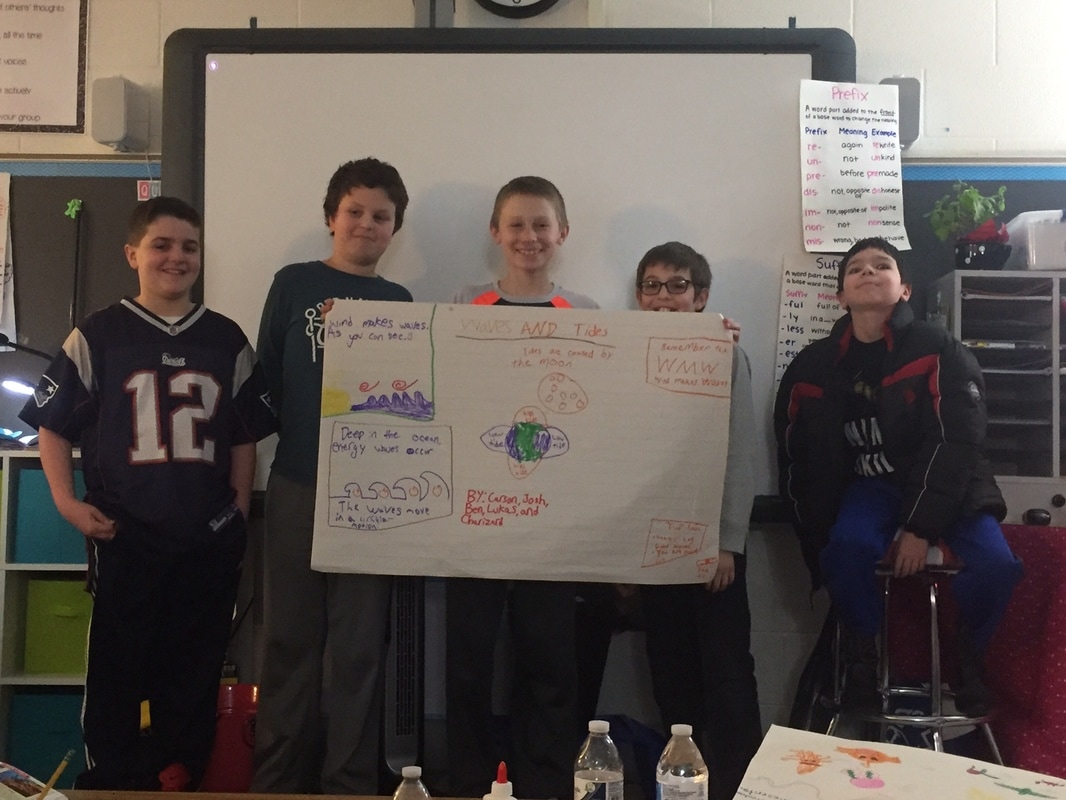
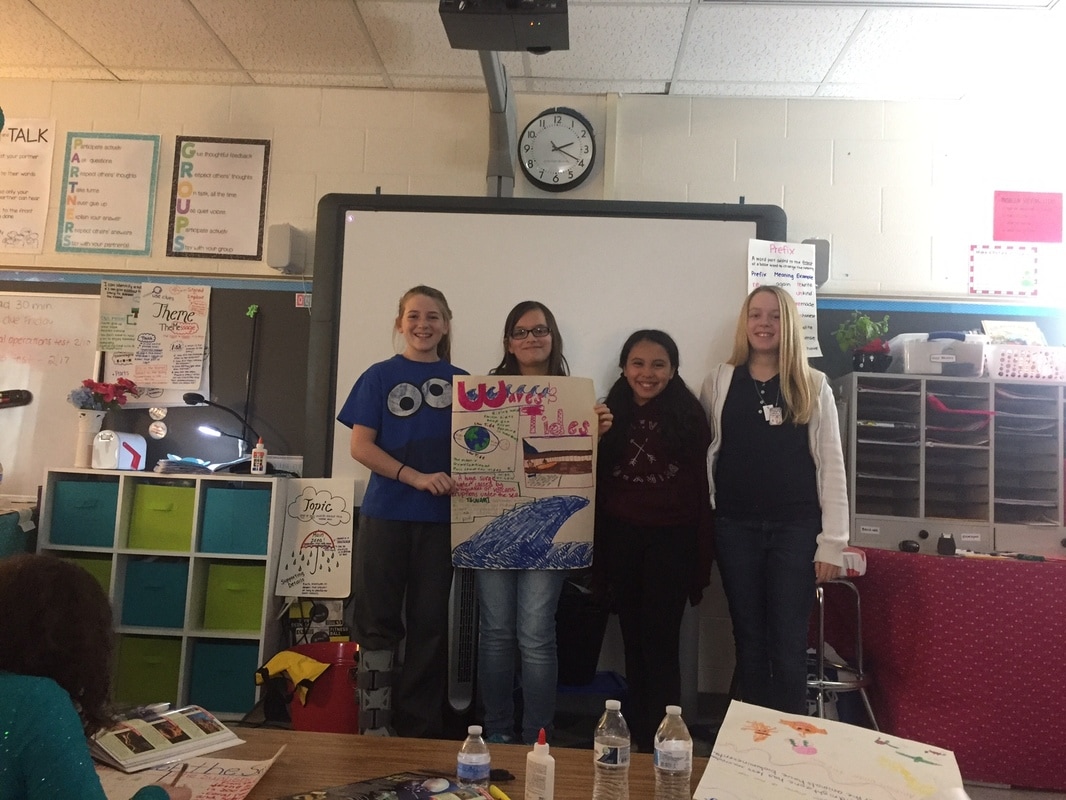
Teaching Oceans
On Monday, 2/6, students teamed up to teach each other about Oceans. Here are some pictures from their collaborative projects.
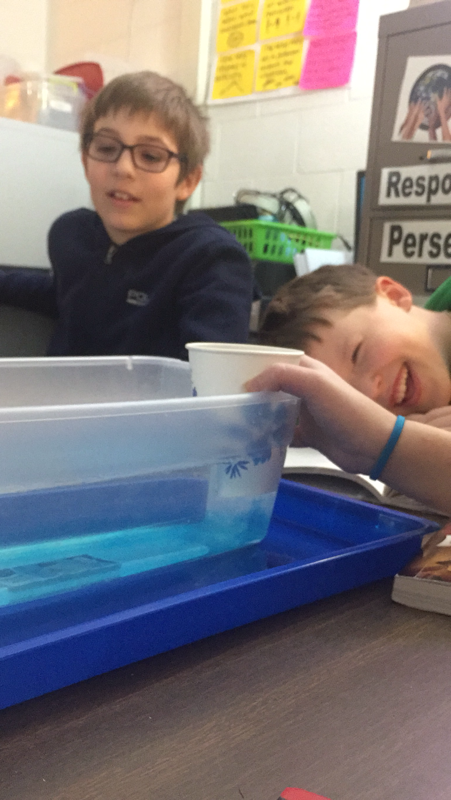
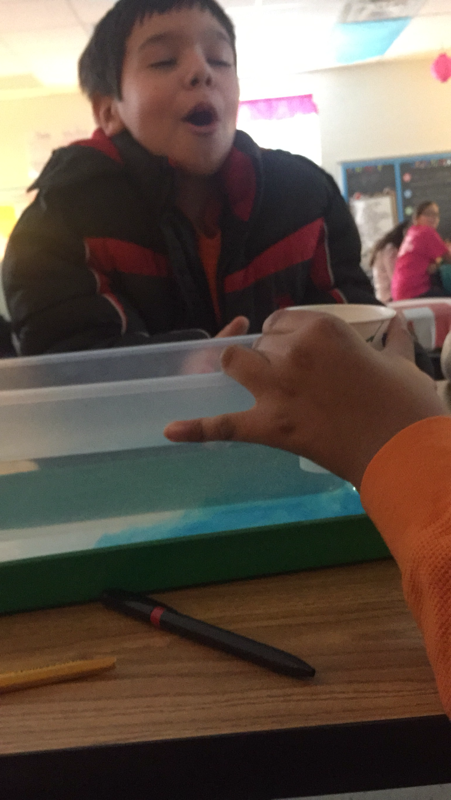
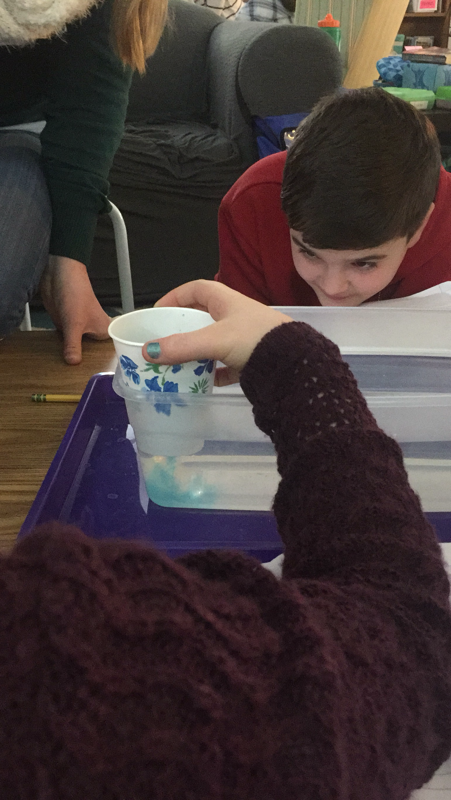
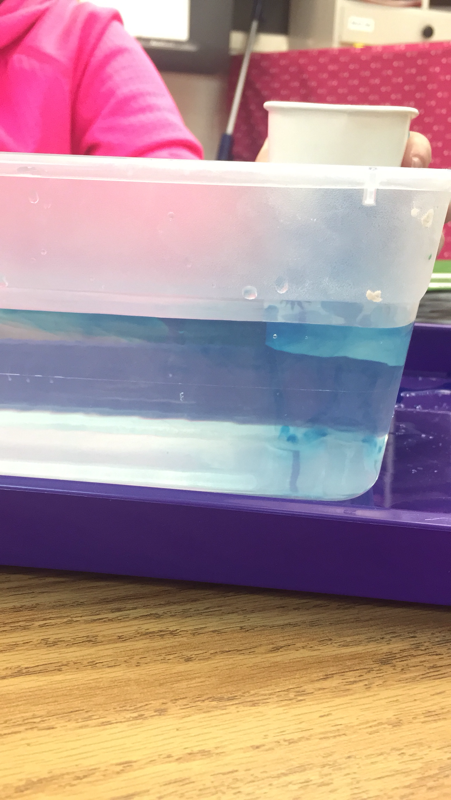
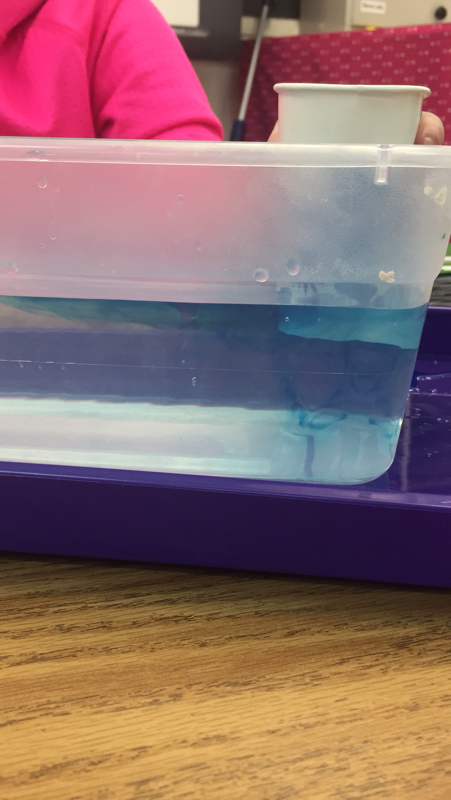
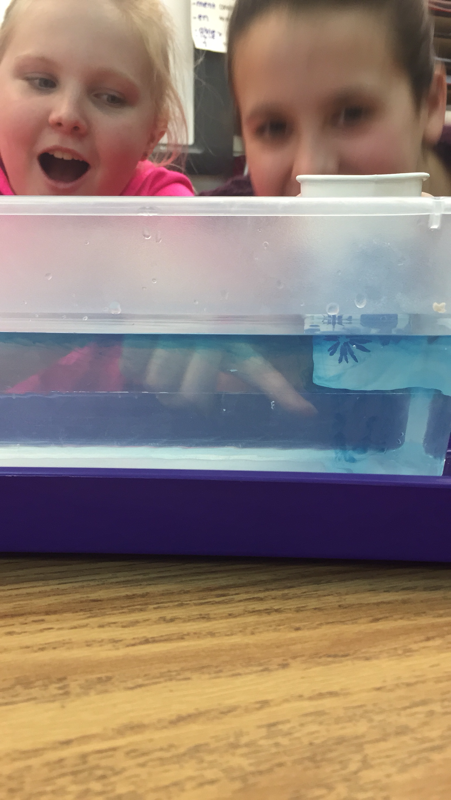
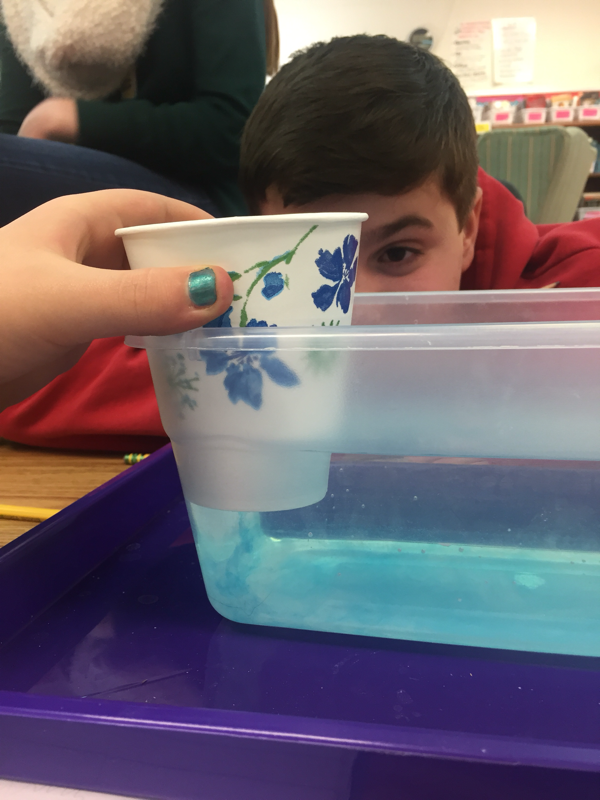
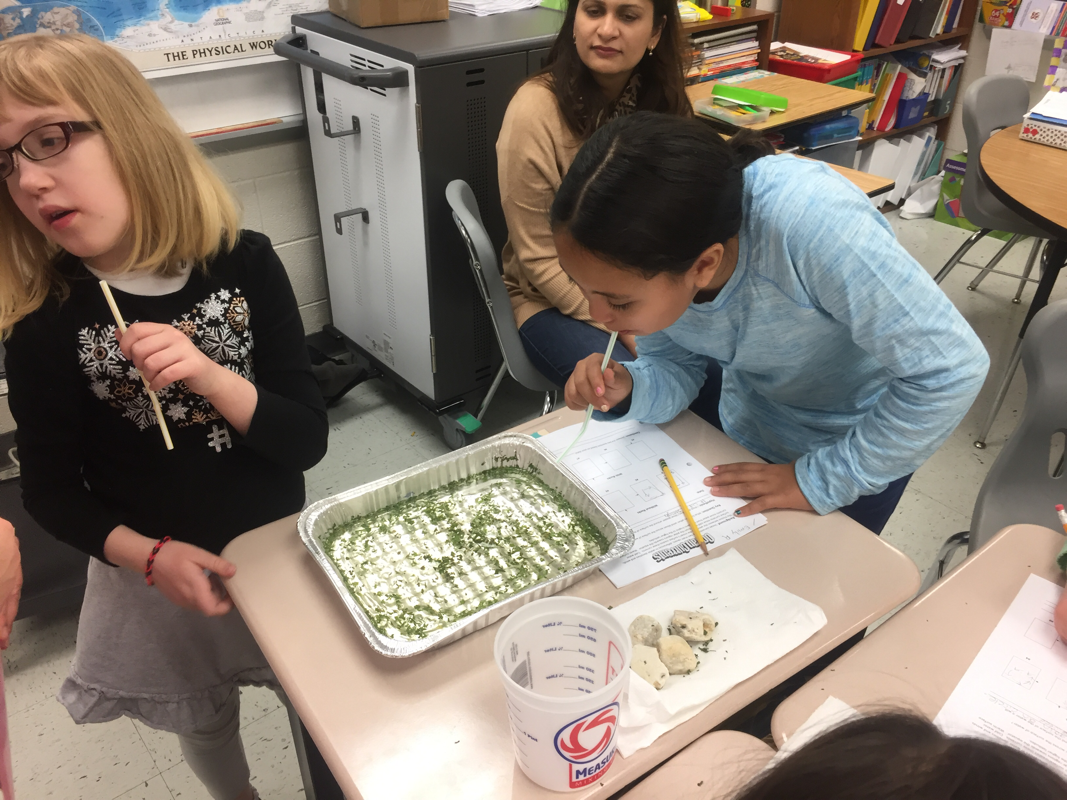
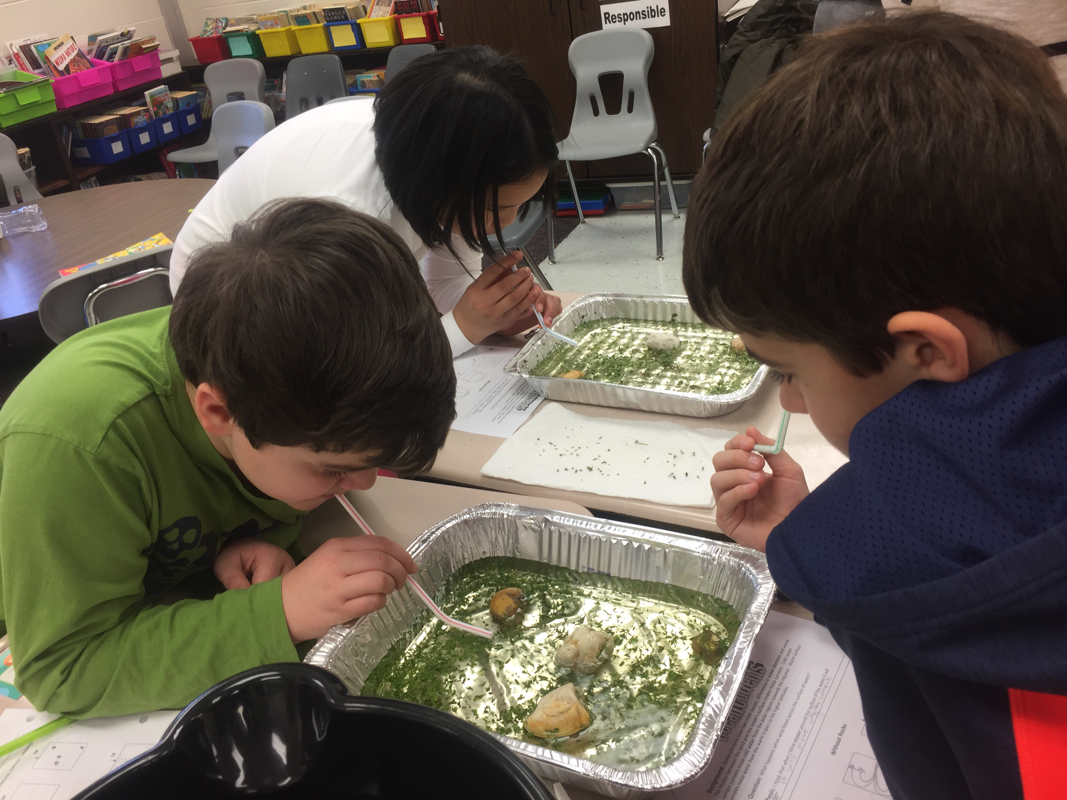
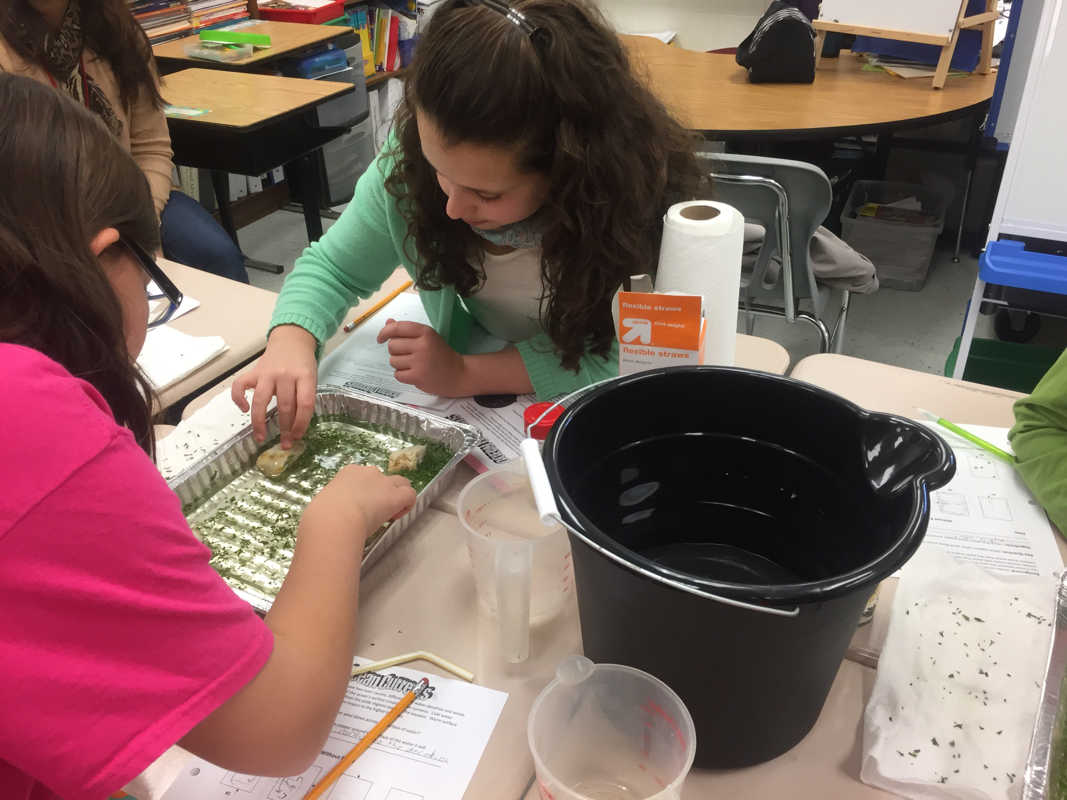
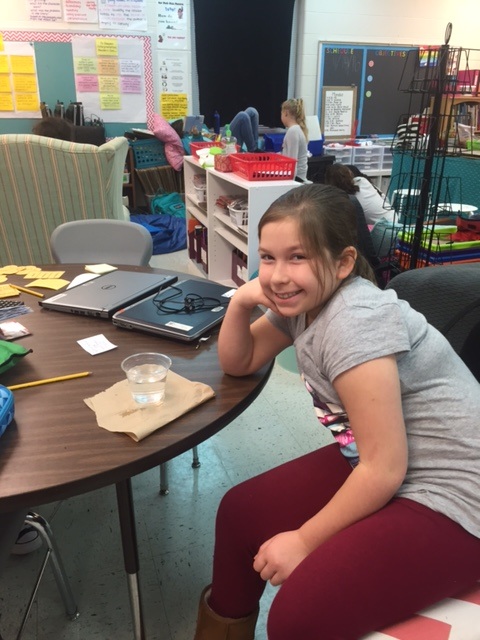
Currents-1/31/17
Today we did an investigation to learn more about currents. First we watched a short video by CSIRO, the Wealth from Oceans Flagship and the Australian Climate Change Science Program that showed the world's currents. We learned that the red arrows represent the upper ocean (warm water), the green arrows represent deep water (colder than warm water but not as cold as the Arctic waters), and the blue arrows represent bottom water (cold water). The students noticed how the arrows changed colors as the water changed temperatures. We discussed how currents carry warm surface waters from tropical areas toward the polar regions. There, the waters cool and the colder, denser waters sink and flow south in the deep ocean which keeps the waters moving.
Students then simulated the warm and cold currents. Each group was given a tub of hot water and a cup of ice cold water with blue food coloring in it. They then made hypotheses about what would happen if the ice cold blue liquid were to leak into the hot water in the tub. Most students, after seeing the video above, concluded that the cold (blue) water would sink to the bottom of the tub and as time went by and the water temperatures became steady, the dye would spread throughout the tub. We then did the investigation by pouring the blue liquid into a cup that had a hole poked into the bottom and they found their hypothesis was correct.
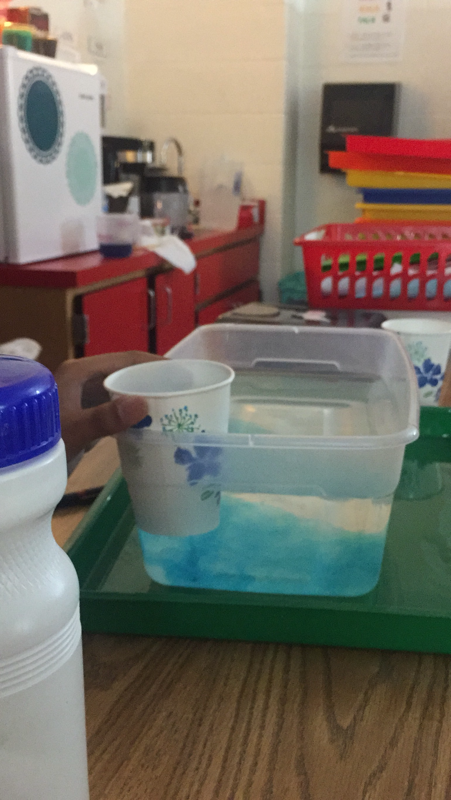
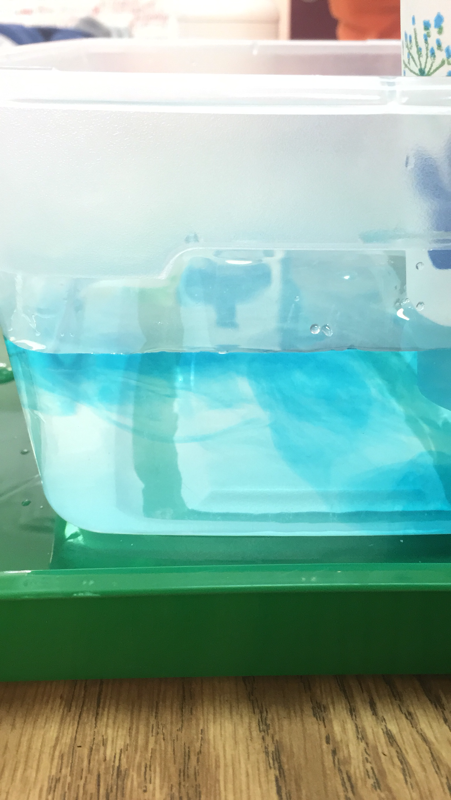
We then repeated the experiment, though this time with a tub of cold water and a cup of hot blue water. This time, students hypothesized that the hot water in the cup would rise to the top of the cold water, which it did. See the pictures below and see if you can figure out which pictures are from which trial!
At the end of the investigation, we briefly discussed how ocean currents, including the Gulf Stream, are caused by wind patterns and the differences in water densities (due to salinity and temperature differences). Ocean currents affect the mixing of ocean waters.
We then talked about how about 29,000 rubber ducks and other bath toys were accidentally spilled in the Pacific Ocean during a storm in 1992 and about 19,000 ended up floating south to beaches in Australia and South America! 10,000 floated north to the Arctic Ocean and then down along the coast of North America where a current then pushed them across the Atlantic Ocean and toward Europe.
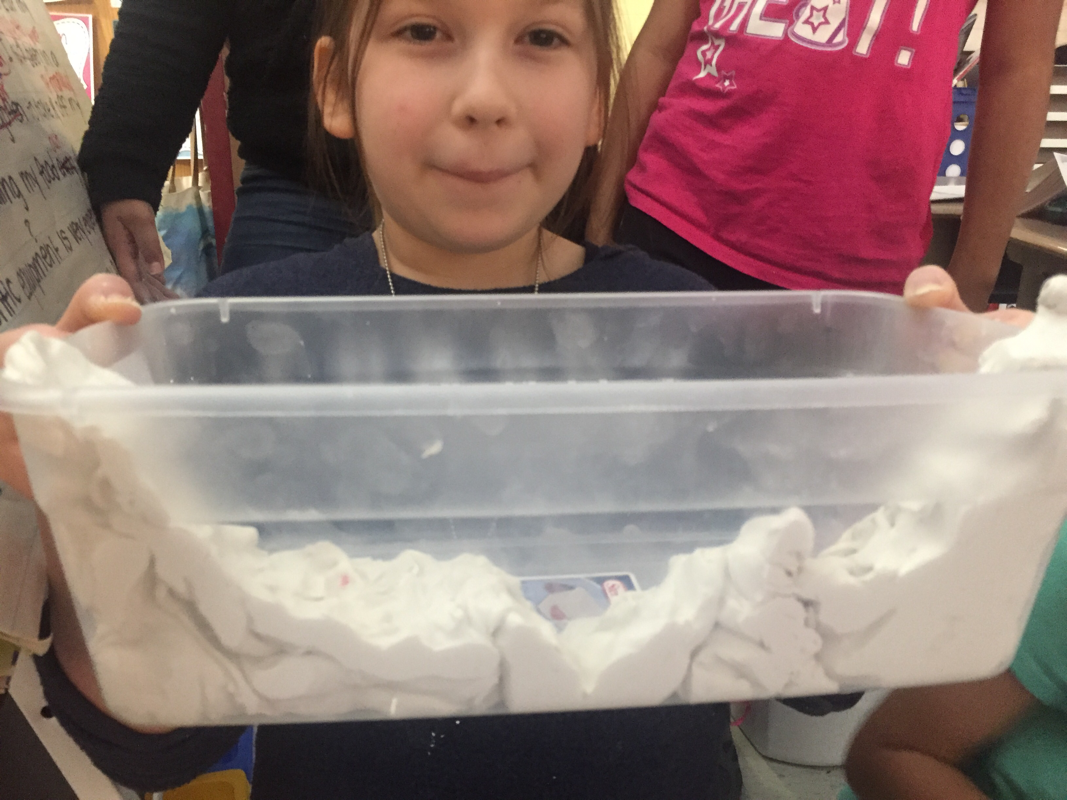
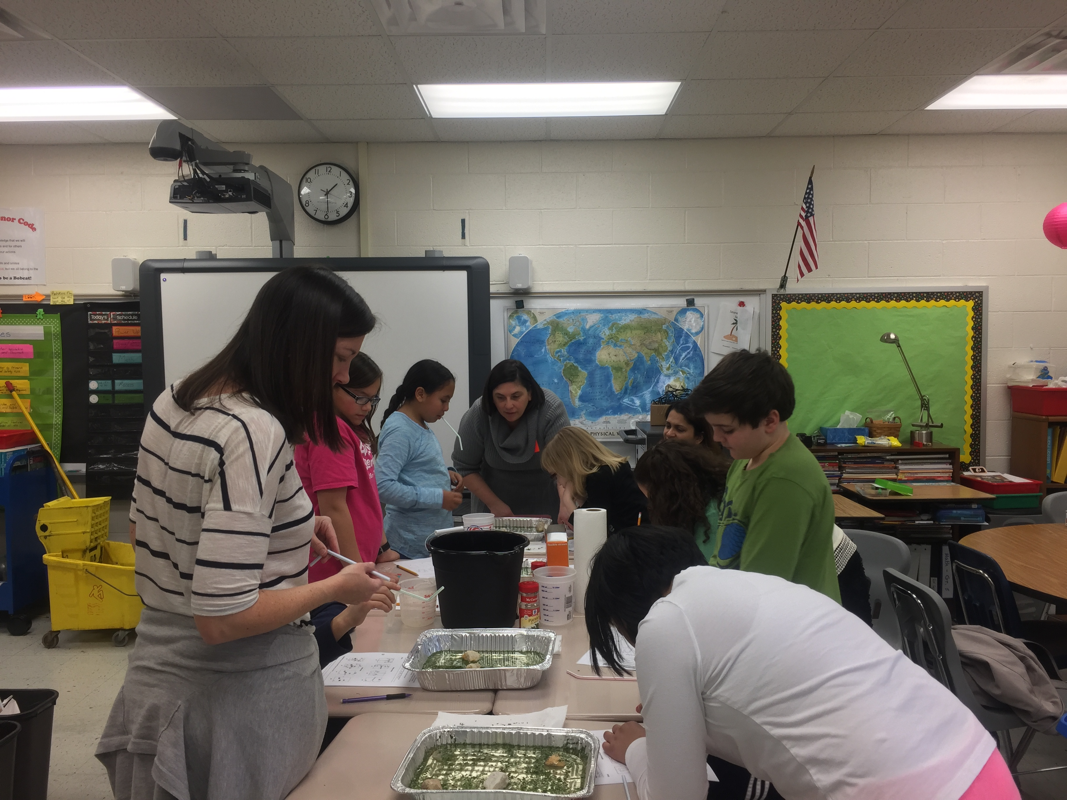
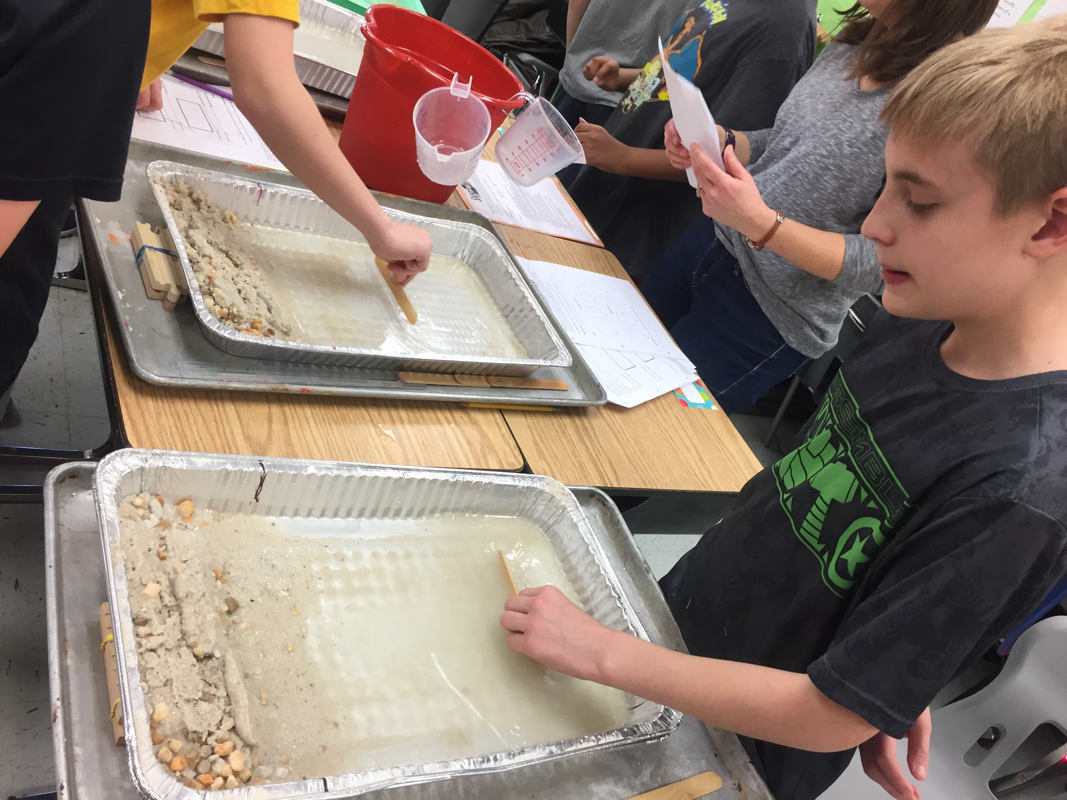
Ocean Floor Models-1/30/17

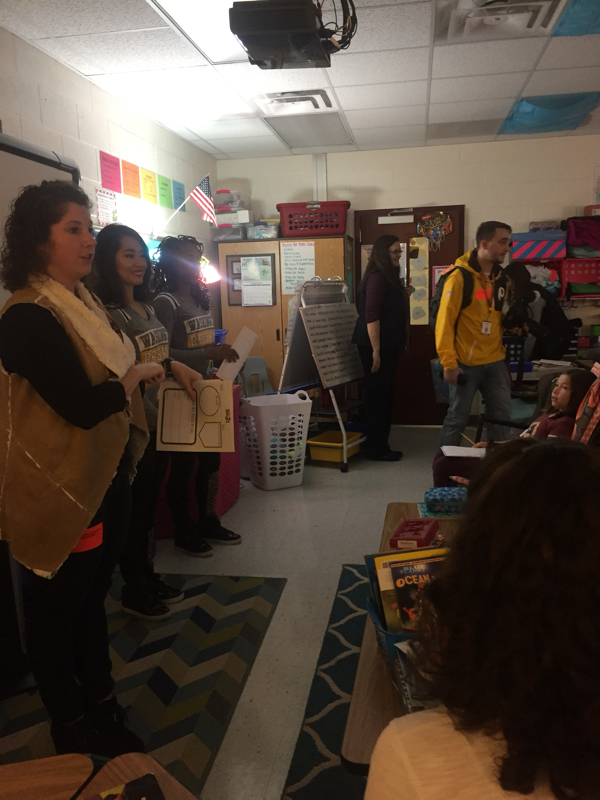
Redskins Cheerleaders Visit-1/26/17
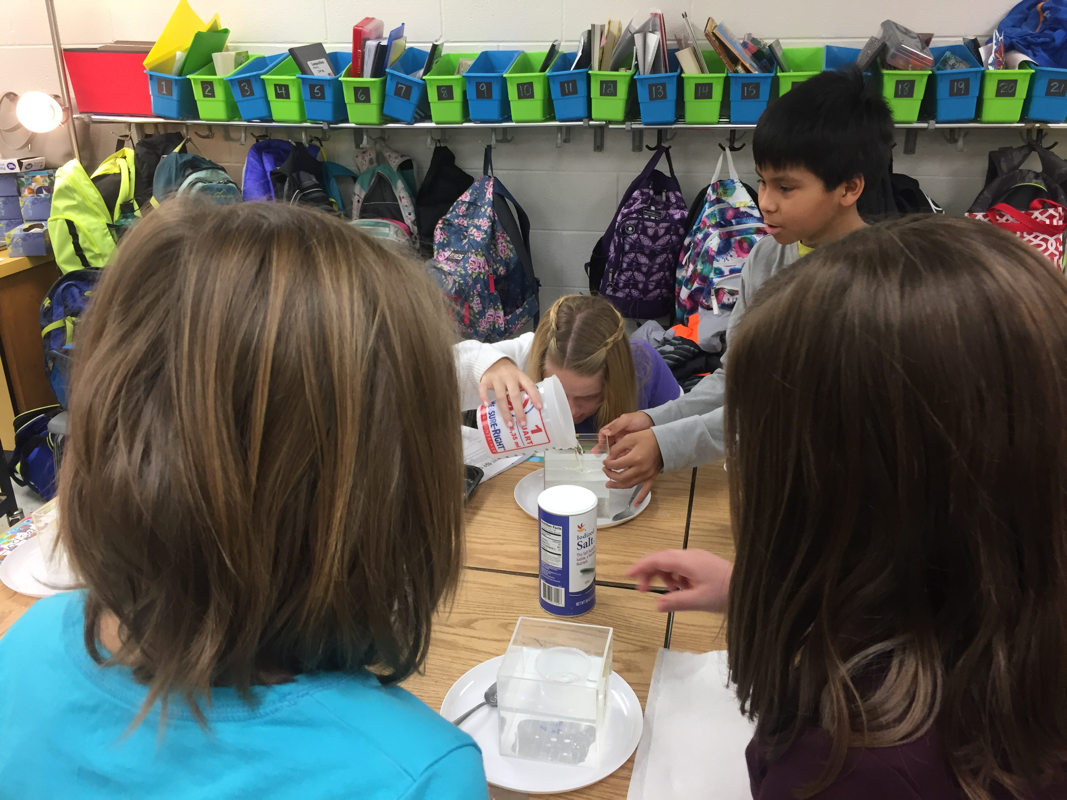
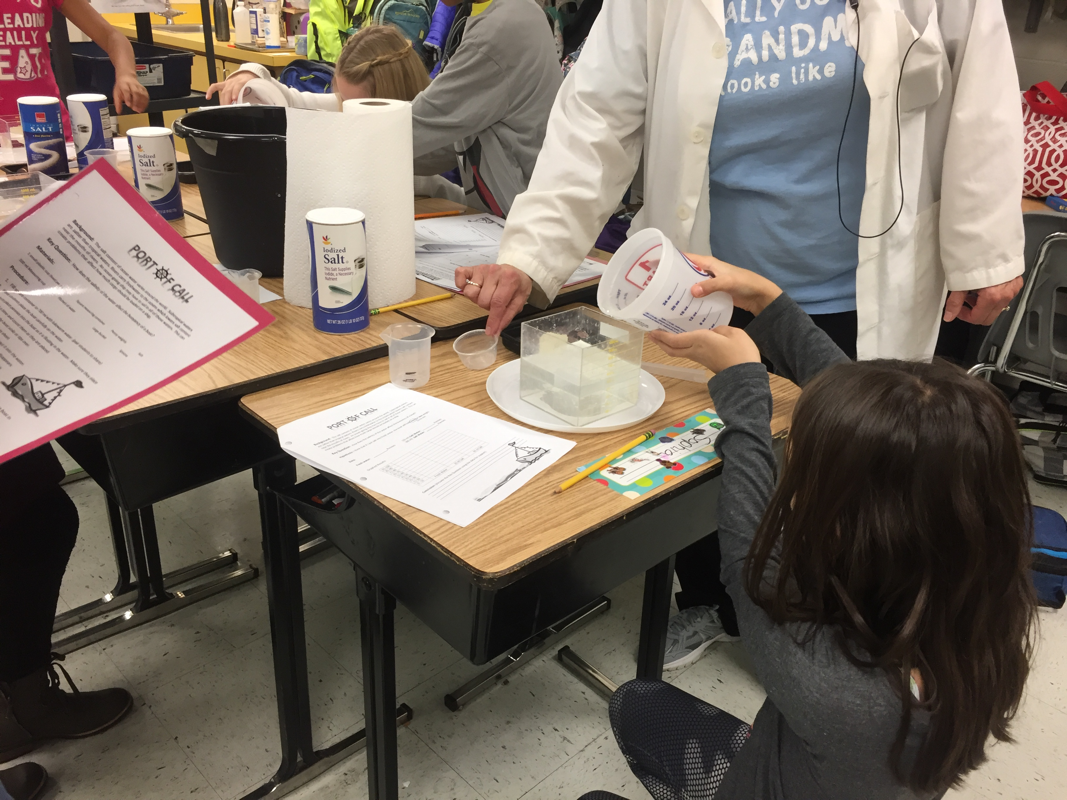
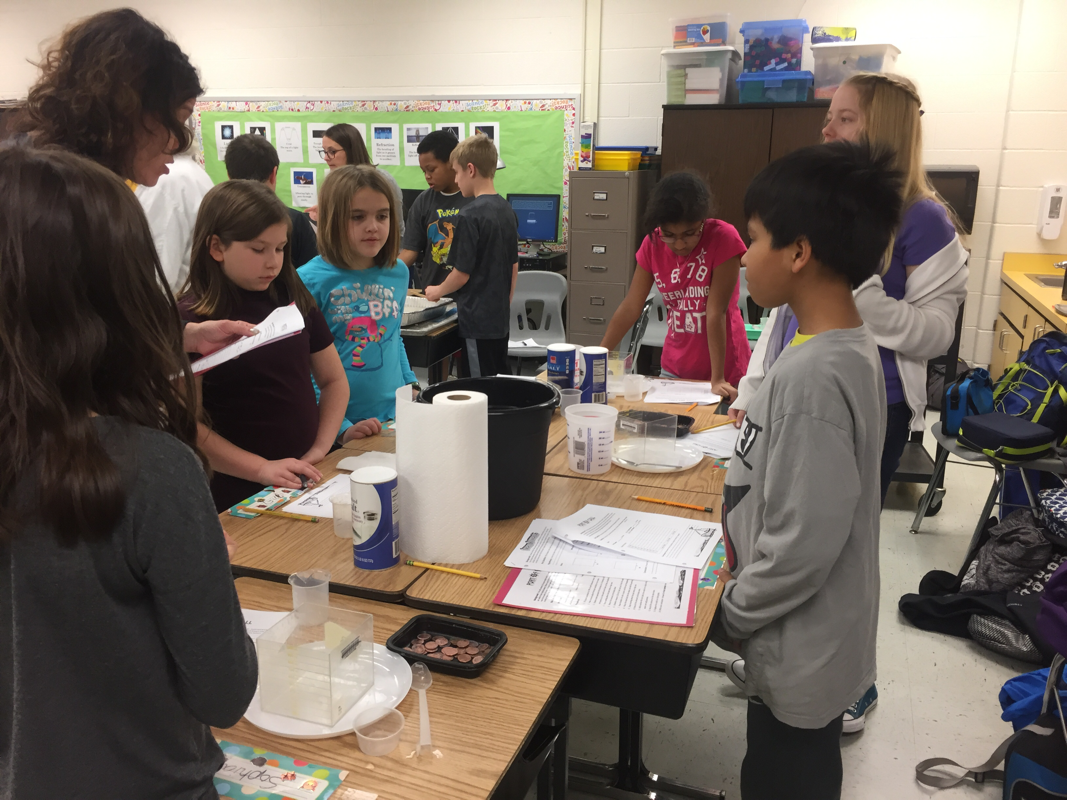
STEM Lab-1/13/17
Today was our oceans STEM lab and it was a huge success thanks to our wonderful volunteers! Thanks again for helping out! The kids got a preview of concepts about waves, currents, and salinity through hands-on activities- the best way to learn science! Here are some pictures.


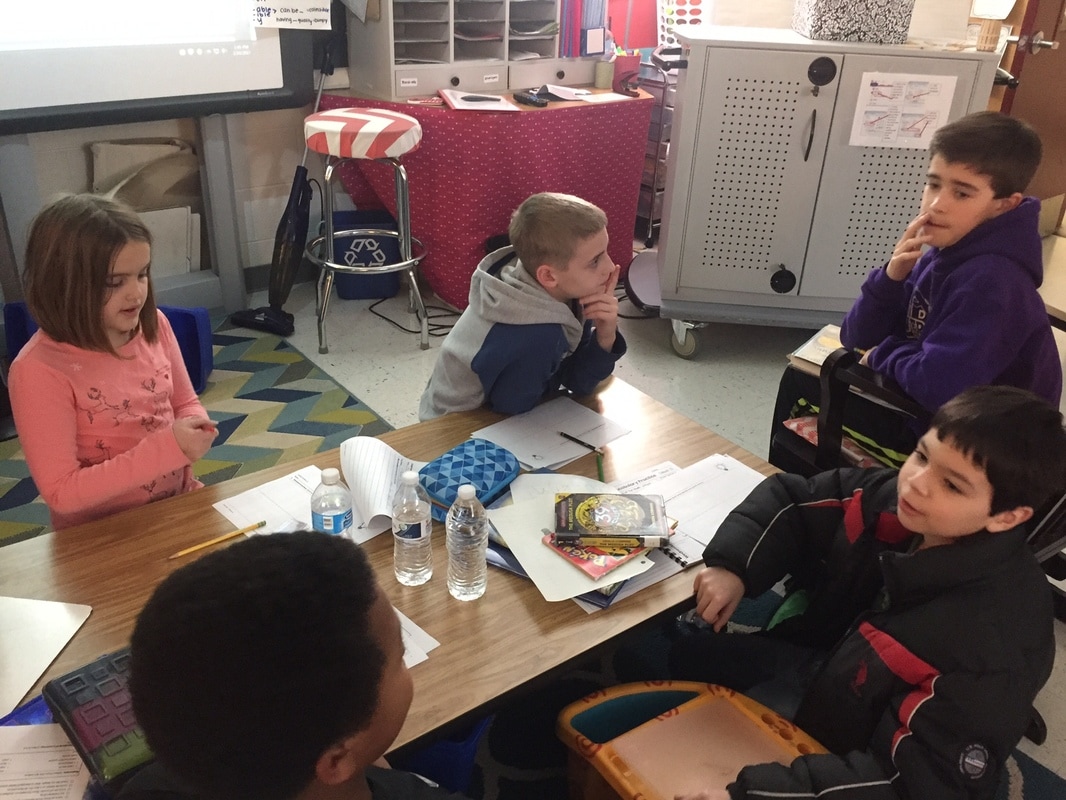
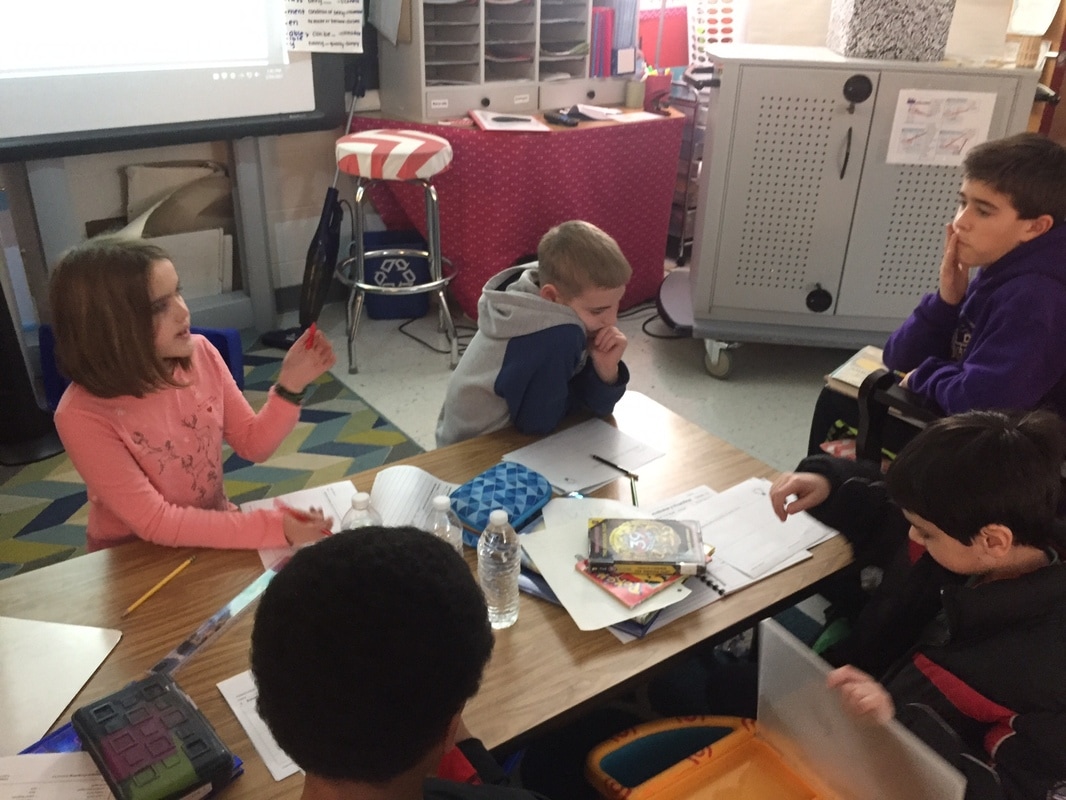
Book Clubs-1/13/17
The kids met in their nonfiction book clubs today and talked about their books. I heard some interesting conversations about the books. We also learned a few strategies to help us when nonfiction texts get difficult.
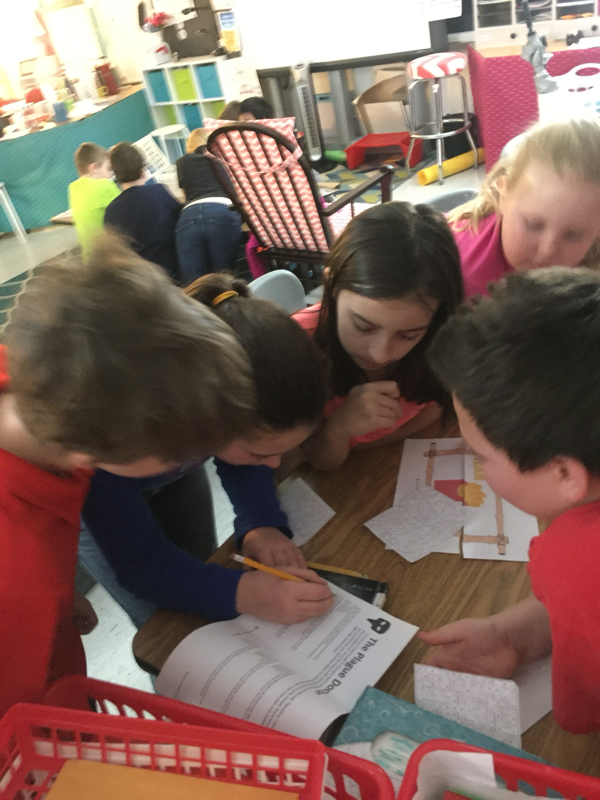
Classroom Escape-1/12/16
Today we did a "Room Escape" in math- the kids really seemed to enjoy it :) I discovered a few kinks we will have to work out for next time-the kids are really good at solving puzzles, and some figured out one without having to do the math ;) - but overall it was a lot of fun and great practice with adding and subtracting fractions. Here are some pictures and videos of our activity. The kids were asked to solve puzzles and do math to open two combination locks to get their clues. Then, those who were able to open the third lock beat the "Plague Doctor" who was holding them captive in math class :)

Book Clubs! 1/10/17
We started our new book clubs today and even had the head of the LCPS elementary English department stop by to see us in action :) After writing rules for their clubs, the kids got to work reading. I was so impressed by how into it they go so quickly- you could have heard a pin drop, which was about the only time it was like that all day ;)
Comparing and ordering decimals and fractions-12/16
Today after our field trip to the high school to "Meet the Band," we worked on our number sense by placing fractions and decimals in a number line. The kids used different strategies to compare and order the fractions and place them in a number line (drawing, using manipulative, comparing to landmark numbers such as 0, 1/2, and 1, comparing numerators and denomimator
relationships, etc.) . Here are some pictures of them doing this activity.
relationships, etc.) . Here are some pictures of them doing this activity.
Fraction-Decimal Equivalencies-12/13
After doing hands-on, concrete examples of fraction/decimal equivalents for conceptual understanding, we discussed how to convert between the two and made a foldable with landmark fractions.
Though the kids know how to divide to convert from fractions to decimals, it is much easier just to memorize the most common fraction/decimal equivalents for tests. To help the kids do this, we played a fly swatted game today on class.
To play the game, we rolled out a big game board with decimals written all over it. Two players would get giant flyswatters and then after I called out a fraction, the first to swat the devimal got a point. Best of three scored for their team. See pictures below!
Atom Models-12/13
Today we talked more in depth about atoms and what the are made of. We learned that an element's atomic number (listed on the periodic table of the elements) is the number of protons in its nucleus. We also discussed that there are the same number of electrons buzzing around the outside is the nucleus, which have a negative charge. This helps to balance out the atom's protons which have a positive charge, thus making the atom neutral. We also learned that the nucleus also has neutrons that donnit have any charge.
Out models were not exact- the majority of an atom is just empty space! In fact, to show the scale, if you were to place a grape on the field in the center of a professional football stadium, the electrons would be the size and distance of a grain of sand in the last rows of seats in the stadium! There is that much empty space in an atom!
Here are some pictures of our atoms-in-the-making!
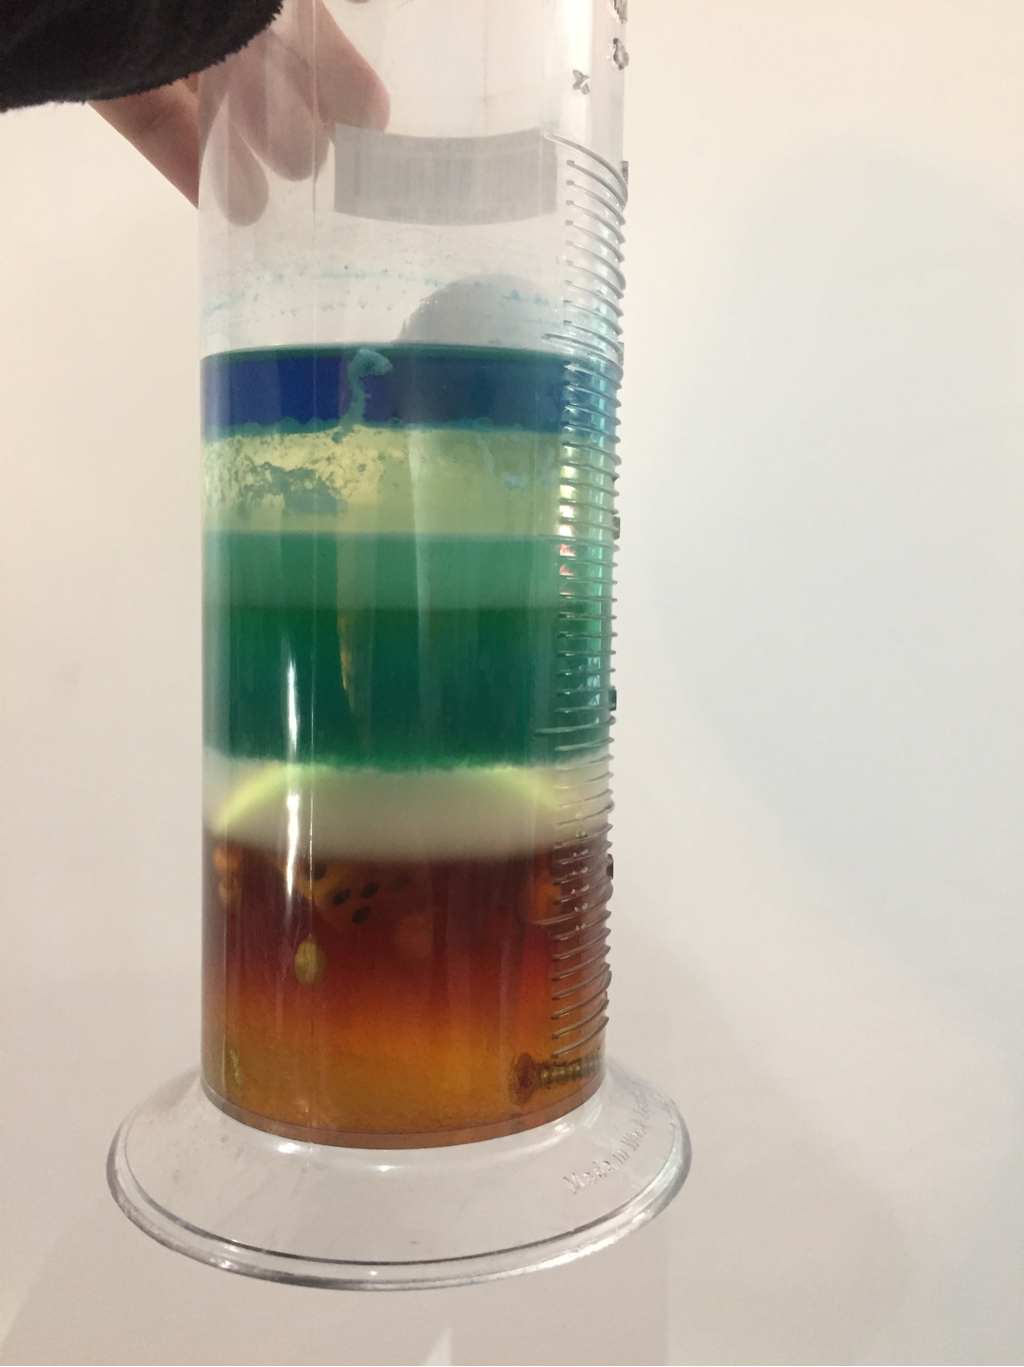
Density Tower
On Thursday, we made a density tower to explore what density means. We layered various liquids according to density and saw how the liquids sat on top of each other. We then put several objects in the liquids and saw how they "rested" in different layers depending on each item's density. You can see popcorn kernels, a screw, a die, and ping pong ball. We also put paper clips in. We then talked about density meaning how much "stuff" or matter is packed into an object. Some liquids have a lot more matter packed into a given volume/space than others which makes them heavier and sink toward the bottom.
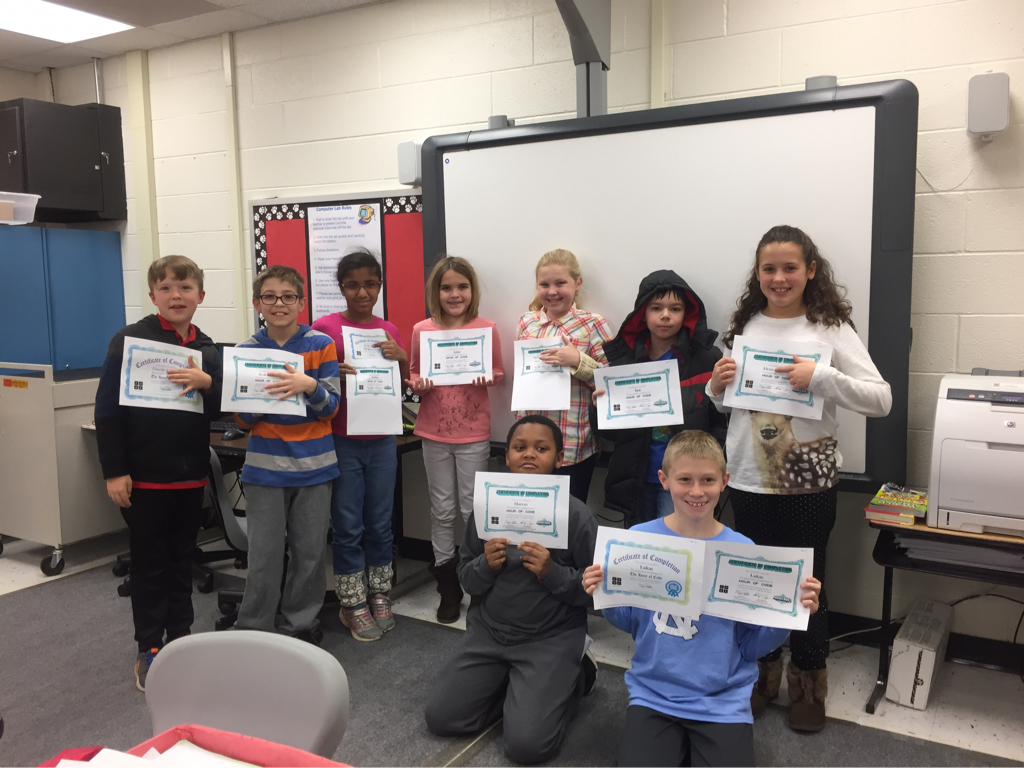
Hour of Code-12/9
We participated in the hour of code and several students got certificates :)
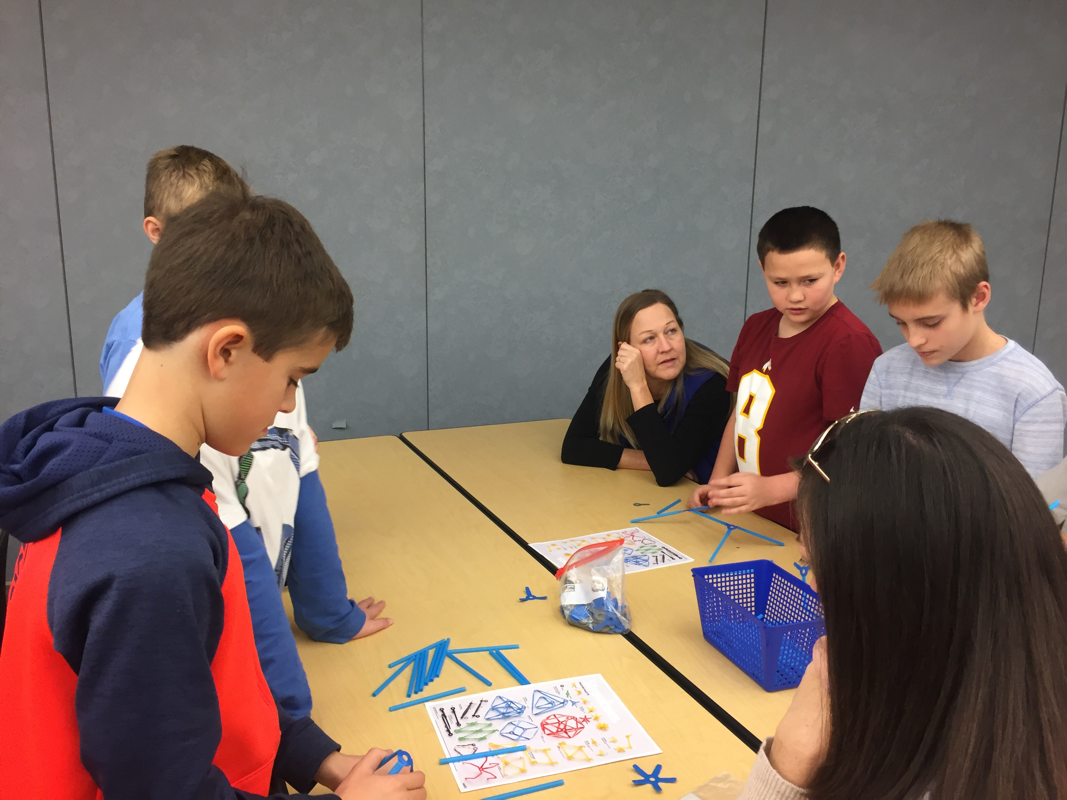
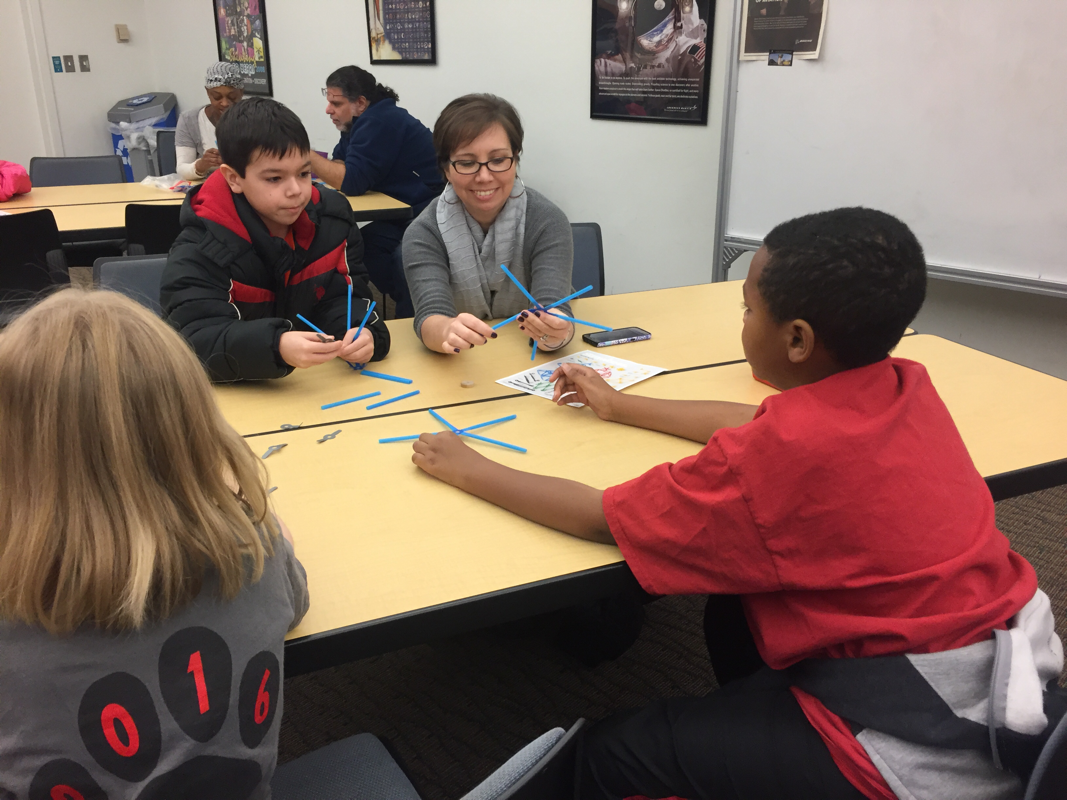
Lego Molecules- 12/8
Today in science we learned more about atoms by playing with Legos!
First, we took one Lego and called it a hydrogen atom. We talked about how an atom is like a single Lego block- it is the smallest part of any matter that can exist alone. We talked about how one atom is also an element because it is the pure form of something with no other types of atoms present. An element is something that is made entirely of one type of atom.
First, we took one Lego and called it a hydrogen atom. We talked about how an atom is like a single Lego block- it is the smallest part of any matter that can exist alone. We talked about how one atom is also an element because it is the pure form of something with no other types of atoms present. An element is something that is made entirely of one type of atom.
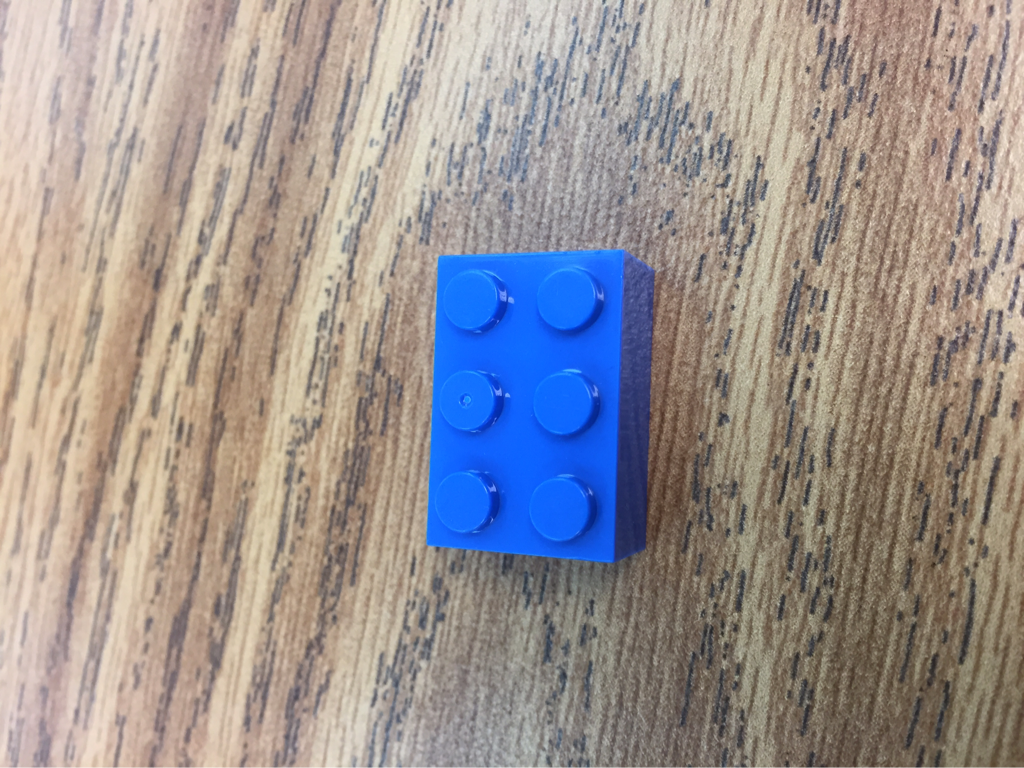
We then took a second identical Lego and "fused" it to the first one. We discussed how this is a molecule of an element because a molecule has two or more atoms chemically fused together. It is still an element because it is pure hydrogen with no other types of atoms attached to it.
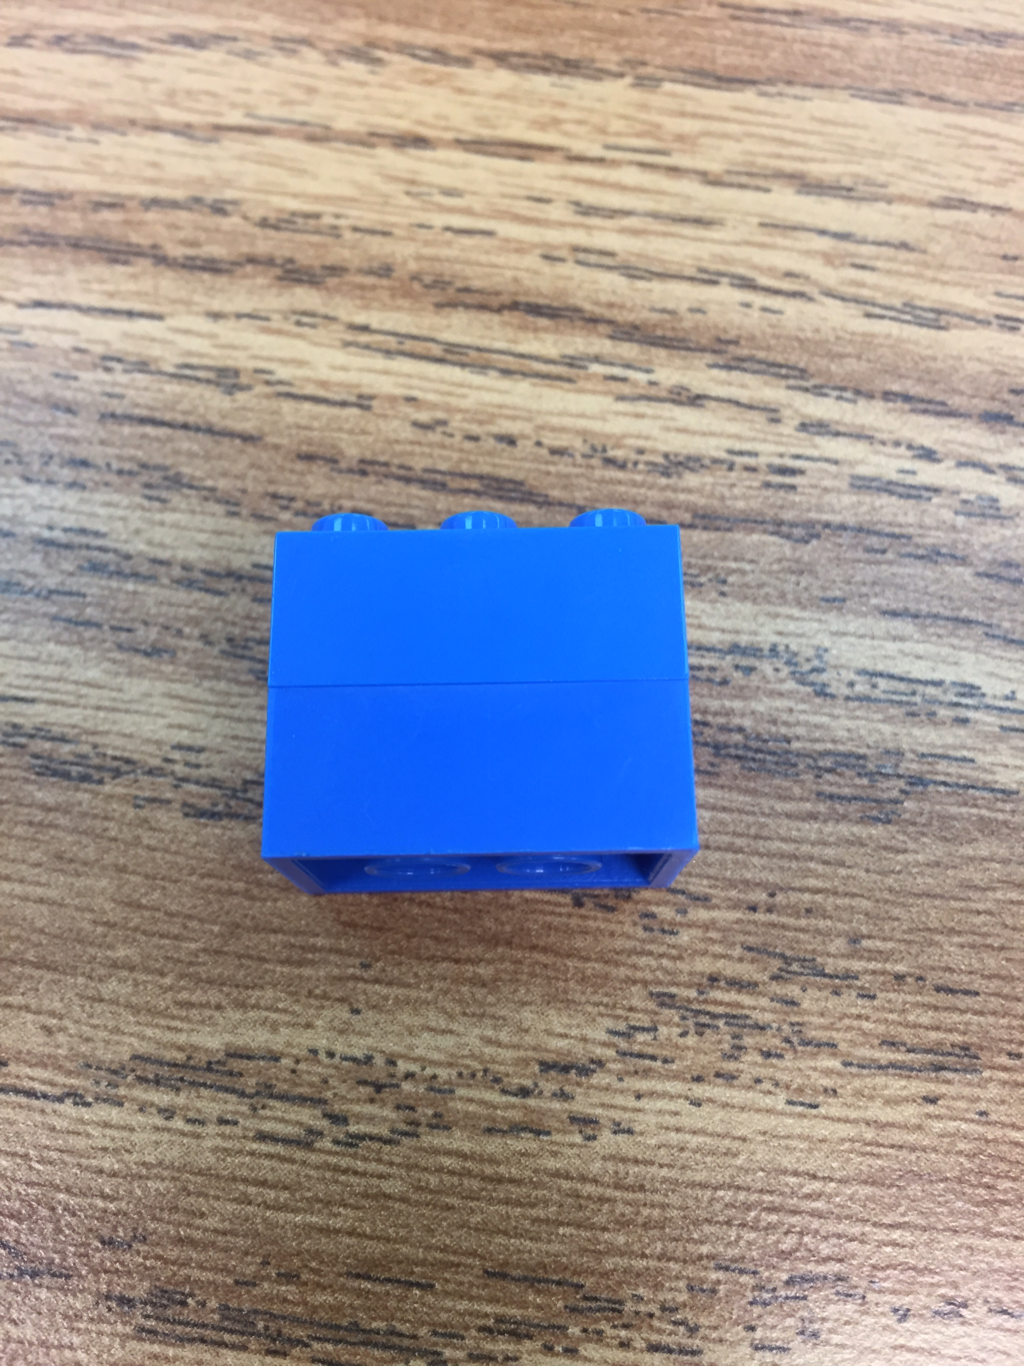
After making a hydrogen molecule, we found a different-colored Lego. We called this single atom oxygen.
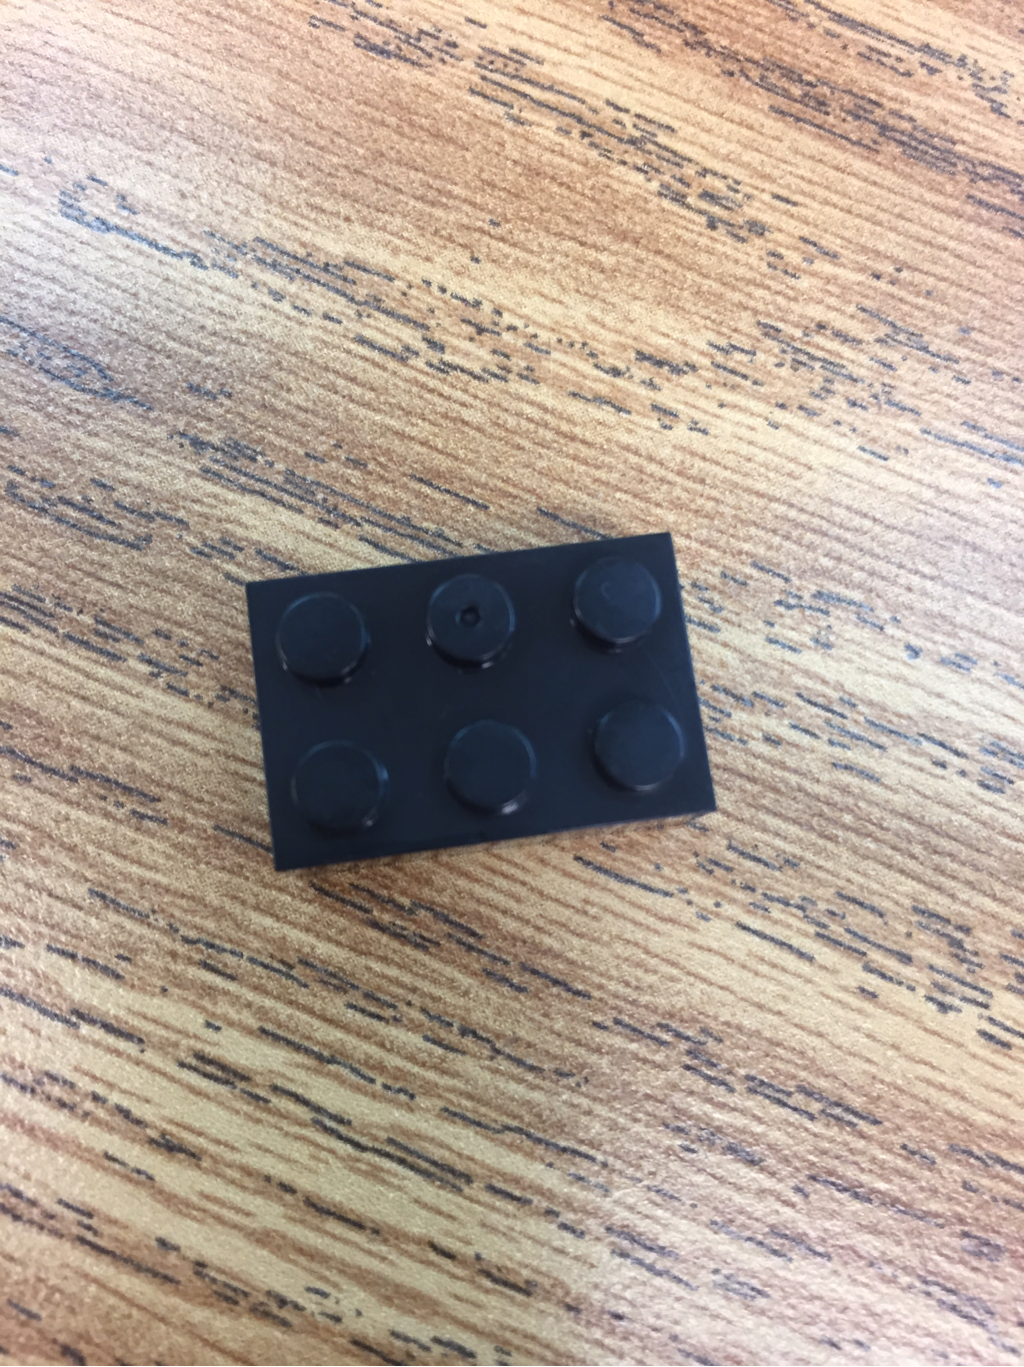
We then took the "oxygen atom" Lego and attached it to the 2 hydrogen atoms. The kids discovered they'd built a water molecule- 2 atoms of hydrogen and 1 atom of oxygen.
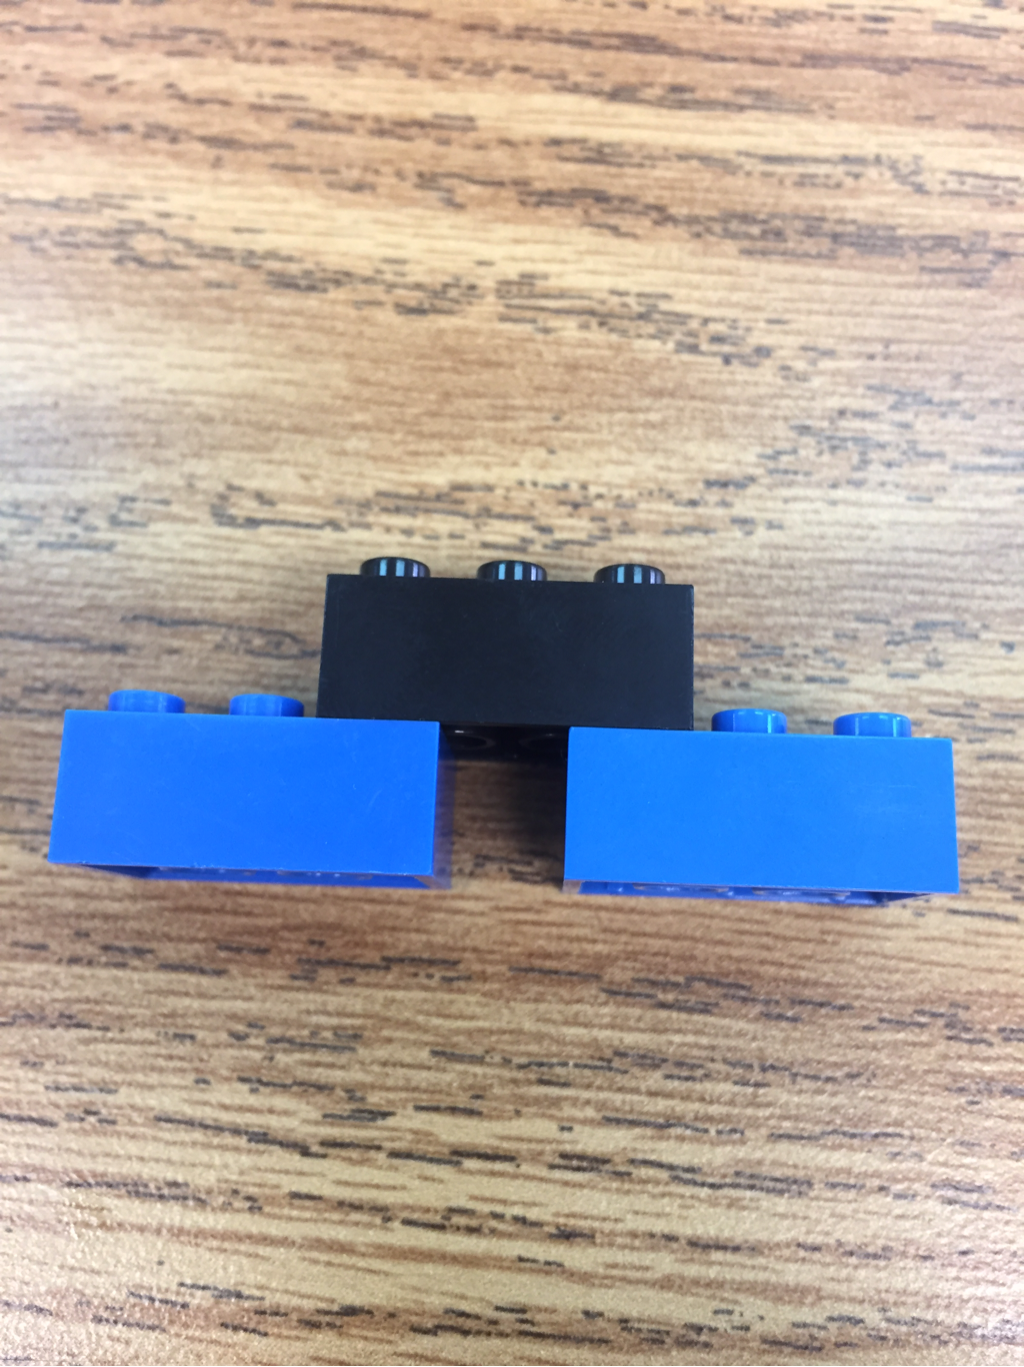
We discussed how this is a compound because it is composed of two or more atoms from different elements. It is also a molecule because molecules are when any two or more atoms are fused together (atoms of the same or a different type of element).
So, compounds are 2 or more atoms joined together and comprised of two or more elements.
Molecules are when any two or more atoms join together, they can be atoms of the same or different elements.
So, compounds are 2 or more atoms joined together and comprised of two or more elements.
Molecules are when any two or more atoms join together, they can be atoms of the same or different elements.
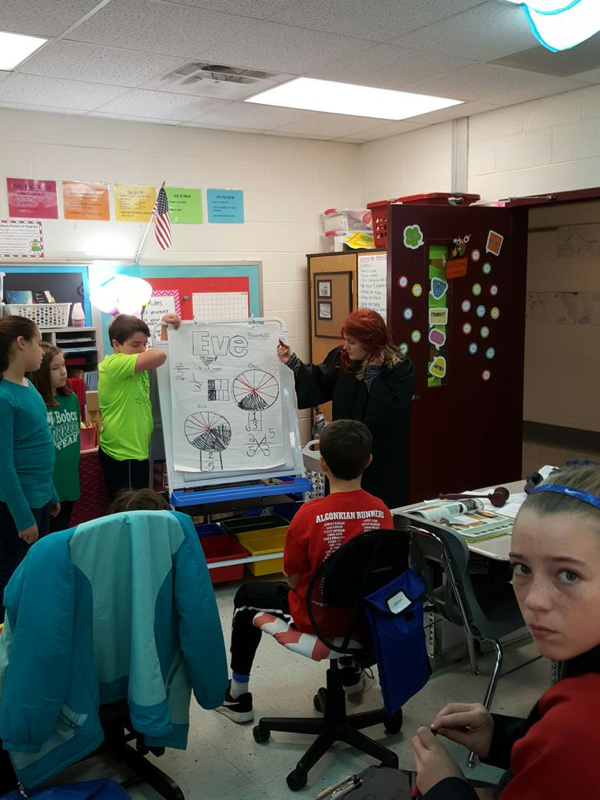
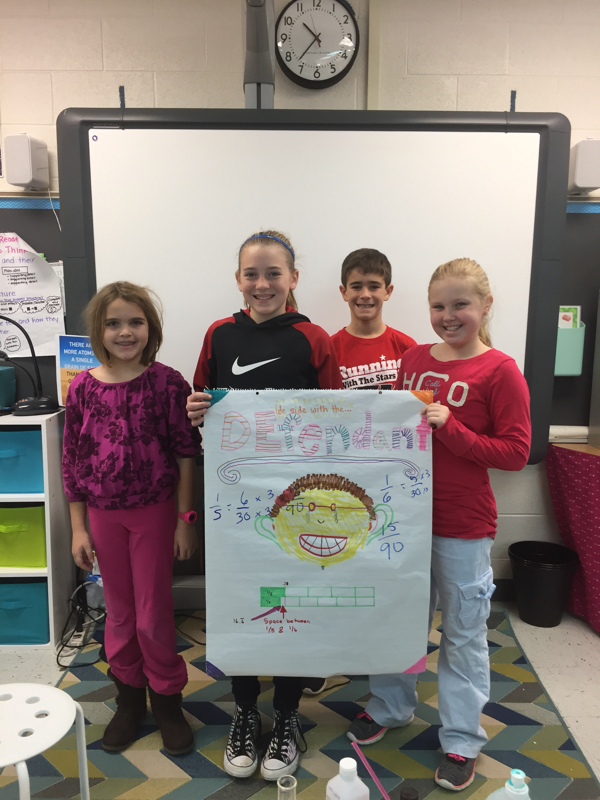
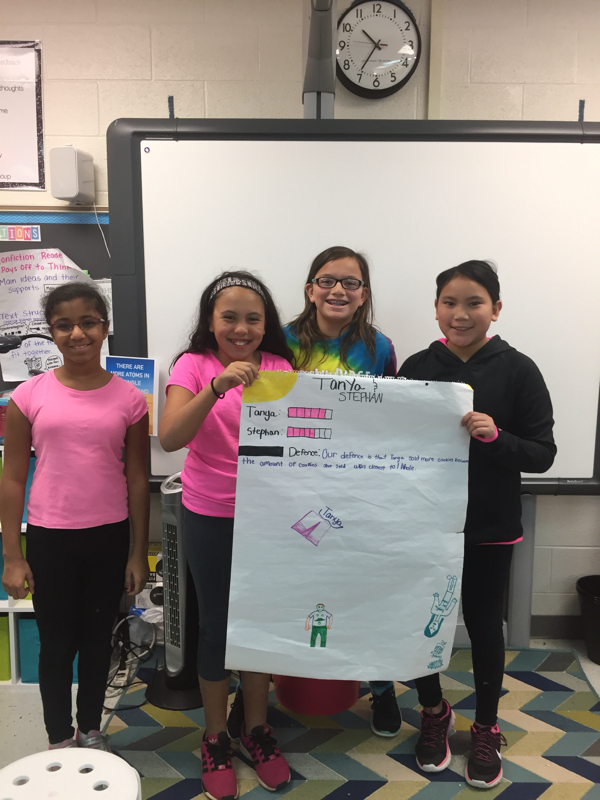
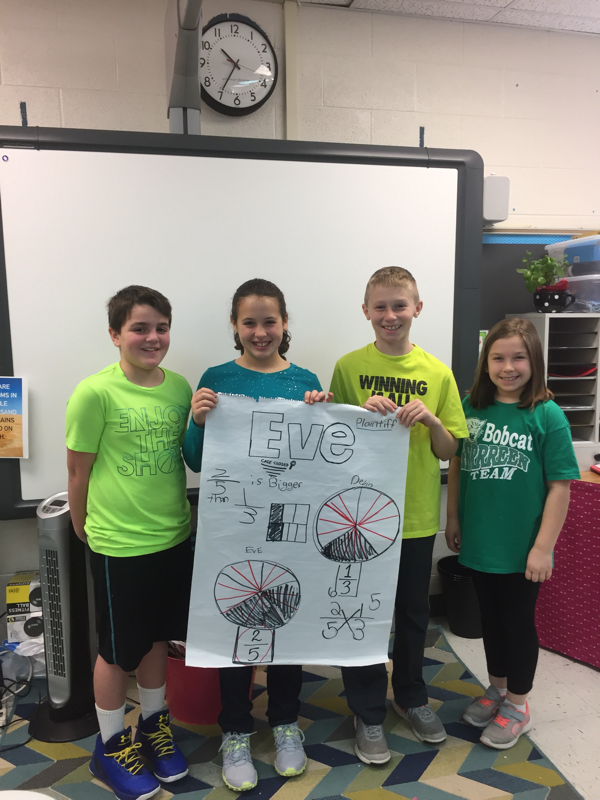
Fractions Court- 12/8
Today students were given a math court case scenario and had to choose to represent either the plaintiff or the defendant depending on who they thought was correct. The teams of "lawyers" then presented their cases to a jury of their own peers and the honorable Judge Wippich ;) The kids did a great job with this.

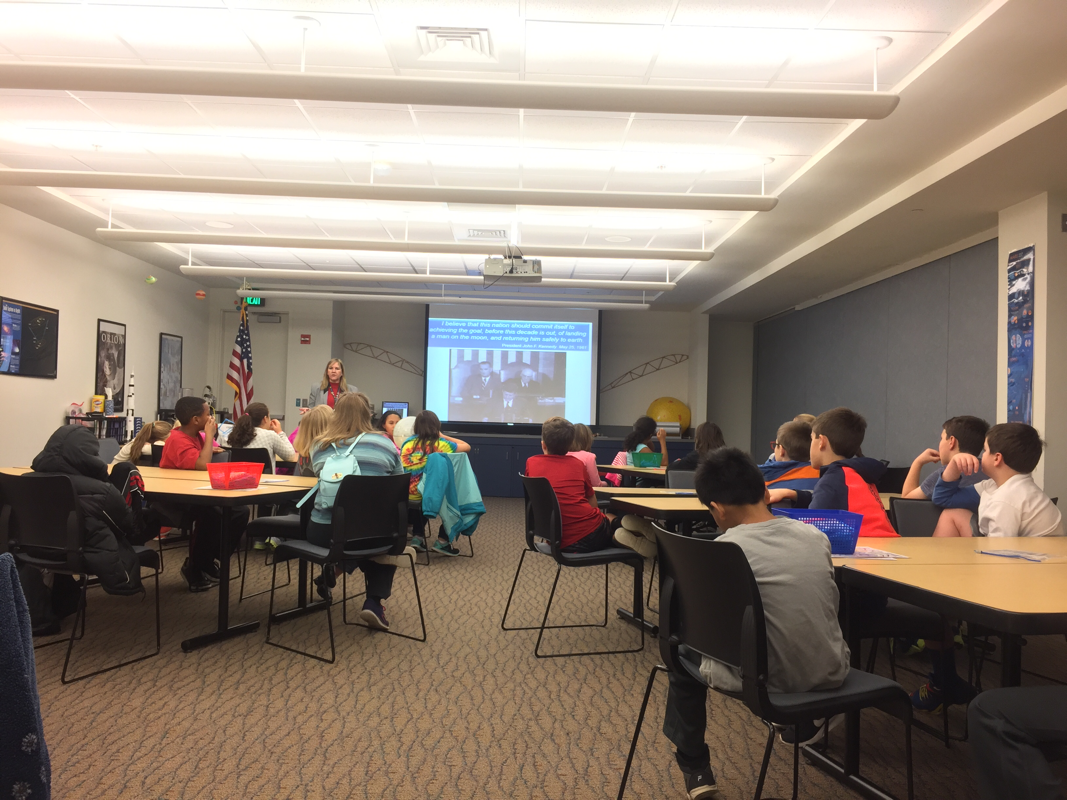
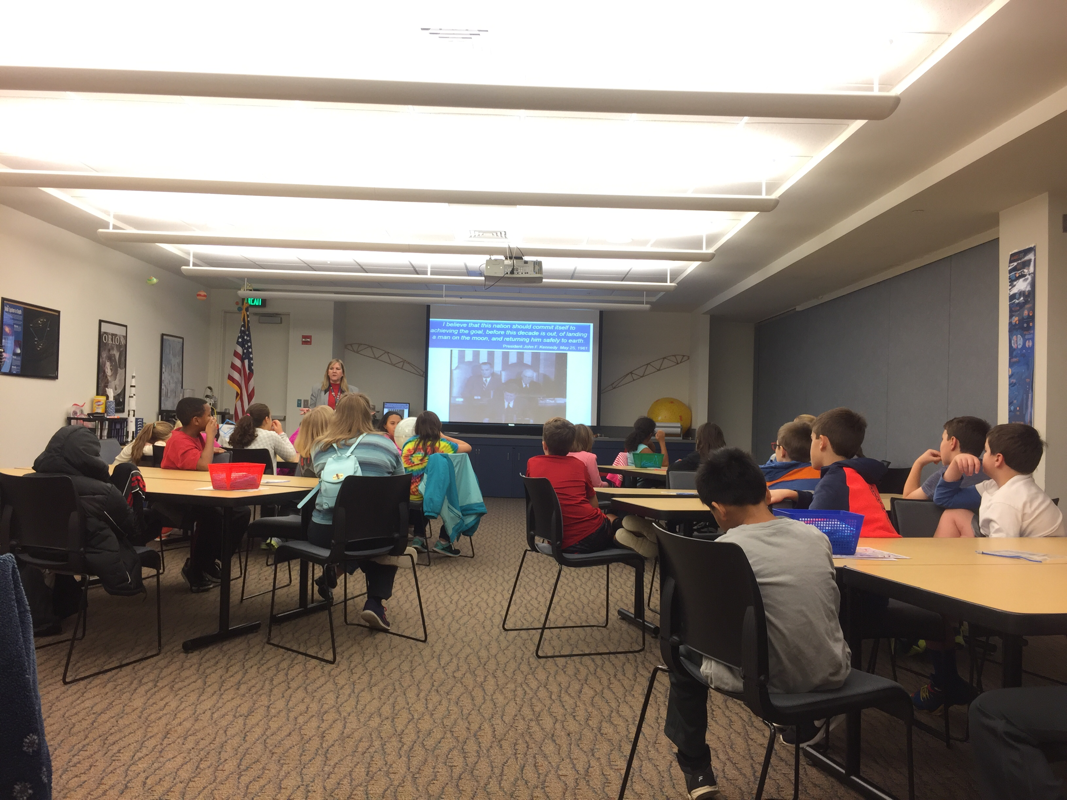
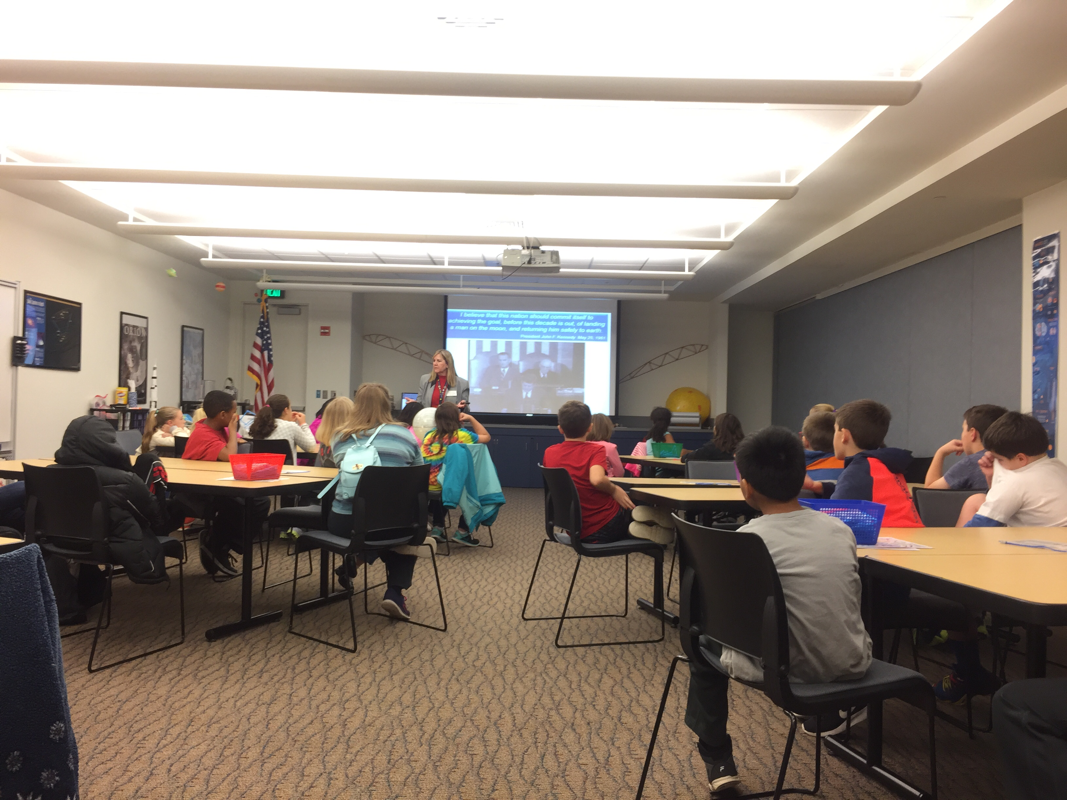
How much would we weigh on other planets? Matter and Math!
In class today, we combined math and science since the two are so closely related and calculated what our weights would be on other planets. Through a read aloud on gravity, we learned that gravity is the pull of two objects toward one another. When we stand on Earth, our bodies are being pulled toward the center of the planet (so we don't fly off into space).
We then talked about the difference between mass and weight. Mass is the amount of matter (or "stuff") inside something and weight is the result of gravity pulling on the mass.
For example, if the students were to go to the moon, they'd still have the same mass, or stuff that is in them. However, they'd weigh a lot less because the gravity on the moon is about 1/6 of the Earth's. So if the student weighs 60 pounds on Earth, they'd weight about 10 on the moon. Does that mean they don't still have the same organs, bones, etc. (mass)? No! It just means that the effect of gravity on our masses is less on the moon than on Earth.
So what determines the amount of gravitation pull of the planets? Their mass. The greater an object's mass, the greater its gravity will be. Our solar system's largest planet, Jupiter, has gravity that is 2.5 times that of our planet's! So, the same 60 pound student would weigh 150 pounds on Jupiter!
Gravity is the reason the planets orbit the sun, and why our moon orbits Earth. Because of how massive the sun is, its gravity pulls all of the planets toward it.
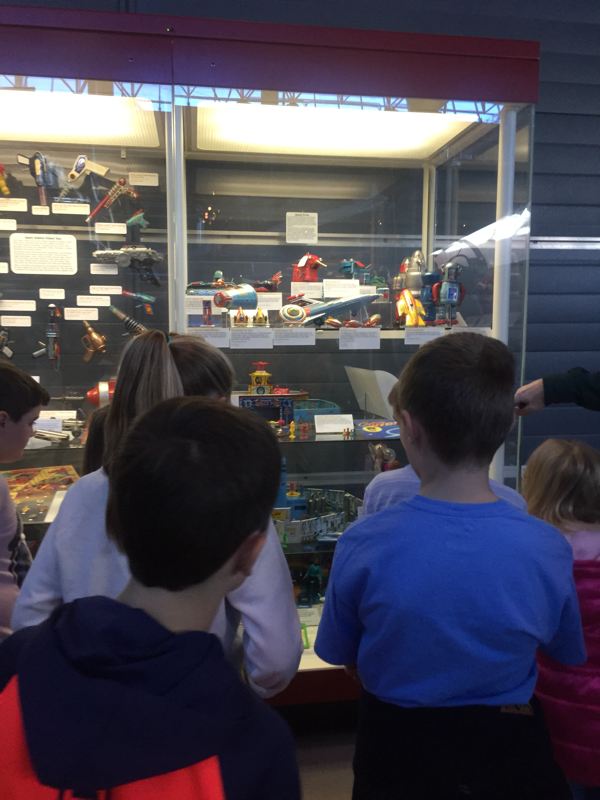
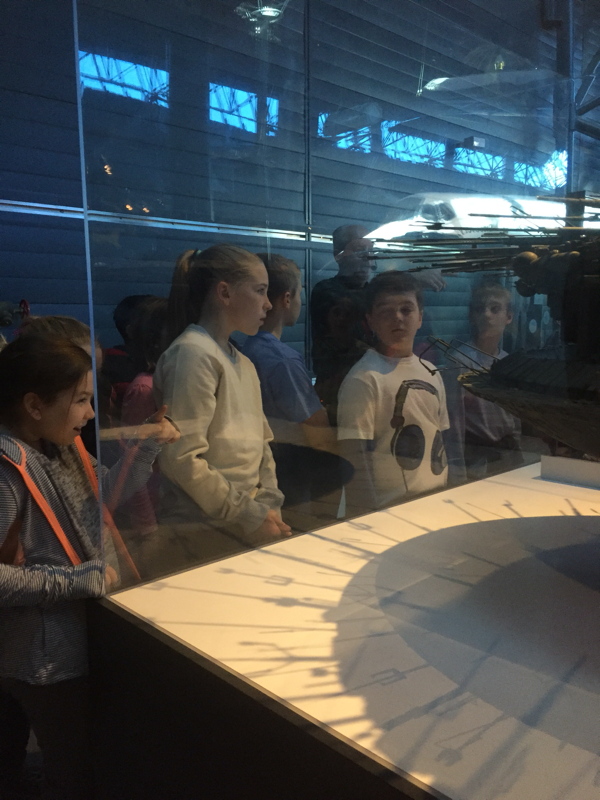
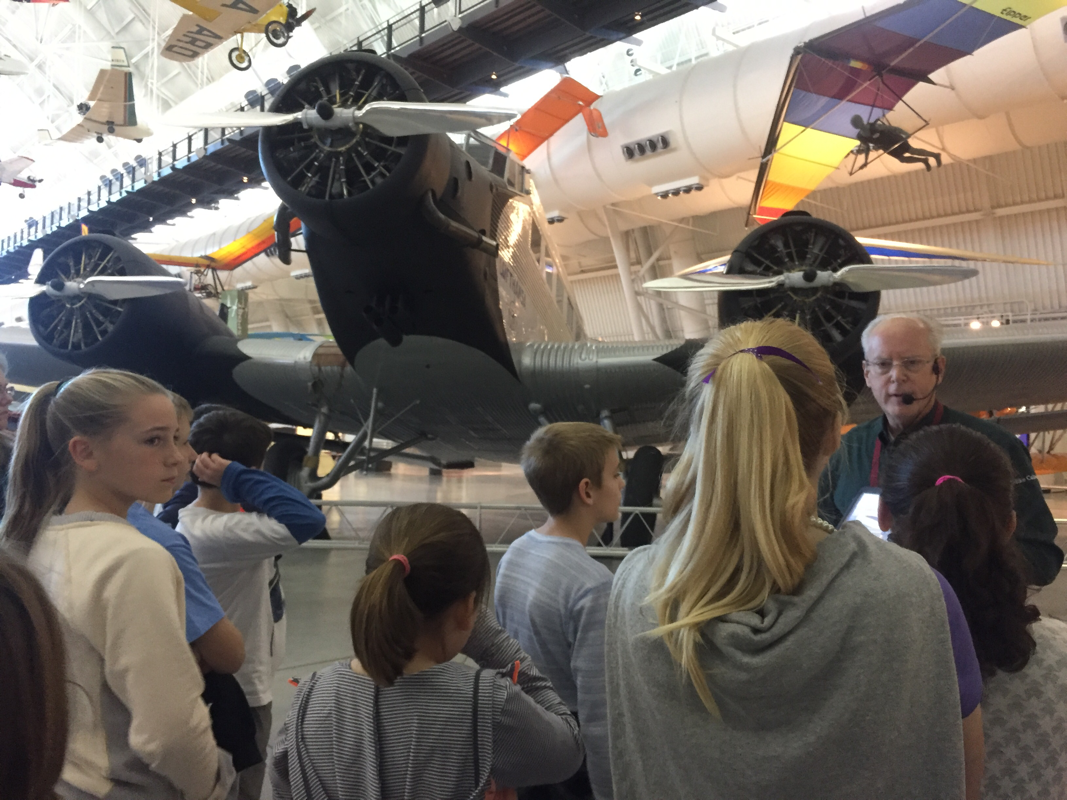
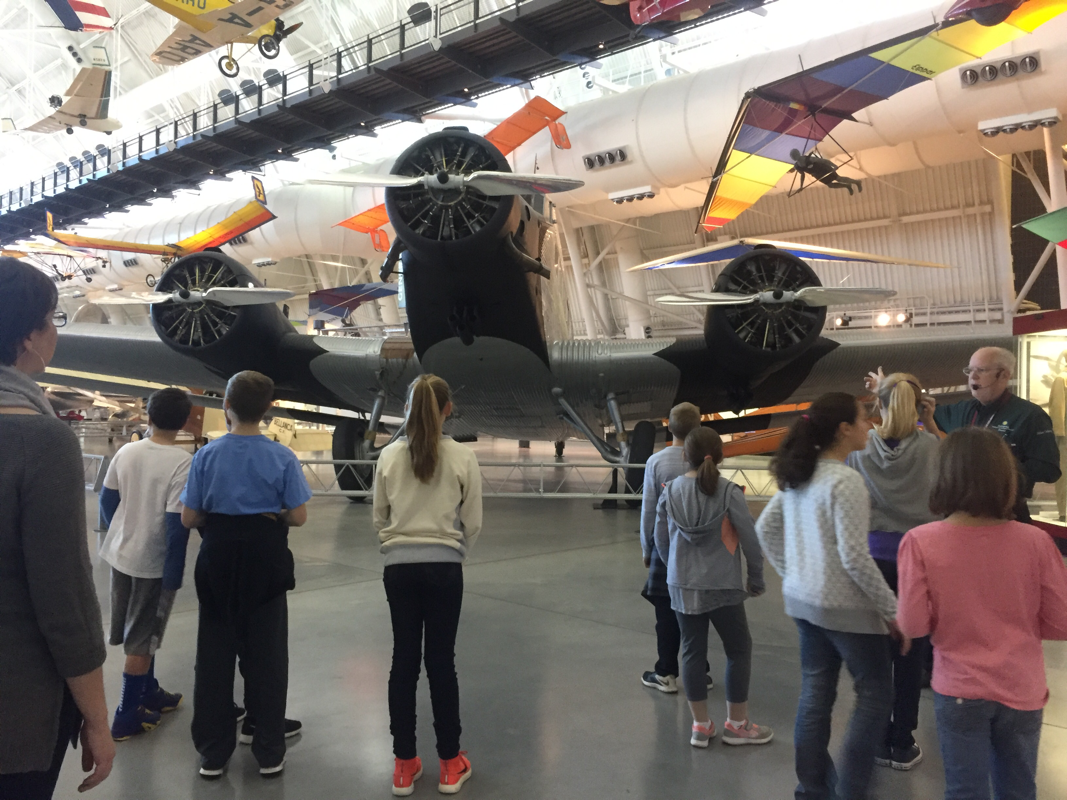
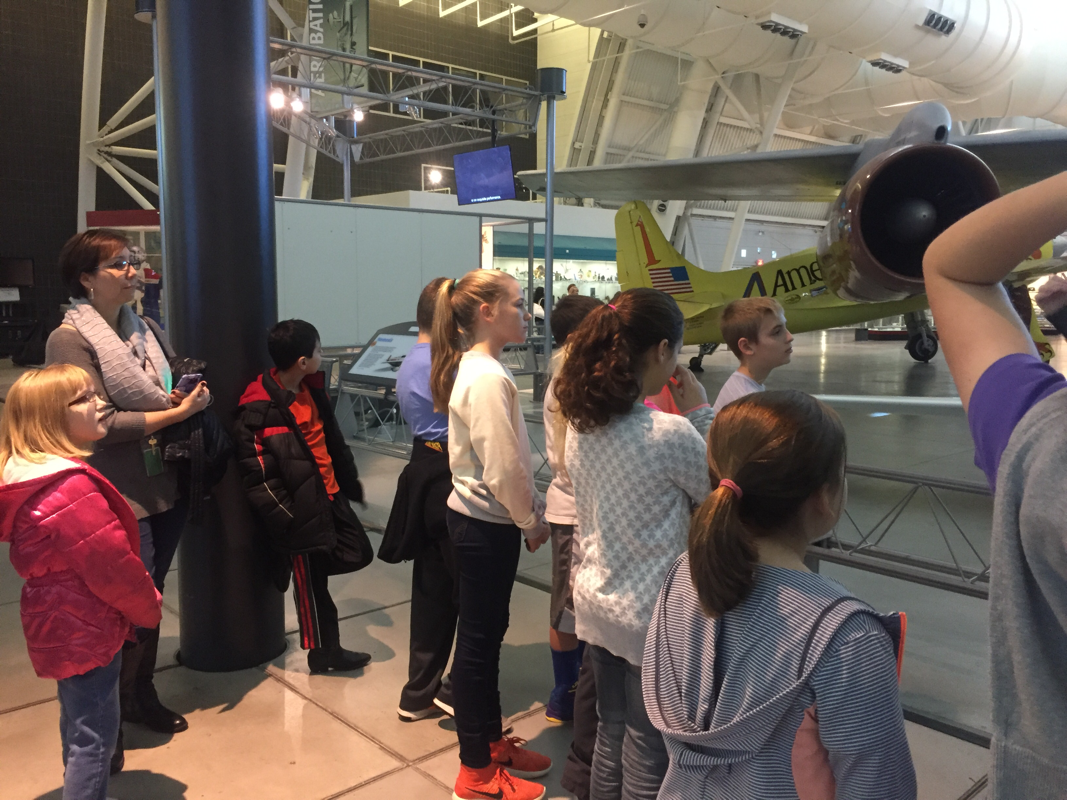
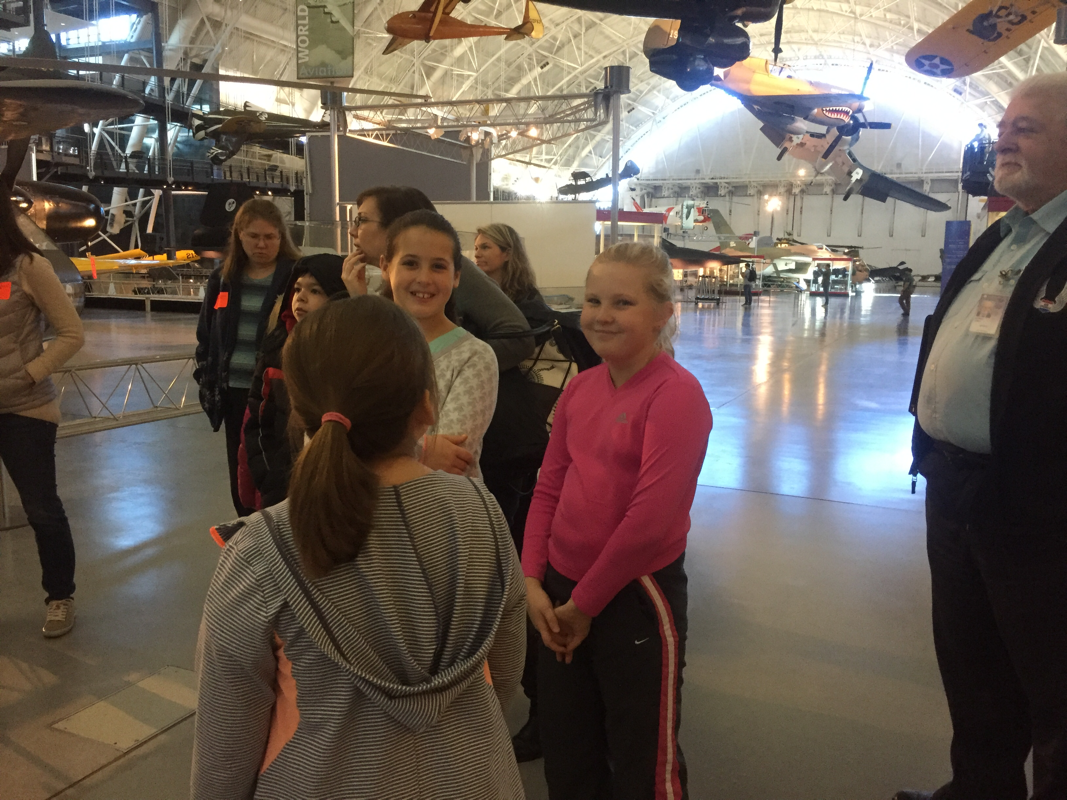
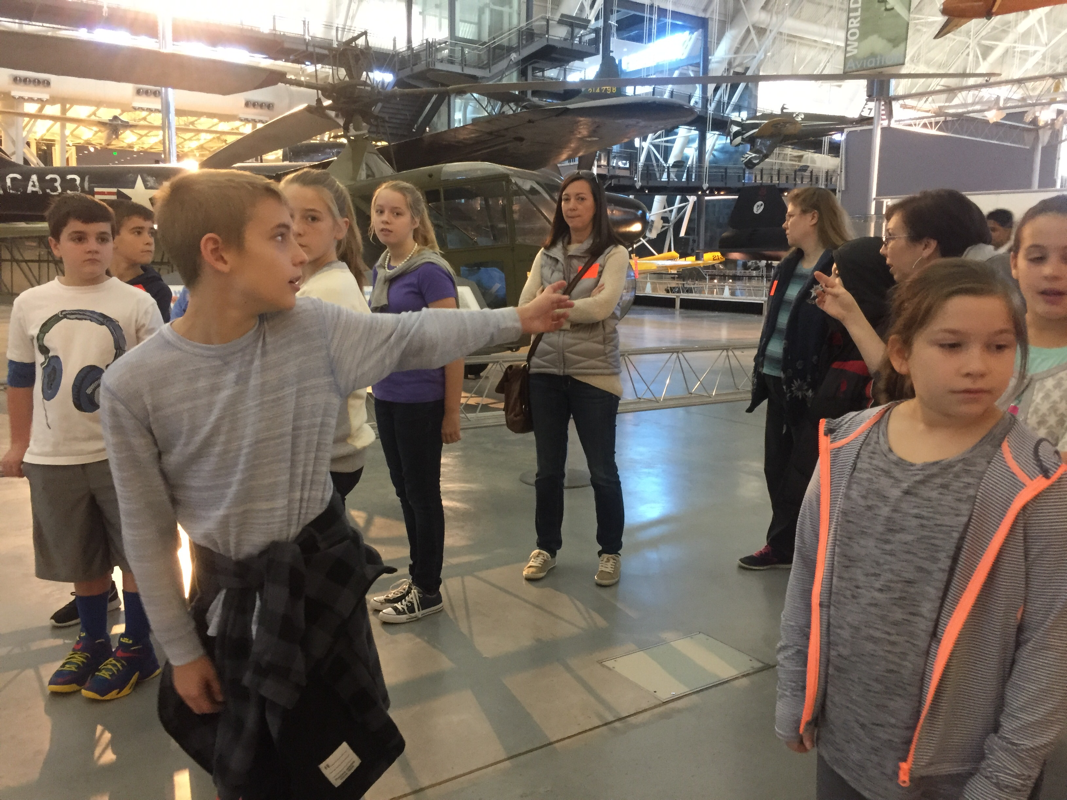
Udvar-Hazy Field Trip
Here are some highlights from our field trip yesterday!


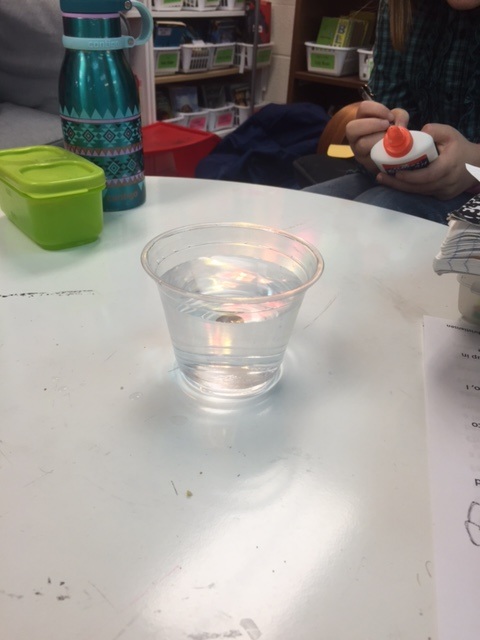
Refraction Activity
Before studying for our vocabulary test, we did a little activity to learn more about refraction. I gave all of the students a clear cup with water in it.
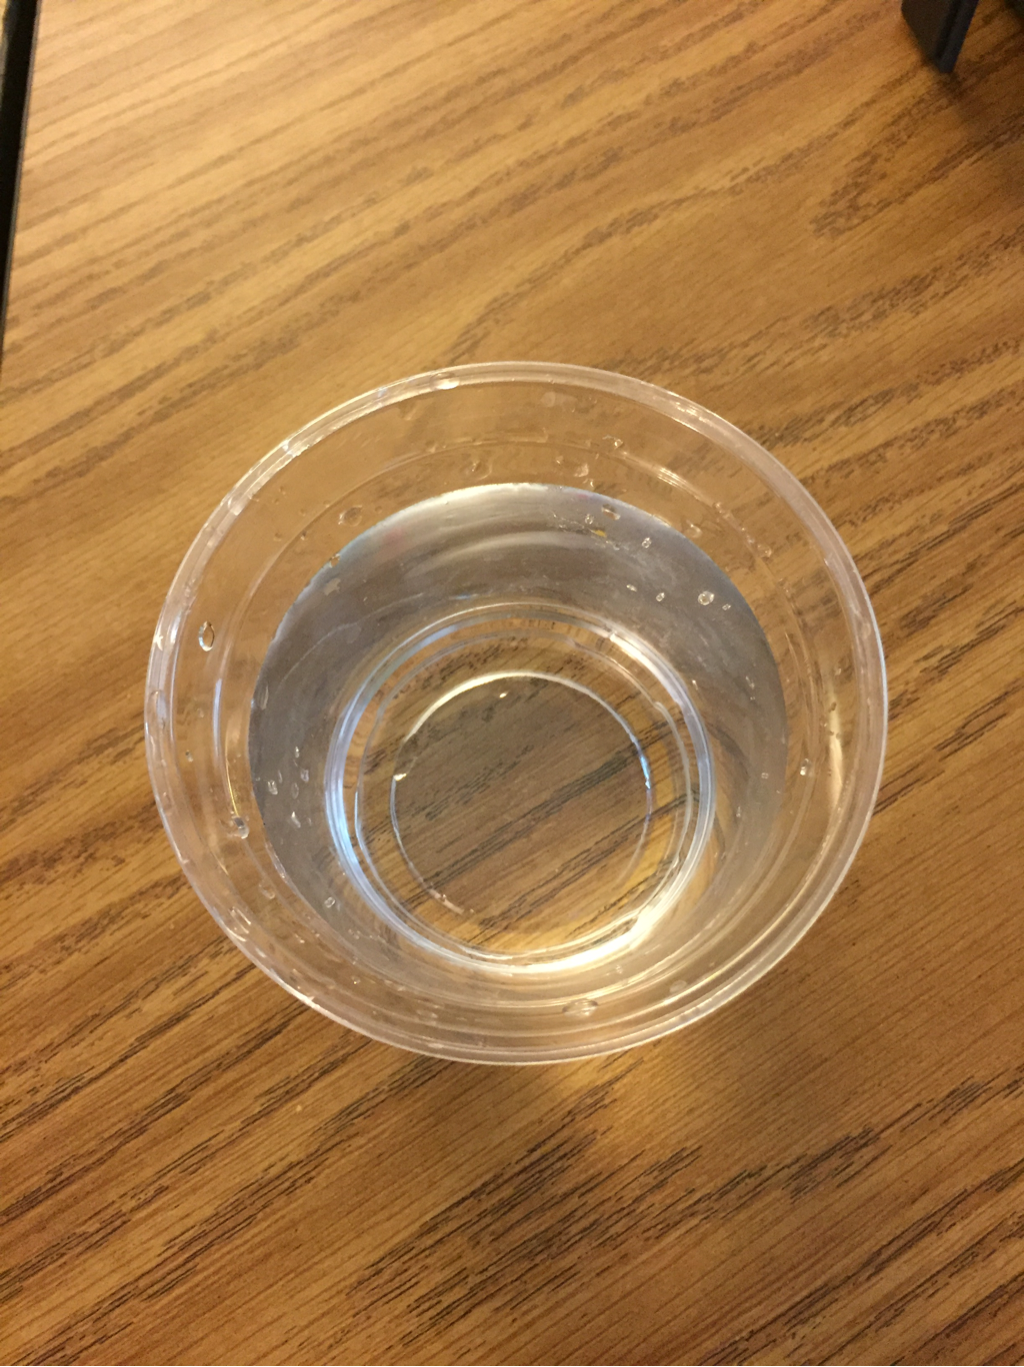
I then had the students put their fingers in the water. The kids were expecting me to have them look at their fingers through the side of the cup but soon they were all in shock-though not to the point of being speechless ;) As they put their hands into what appeared to be a cup filled with plain water, they felt something that felt like little marbles.
After a lot of excitement and chatter, we discussed why we could see the little "water crystals" when they were in our hands/outside of the water and not when they were inside the cup.
I showed the kids that the crystals originally were super tiny- the size of small beads, and explained that they had become larger after being submerged in water overnight. When I first placed the tiny beads in the water, they could be seen easily but became "invisible" over time as they absorbed water.
We then talked again about how light bends (refracts) when it enters a new medium, like water. Since light waves slow down when they leave the air and enter water, the index of refraction is different in the two mediums. In simpler terms- the light bends when it enters the new medium. The light entering the beads travelled almost identically (had the same index of refraction) to how it travels in water because the beads are 99% water.
When removed from the water, the rays of light refract off of the crystals and make the crystals visible.
Book Buzzes! 11/16
I am so incredibly proud of how hard the kids worked on their projects the past couple of weeks. The results were so impressive! Thank you to those parents who were able to make it today and stayed for all of the kids' presentations- that meant a lot to them! Here are some pictures of the event. To view the videos, please click on the One to the World page on this website.
Refraction-11/15
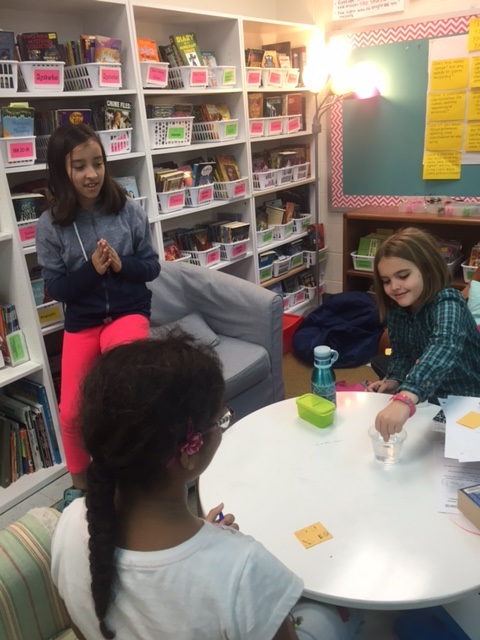
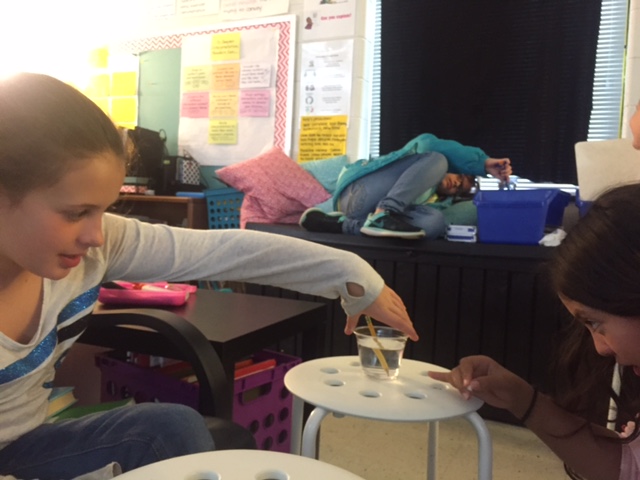
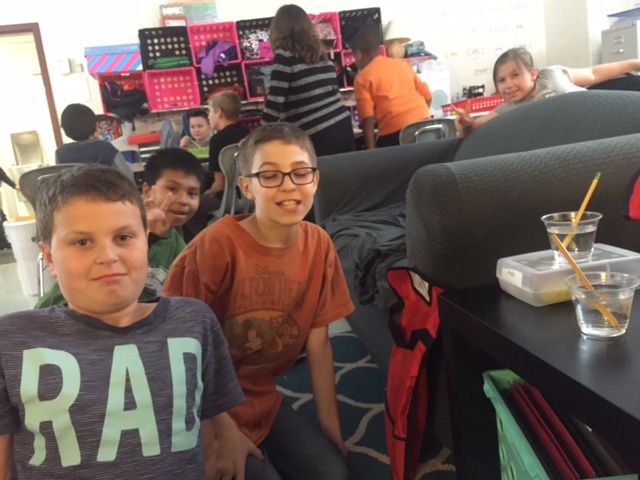
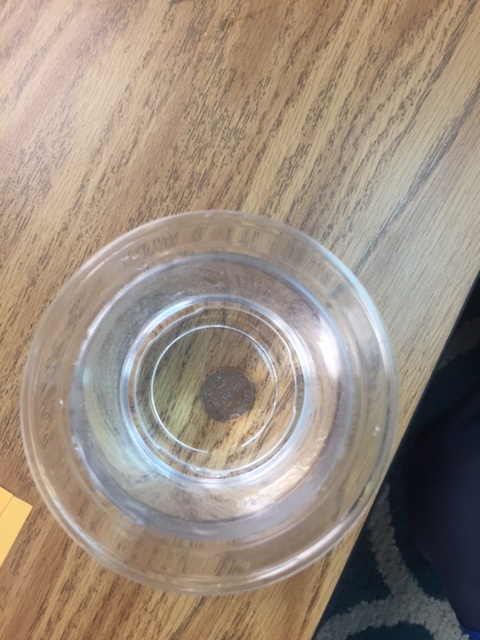
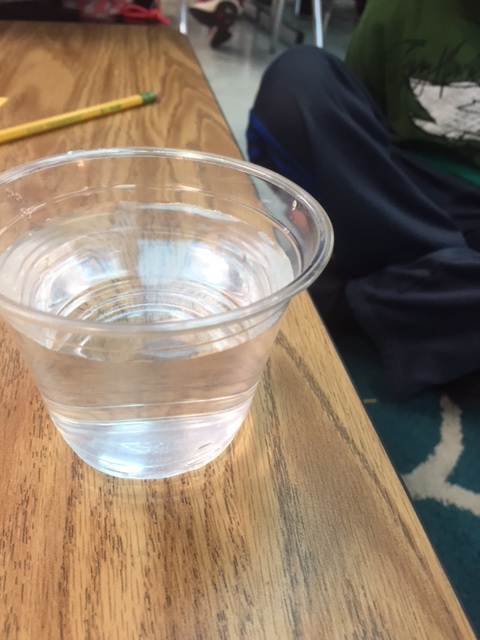
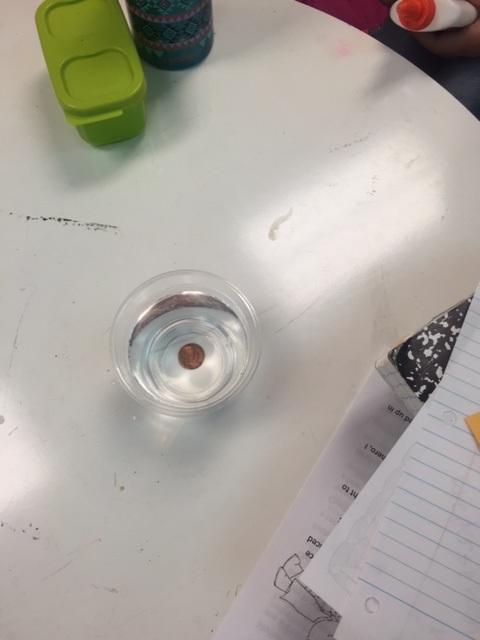
On Tuesday, the kids worked with the concept of refraction, which is the bending of light. They put a pencil in a cup of water and then observed it from the side. The pencil appeared broken! We learned that this happens because light travels at a slower speed when it goes through a denser medium. As a result, when the light enters the water, it bends away from its original path, and this makes the pencil look bent. We also made pennies disappear! To do this we put the pennies in or under our cups of water and then looked at it from the side- we could no longer see our pennies! Much like the "broken" pencil, the light bent (due to refraction) and made the penny look like it had disappeared. Steve Spangler Science's website explains this really well- "When you poured water into the glass, it was as though the penny had disappeared, but it was really just some bending light rays. After traveling through the water and the side of the glass, none of the rays were able to reach your eyes. Refraction occurs because of the molecules in the substance that the light rays are passing through. Gas molecules are spread out. This is why little to no refraction occurs. However, when light rays pass through a substance such as water, the refraction is greater because the molecules are closer together."

Getting Ready for AEW! 11/11
After the wonderful Veteran's Day assembly, we spent some time practicing our presentations that the kids will be doing next week for you (Wednesday, 11/16 at 1:15pm). The kids gave their presentations, then took compliments and suggestions from their peers. I am so proud of how hard the kids have been working on their projects!
White Light and Color Wavelengths-11/9
Today we did a few different activities to learn about light.
First, we reviewed how black is the result of all color wavelengths being absorbed. Instead of reflecting a color back at us, it absorbs all of the colors like a sponge absorbs water. Then, we reviewed that white light is the result of all colors being reflected back at us- NO colors are absorbed.
To model this, we took color wheels and spun them so fast, the colors seemed to blend together until all we saw was white (or tan, depending on how fast or slow the wheel spun). Here are some videos of this-sorry in advance for my annoying excitement ;)
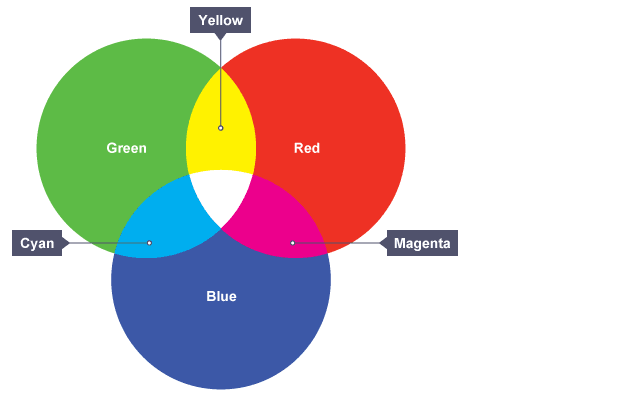
After this activity, we learned that the three primary colors in light science are red, blue, and GREEN (not yellow, like in art!). We covered flashlights with red, blue, and green filters and then saw what colors they made when mixed. The kids were shocked to find out that when red and green light mix, it makes yellow!
After that, we learned did an "exercise" to compare our heartbeats to each color's frequency.
First, we reviewed that frequency is the number of total waves that pass a specific point each second. We learned how to find our pulse and then, after resting for a short time, took our pulse for 15 seconds to count our heartbeats.
After that, we hypothesized what would happen to our heartbeats if we did jumping jacks for 30 seconds before taking our pulse. Students formulated hypotheses using the If...then... format we've discussed. They hypothesized that "If we do jumping jacks for 30 seconds, then the number of heartbeats per 15 seconds will increase (from our resting heartbeat count)." So, of course, we had to test it :) See below:
Students took their pulses after 30 seconds of jumping jacks and confirmed their hypothesis was correct- the number of heartbeats had increased.
We then did activities for 1 minute and took our pulses (see below). They found that the more activity they did, the higher their pulses got.
We then did activities for 1 minute and took our pulses (see below). They found that the more activity they did, the higher their pulses got.
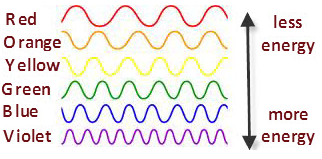
We compared our resting heartbeats to the color red's frequency. Our Resting heartbeats had the lowest frequency in 15 seconds, just like red's frequency is the lowest of the colors in ROY G BV.
Resting = Red
We compared our heartbeats after our lengthy exercises, when we had the most heartbeats (or a high frequency), to the color blue's frequency. We decided that when we were breathless, our heartbeats had a high frequency like blue.
Breathless = Blue
Then, we talked about how Violet has an even higher frequency than blue, so our hearts might be beating Violently in our chests- admittedly a bit of a stretch ;) See the image below to see the difference in frequencies.
Red has less energy (just like we are using less energy when we are resting), and violet has more energy (like us when we are exercising!).
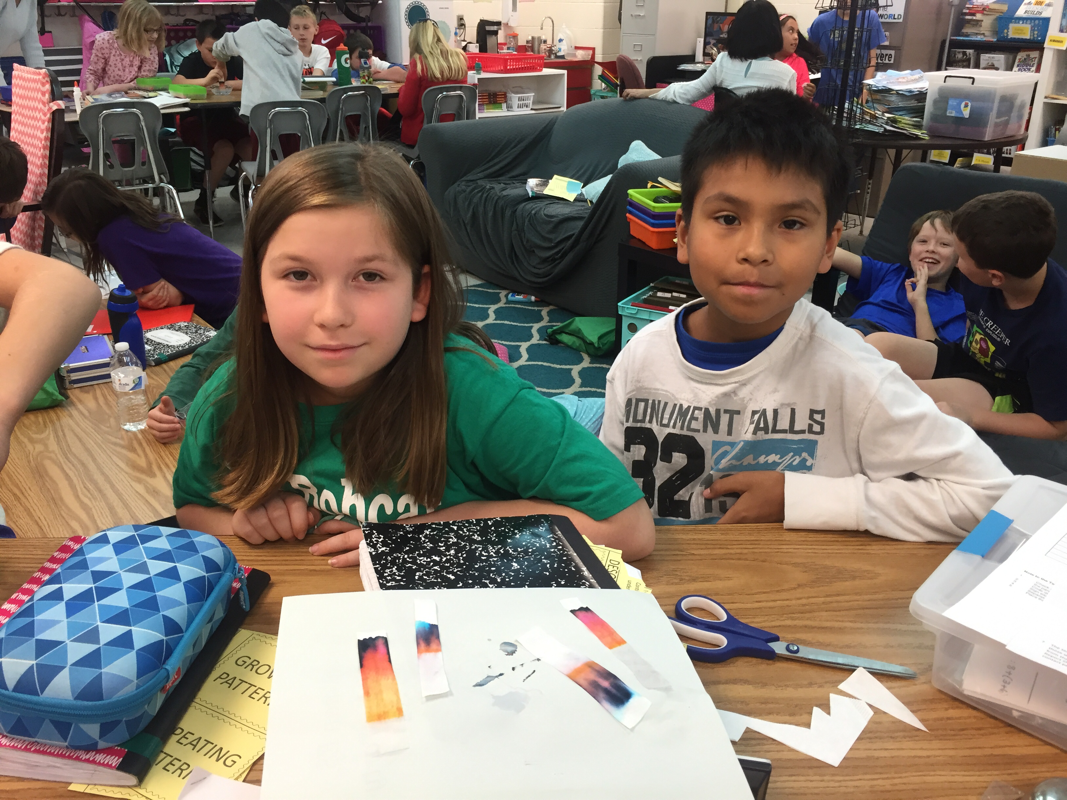
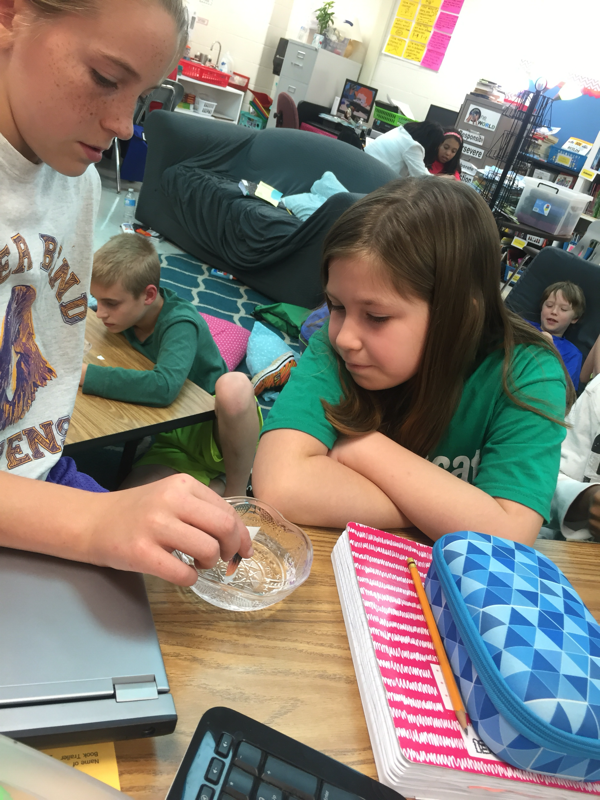
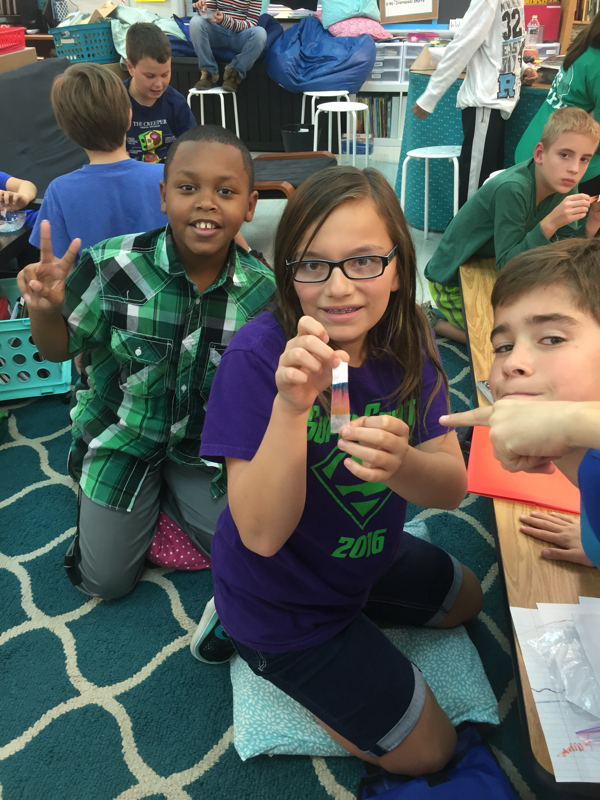
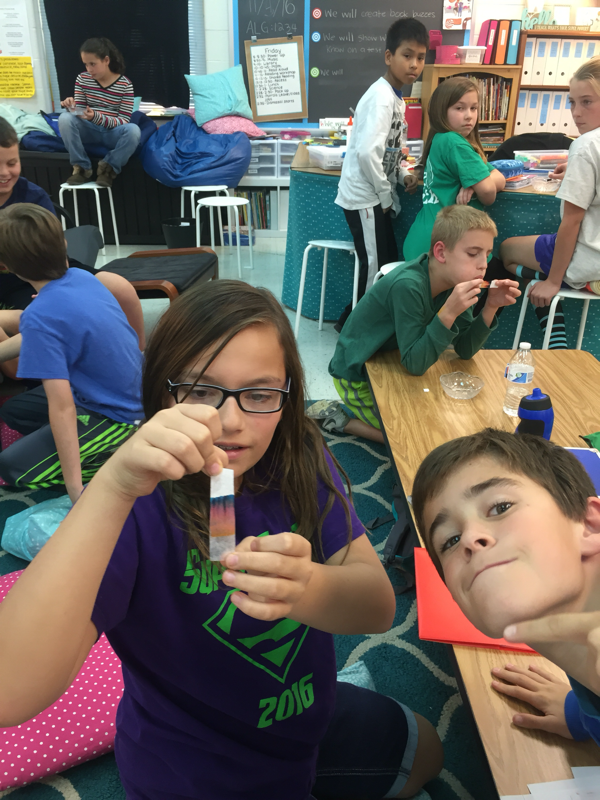
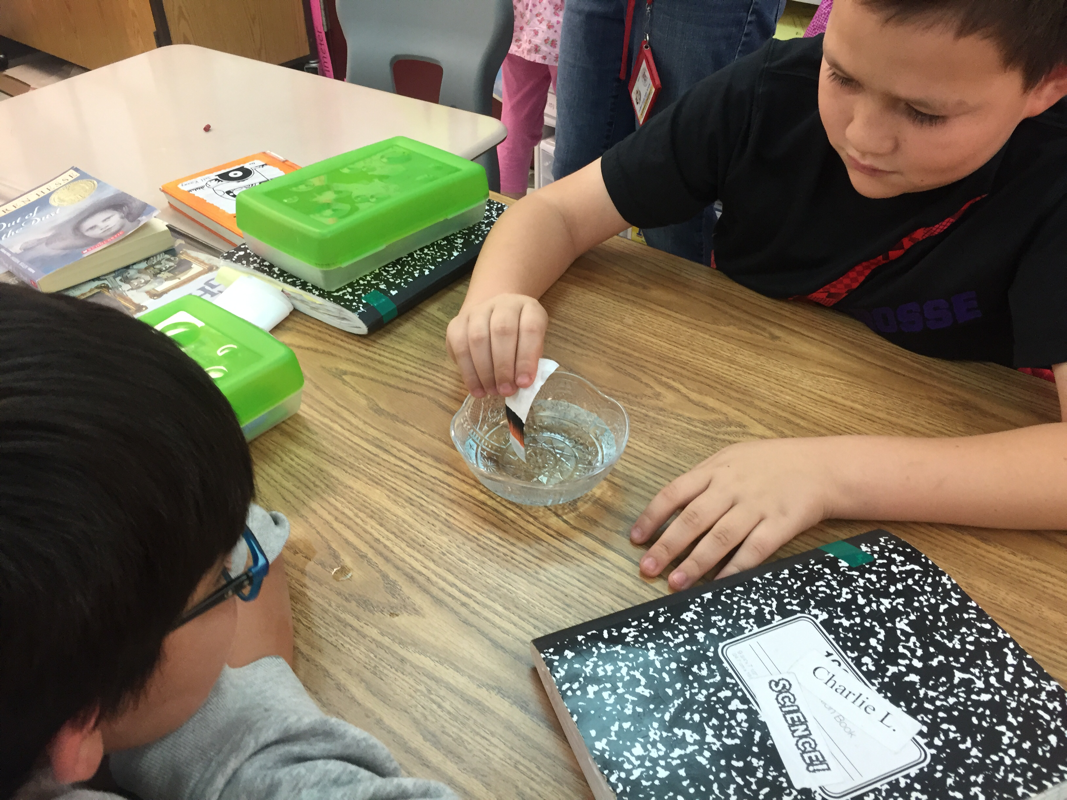
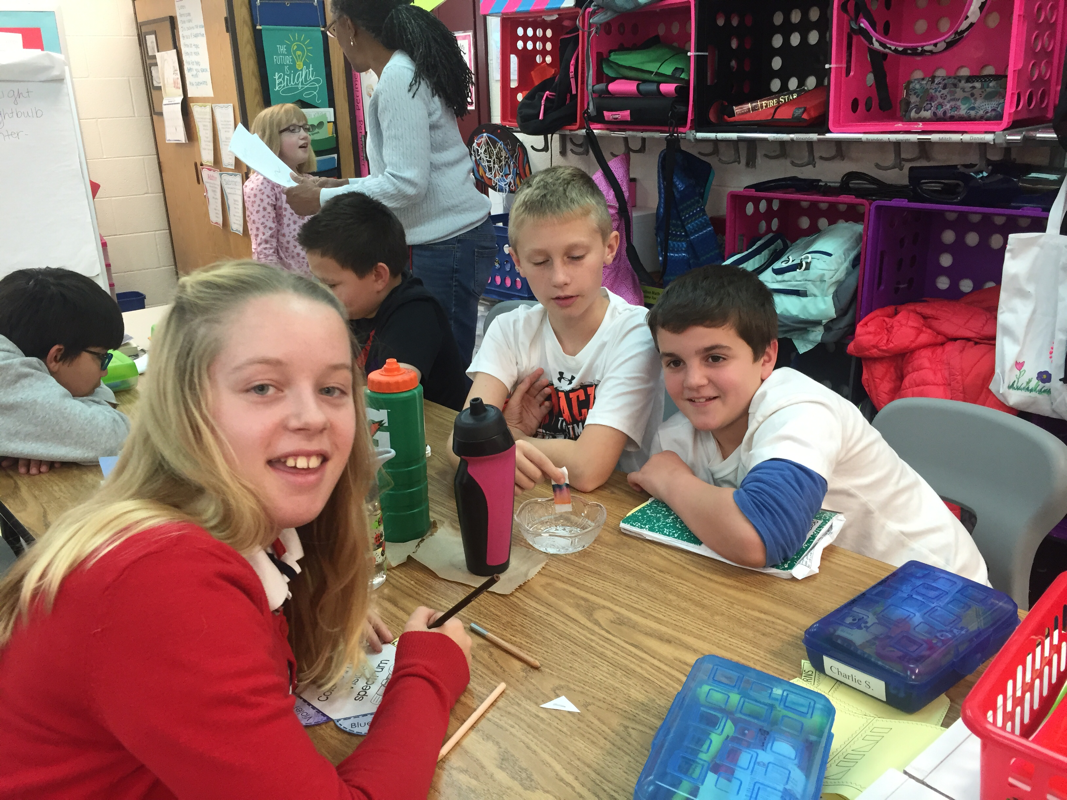
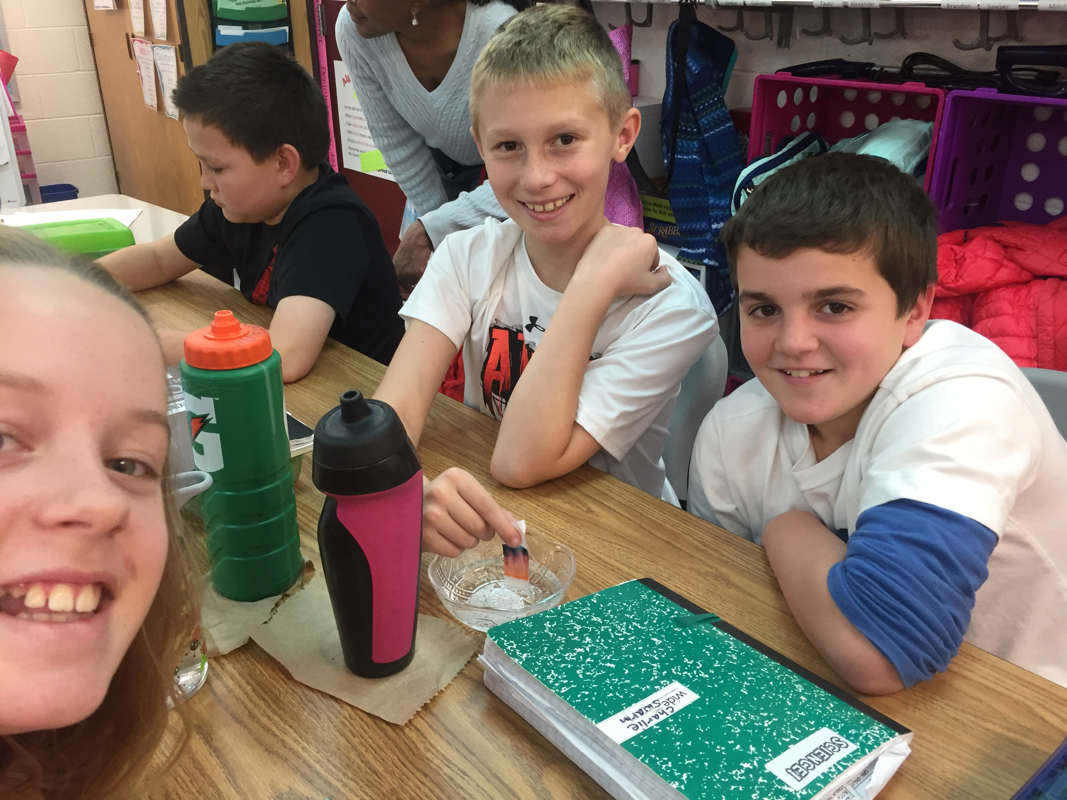
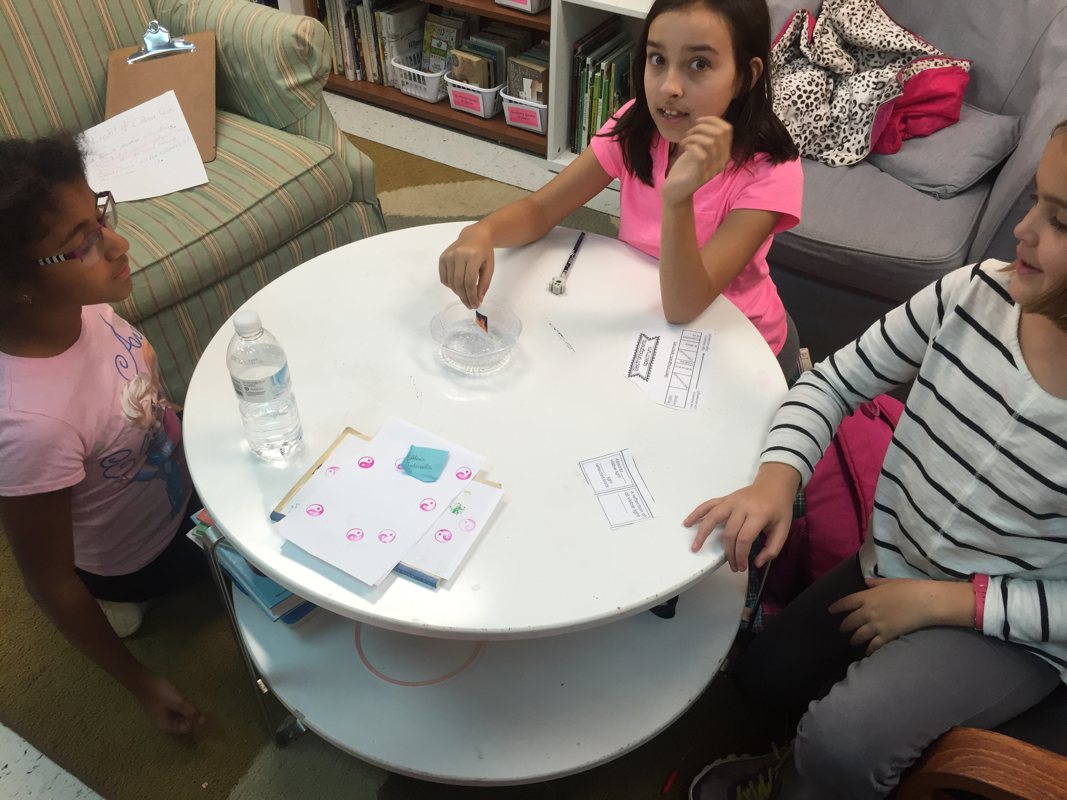
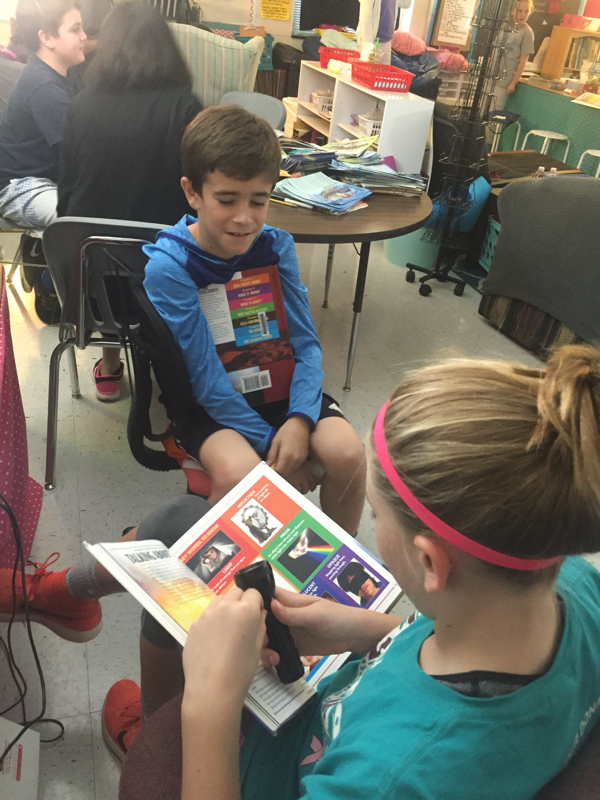
Visible Spectrum-11/4
Today we learned about how we see certain colors- objects do not actually have color "in" them, what we see is the surface of the object reflecting wavelengths of a color and absorbing the rest. For example, when light hits a banana, it reflects the wavelengths we see as yellow and the others (red, orange, green, blue, and violet wavelengths) are absorbed by the object. The wavelengths in the "visible spectrum" (those wavelengths we can see) can be remembered by the acronym ROY G BV-red, orange, yellow, green, blue, violet.
We also learned that what we see as the color white actually is the reflection of ALL of the colors' wavelengths in the visible spectrum and black is the result of the absorption all of the wavelengths. Makes sense that all of the light wavelengths are absorbed when we see black when you think of a "pitch black" room- a room with no light reflecting colors at us.
After watching a Magic School Bus on how we see color, we did an investigation to discover that black absorbs all of the colors. We did this by "freeing" the colors and separating them from a line of black drawn with a marker.
The kids were given a strip of a coffee filter with a black line drawn on it about an inch from the bottom of the filter. I used a scented black marker but any non-permanent black marker will work. We then held the end of the coffee filter in the water (without submerging the black line) and let the filter absorb the water up the filter. As it did this, the kids saw all of the colors separate from the black line! They were so excited about this so I made them all a coffee filter to take home ;) Here are some pictures.
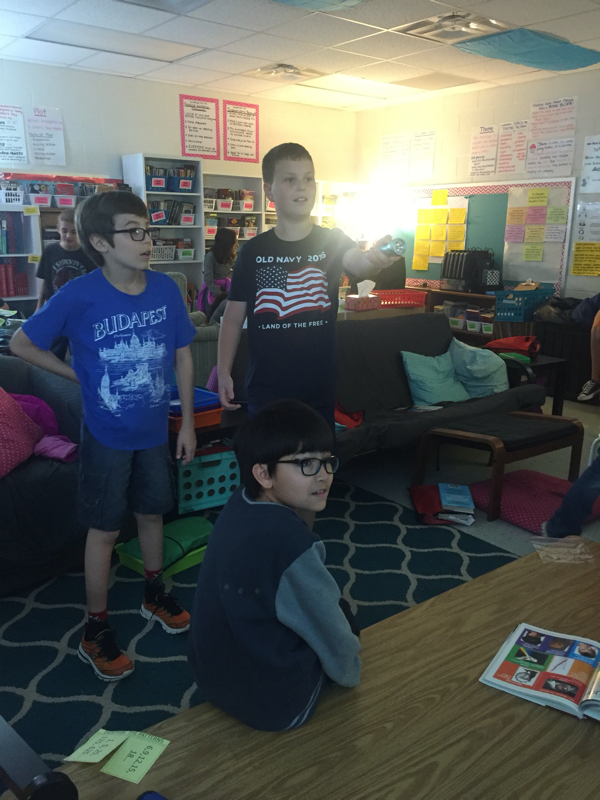
Modeling Sound and Light Waves-11/3
Today we modeled the two kinds of waves we've learned so far this year- compression (sound) and transverse (light). While both sound and light travel in waves, the waves behave differently- as modeled by my wonderful fifth graders in the video below. Sound waves move side to side, bumping back and forth; light waves move up and down.
On Wednesday we learned how light can be used to communicate with Morse code. With our "Amazing Dollar Store Flashlights of Science," we practiced our vocabulary words by flashing terms using Morse code and having our partners give the definition of the word orally. See if your child can remember any of the codes for words!
Vocabulary Practice Using Morse Code-11/2
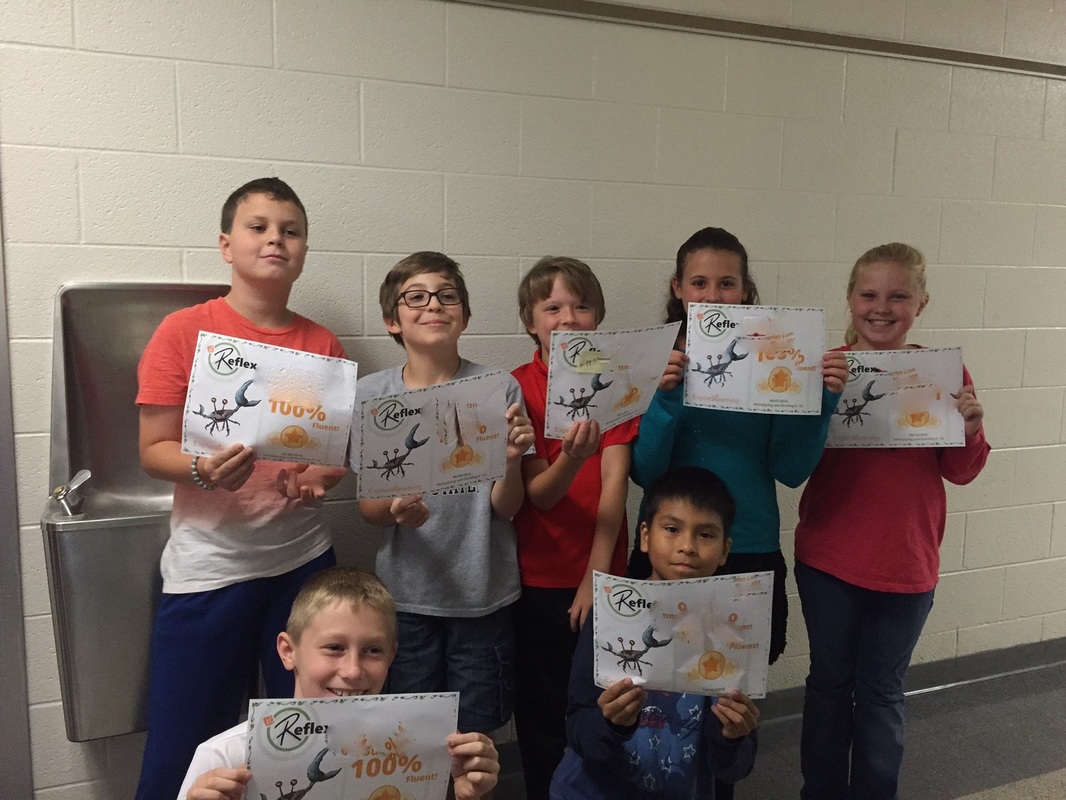
Way to go! Reflex Fluency Certificates
Mr. Blubaugh delivered the certificates to the kids who achieved 100% fluency on their math facts in the month of October. Congratulations! (Names in picture have been blurred out for privacy)
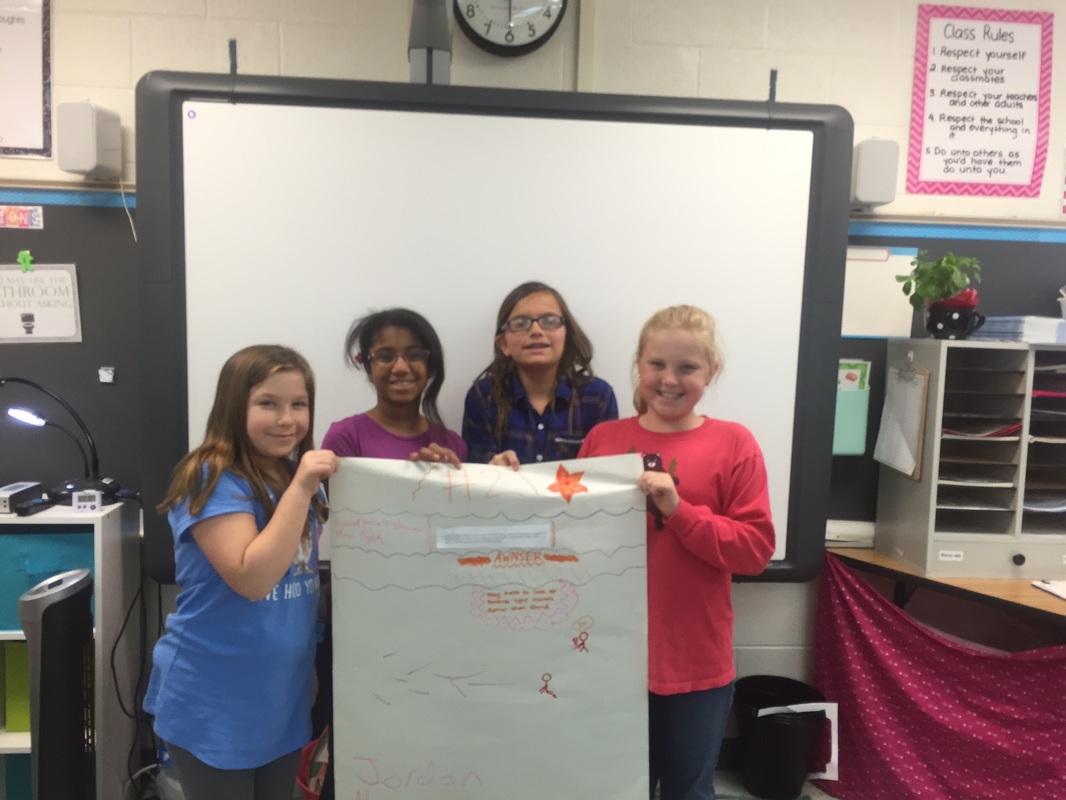
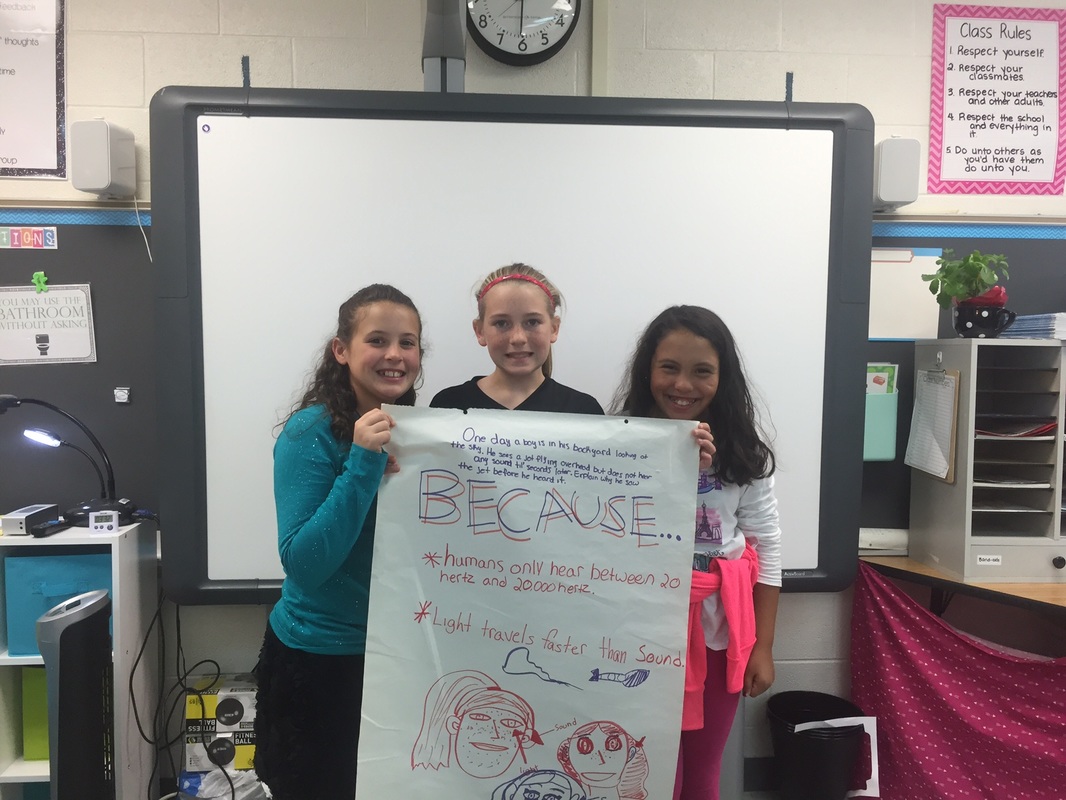
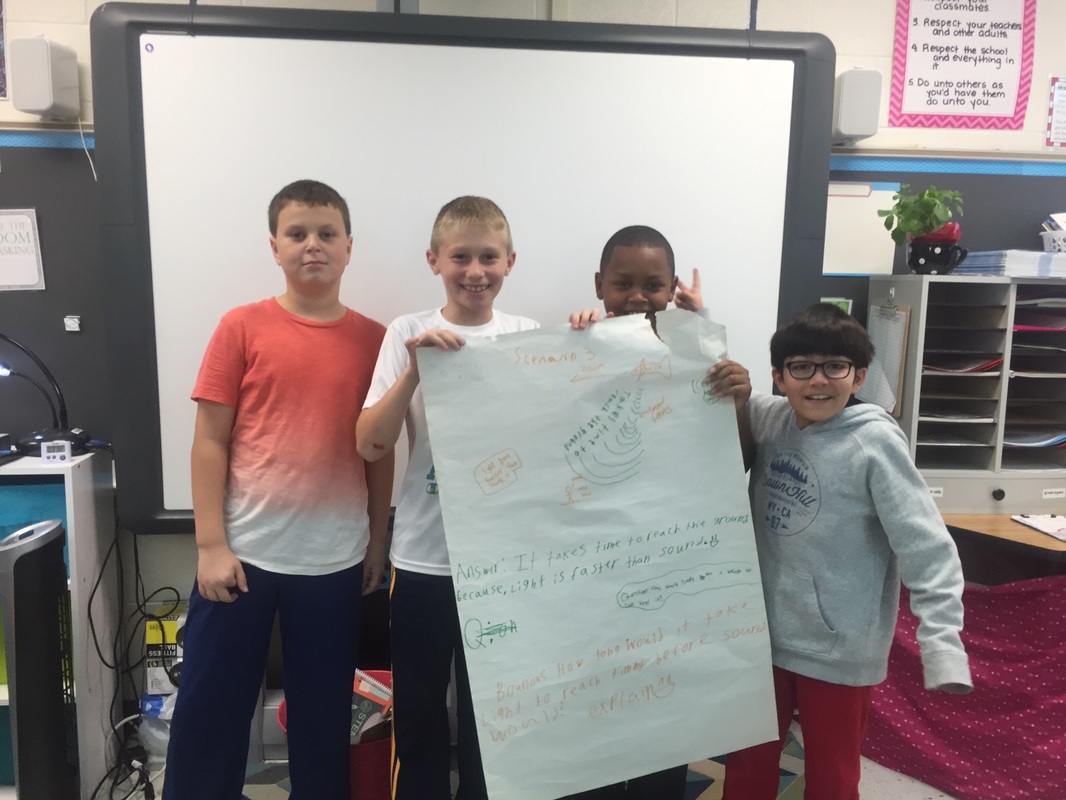
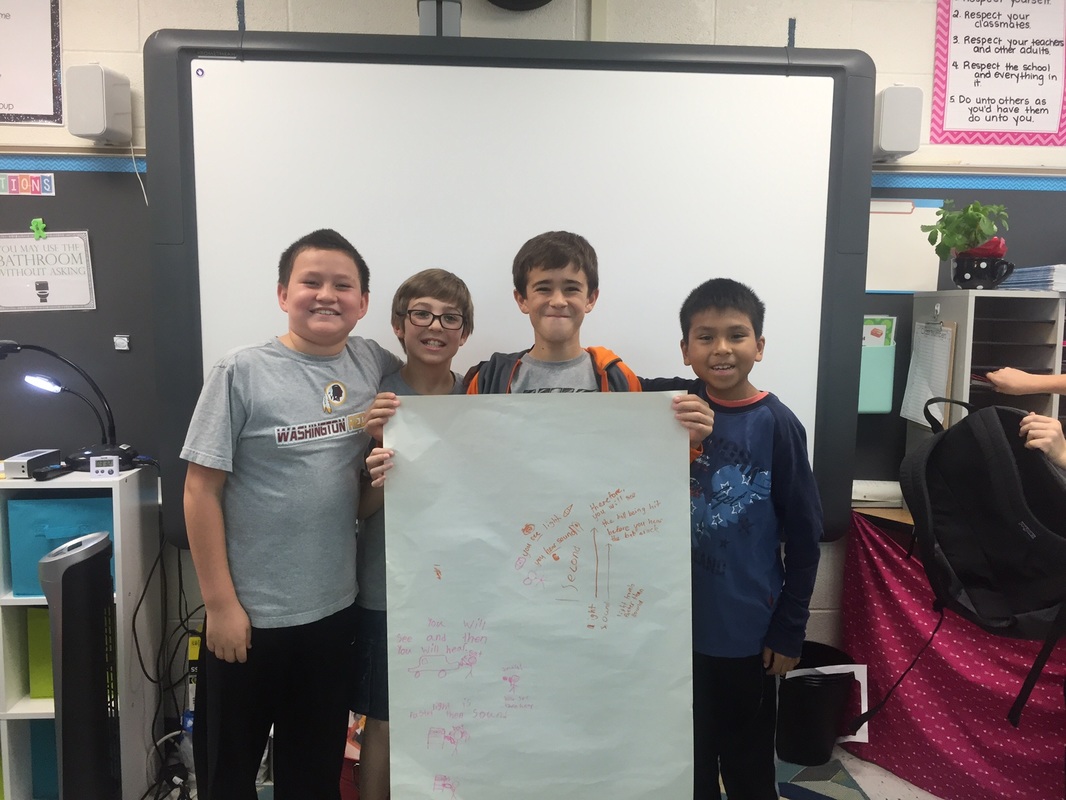
Light unit- 10/31 and 11/1
We've officially started our light unit! Yesterday we investigated how light travels in straight lines called rays. We took four index cards with a hole punched each one and lined them up to see how the light passed through them.
Today, we got into groups and analyzed several real-life scenarios to explain what would happen. Here are the scenarios students had to explain:
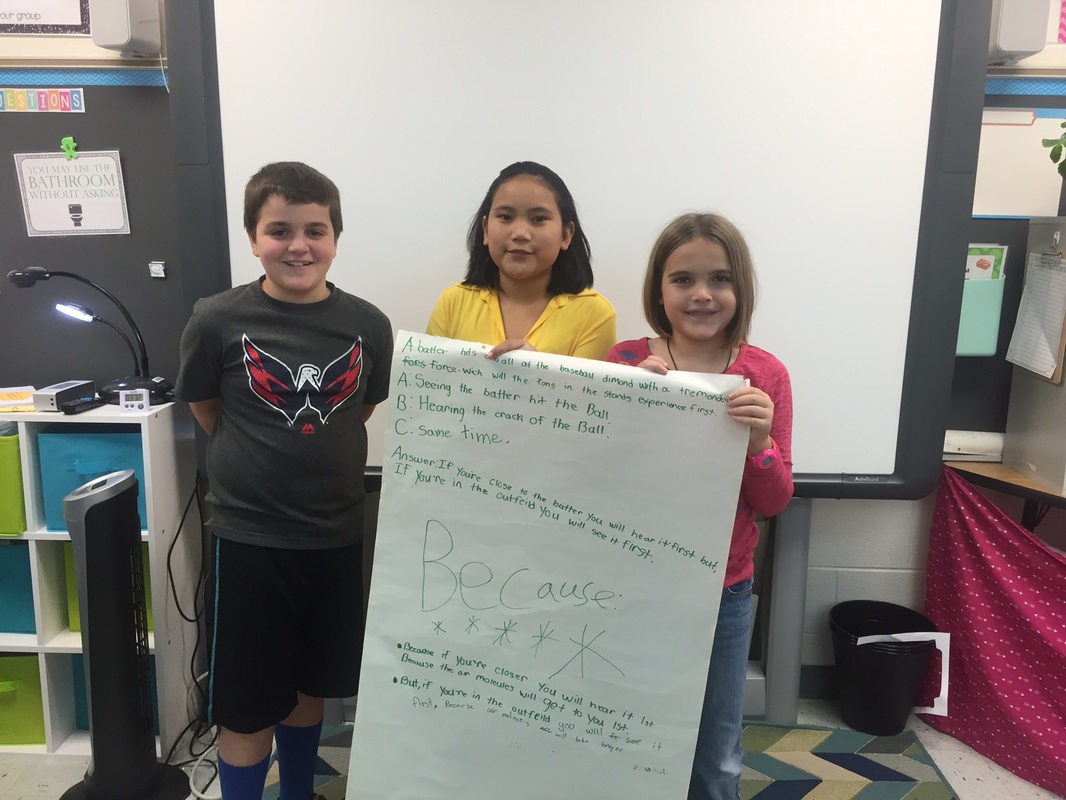
1. A batter hits a ball at the baseball diamond with tremendous force. Which will the fans in the stands experience first: seeing the batter hit the ball or hearing the crack of the bat? Explain.
2. On the school racetrack, the runners take their marks, waiting for the signal to begin the race. They await the firing of the pistol. What should racers do first: look for the smoke from the pistol or listen for its firing? Explain.
3. One sunny day a boy is in his backyard looking at the sky. He sees a jet flying overhead but does not hear any sound until seconds later. Explain why he saw the jet before he heard it.
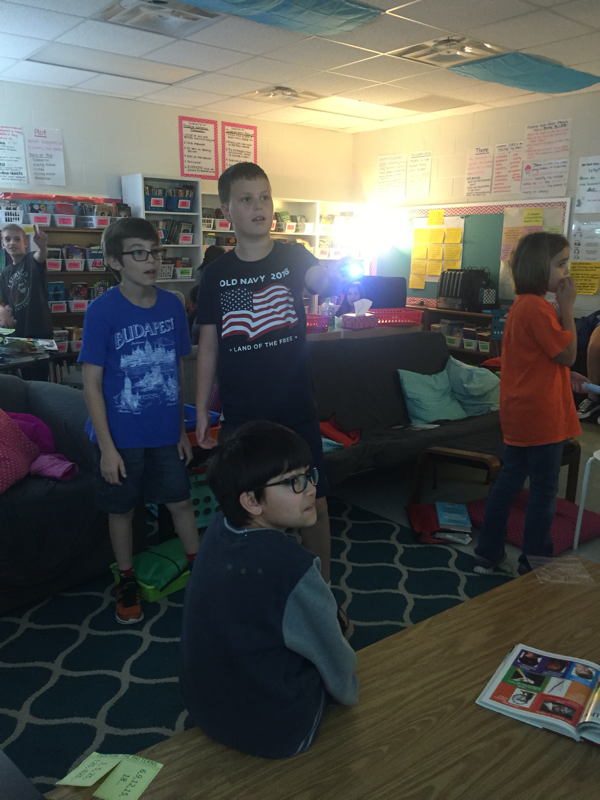
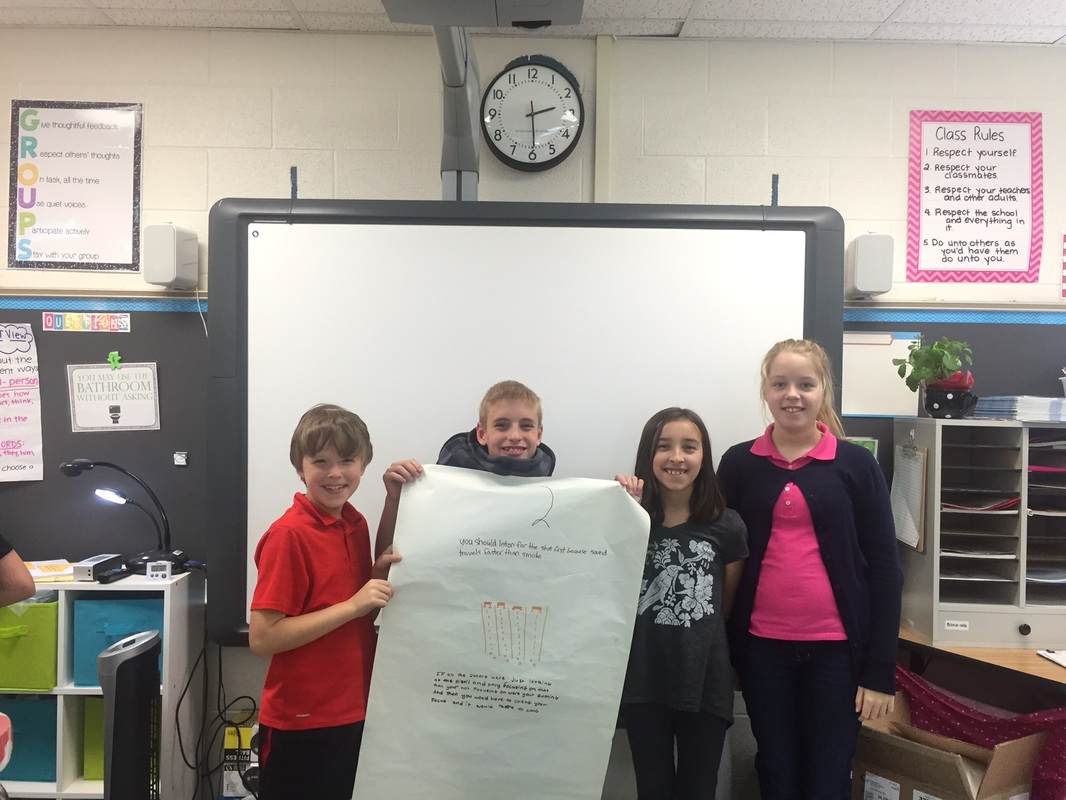
Below are some pictures of the work the students created and presented to the class. We had some very interesting, out-of-the-box thoughts about each scenario. Through this activity, we learned that light is faster than sound.
Today, we got into groups and analyzed several real-life scenarios to explain what would happen. Here are the scenarios students had to explain:
1. A batter hits a ball at the baseball diamond with tremendous force. Which will the fans in the stands experience first: seeing the batter hit the ball or hearing the crack of the bat? Explain.
2. On the school racetrack, the runners take their marks, waiting for the signal to begin the race. They await the firing of the pistol. What should racers do first: look for the smoke from the pistol or listen for its firing? Explain.
3. One sunny day a boy is in his backyard looking at the sky. He sees a jet flying overhead but does not hear any sound until seconds later. Explain why he saw the jet before he heard it.
Below are some pictures of the work the students created and presented to the class. We had some very interesting, out-of-the-box thoughts about each scenario. Through this activity, we learned that light is faster than sound.
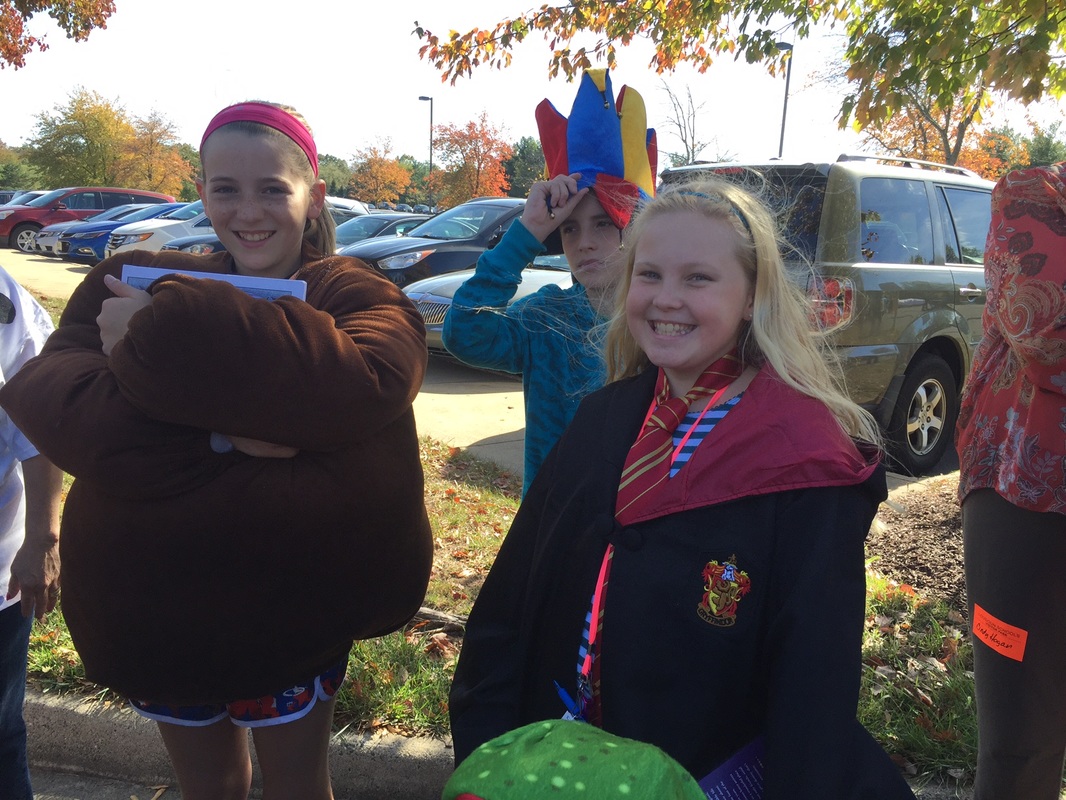
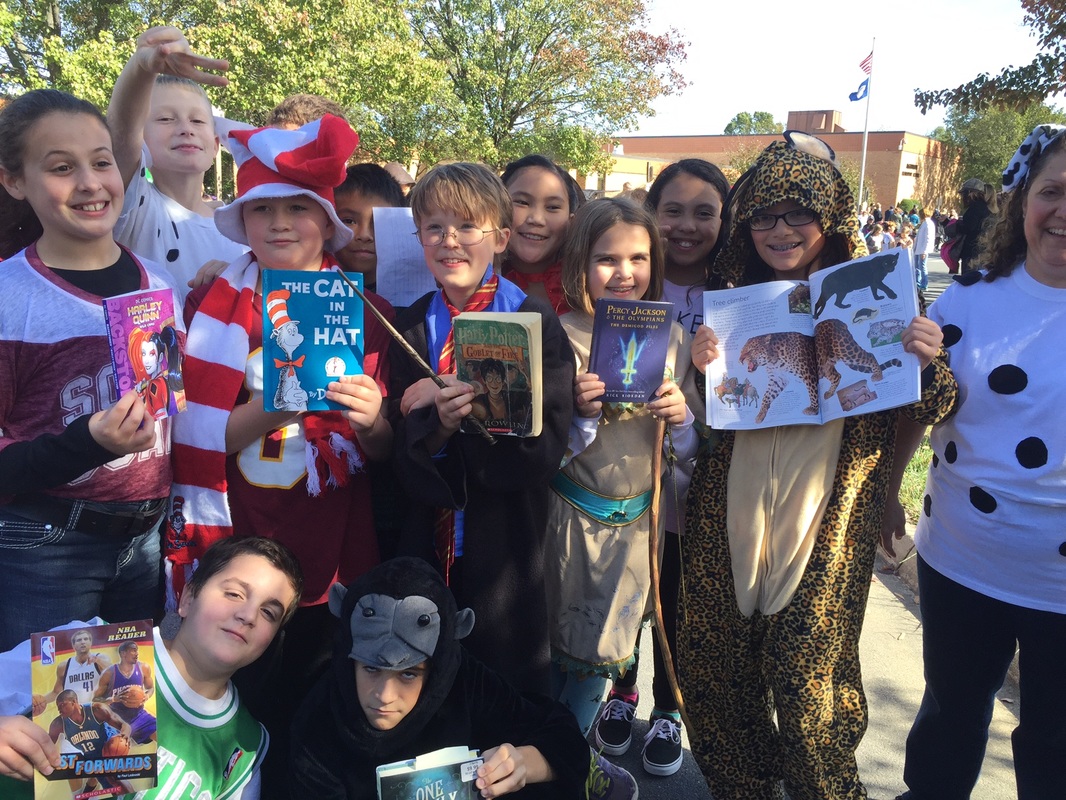
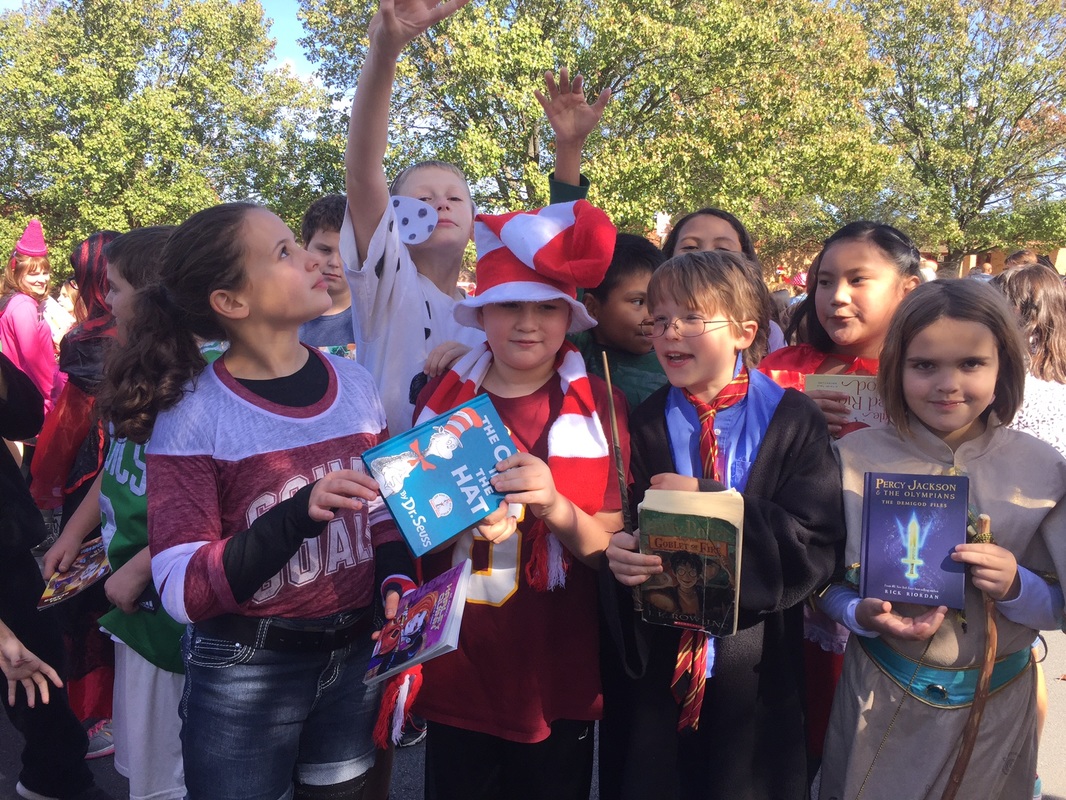
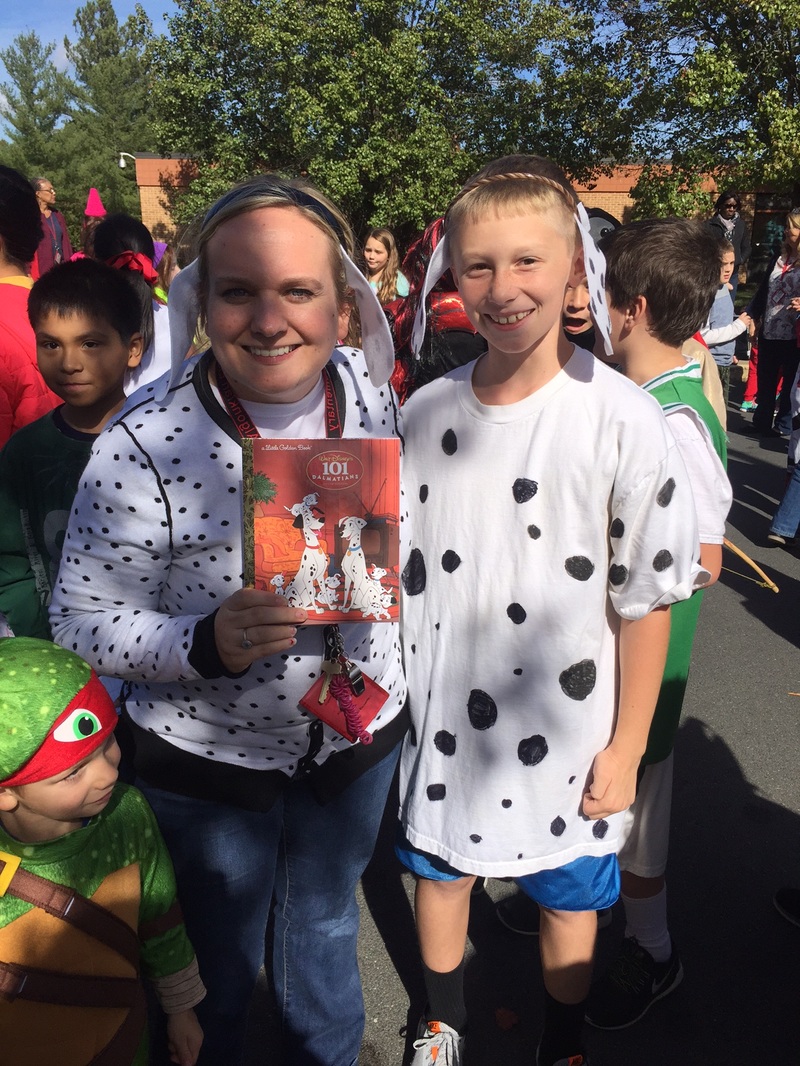
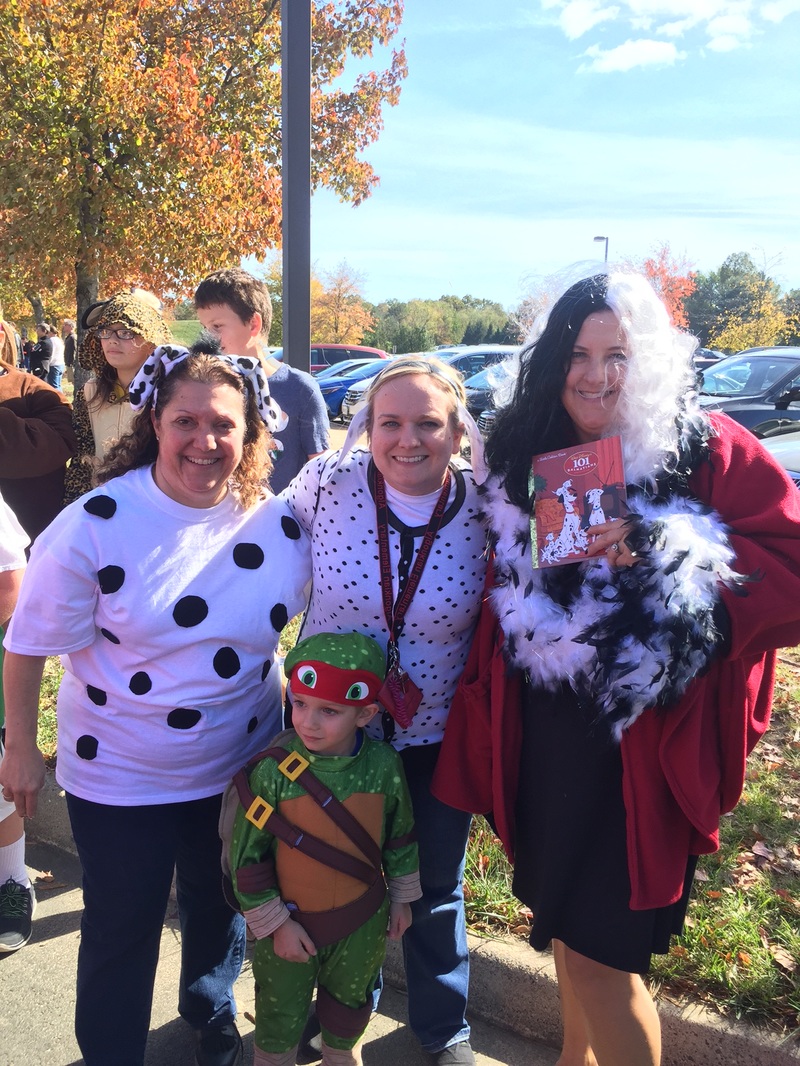
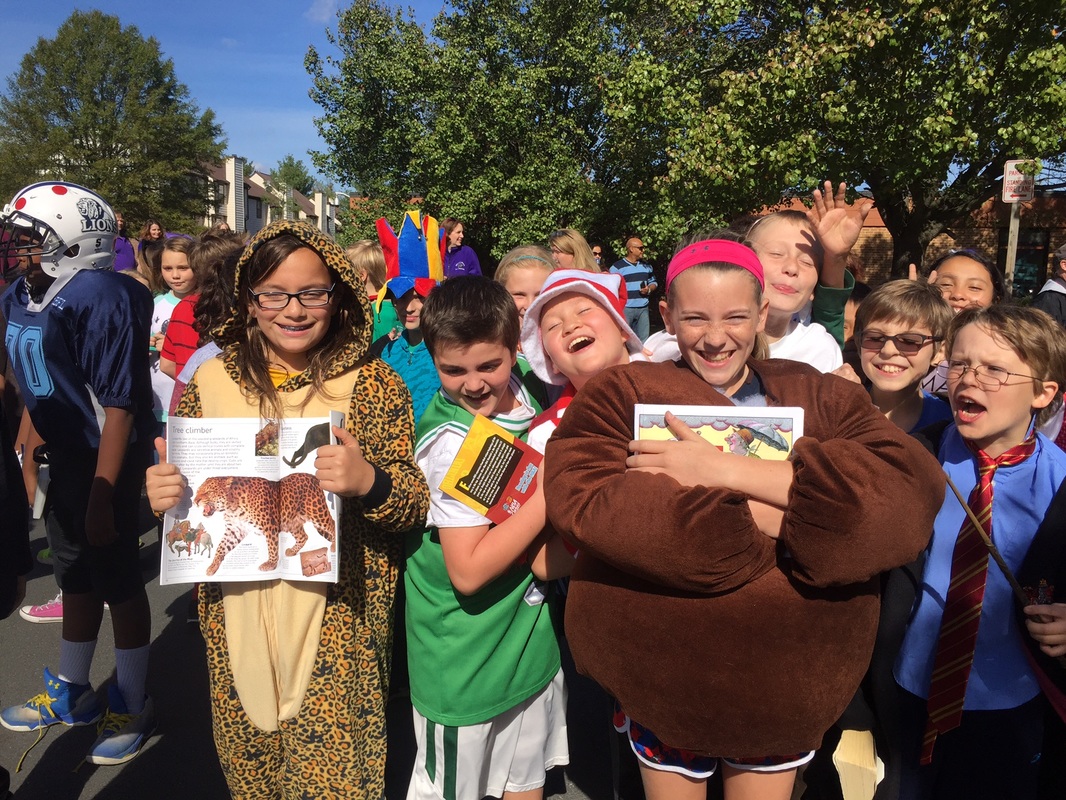
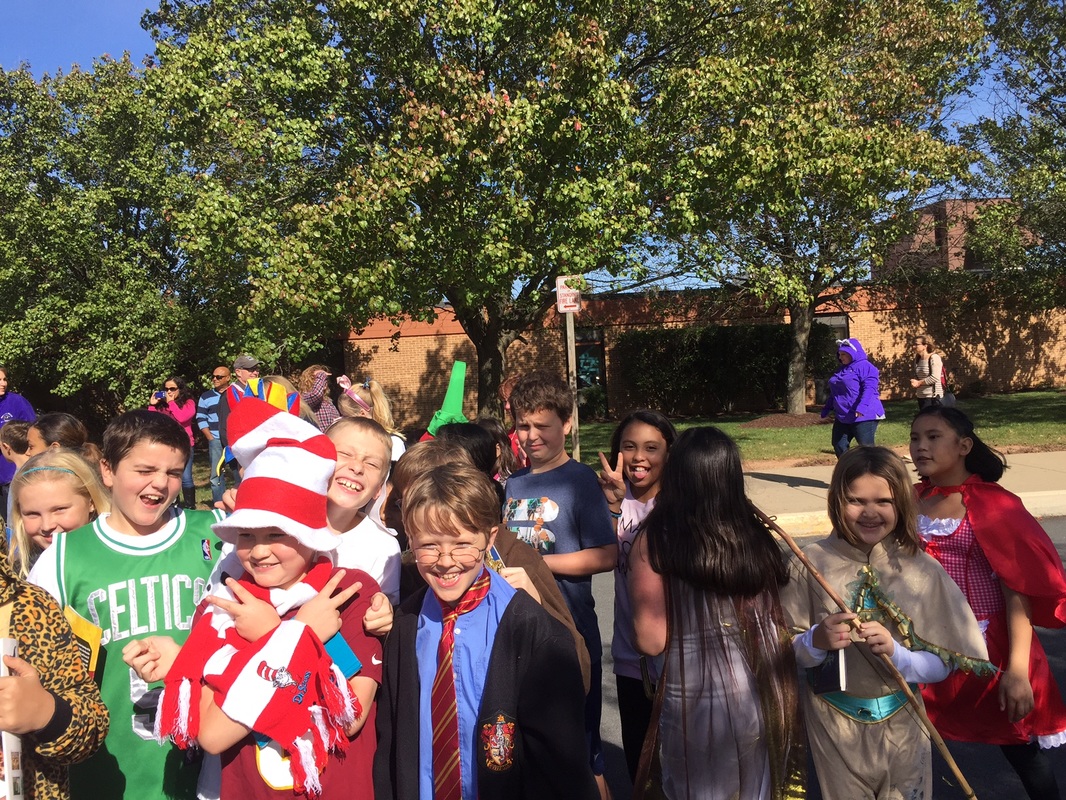
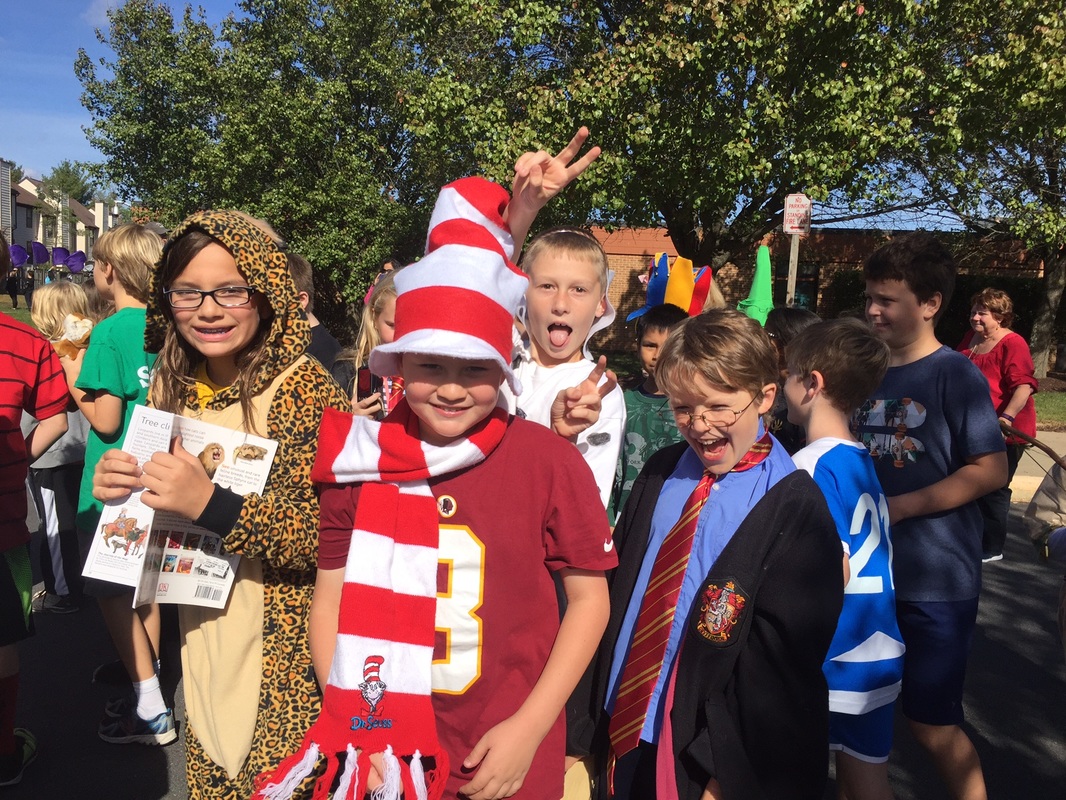
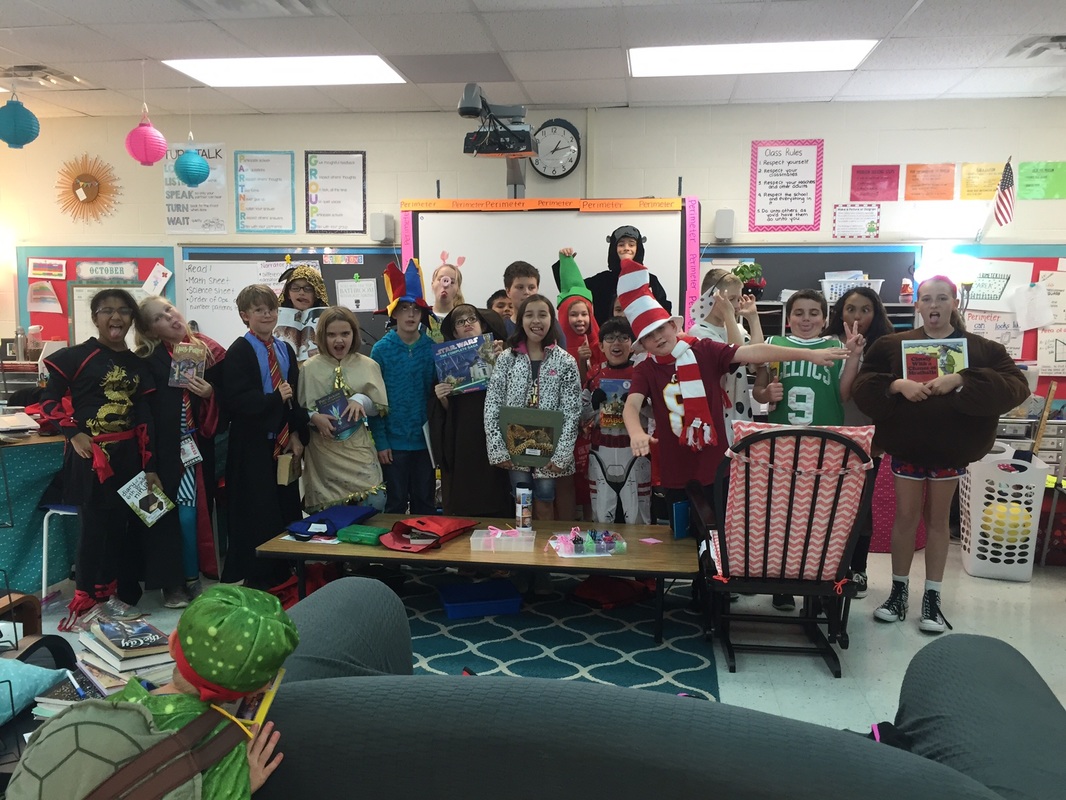
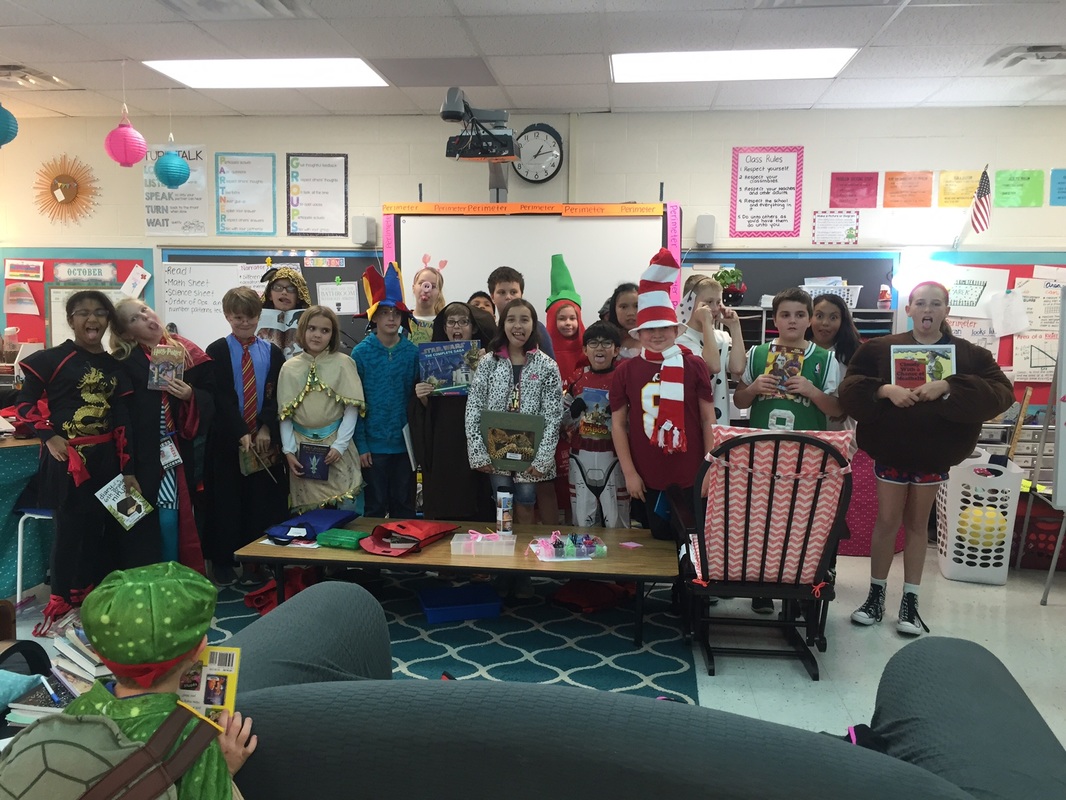
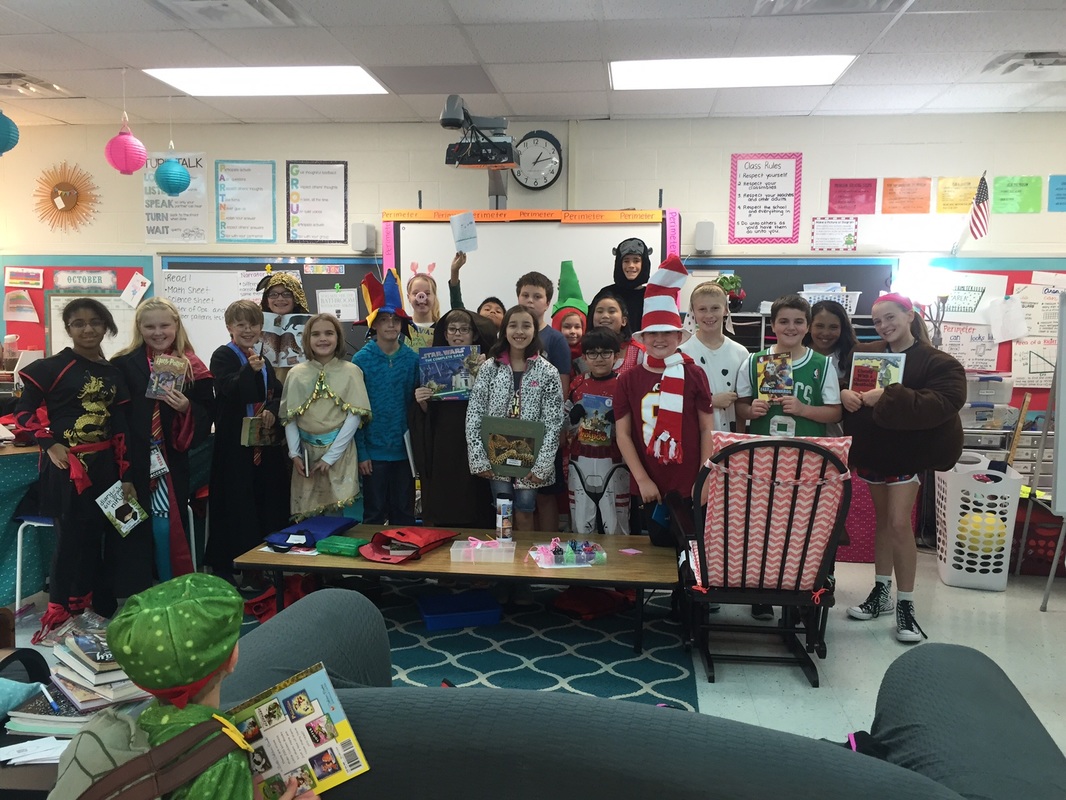
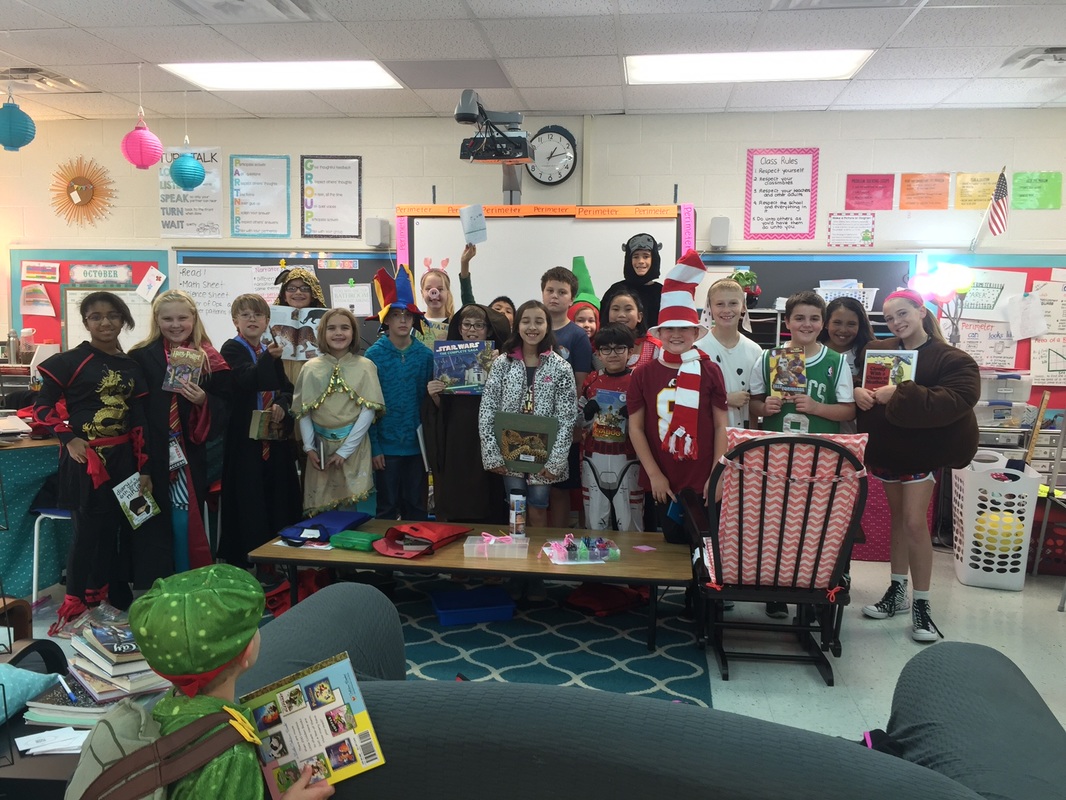
Book Character Parade-10/28
The kids looked great in their book character costumes today! Here are some pictures from our parade.


Order of Operations rap-10/28
This week we have been studying the order of operations, so of course I had to teach them a song - unfortunately I can't take credit for writing this song; it is by the website Flocabulary :) Here they are performing the chorus. If they'd like to listen to it in its entirety, they can find it on my Math Blog.
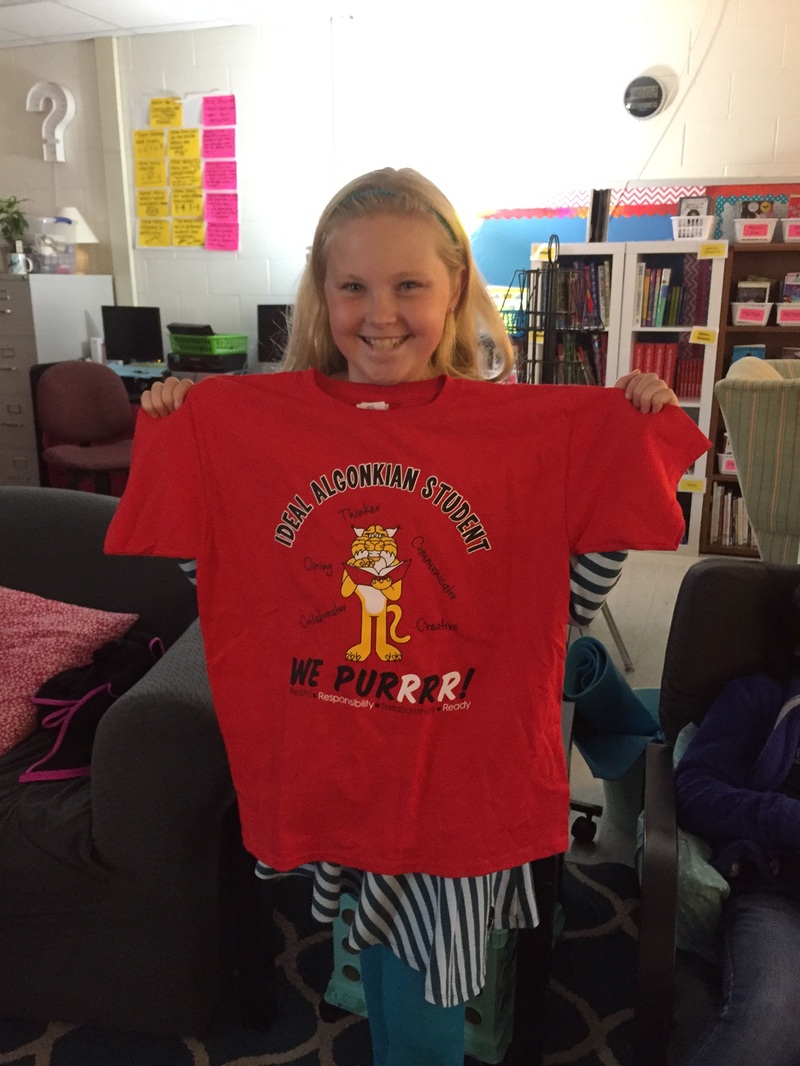
Algonkian Student of the Month
Congratulations to Madison for being named an Algonkian Student of the Month! This award is given to two students each month that show great character and represent all of the traits of an ideal Algonkian student. Madison always comes to school with a smile on her face, ready to learn, and helps out anyone who needs it. She is truly a great Bobcat!
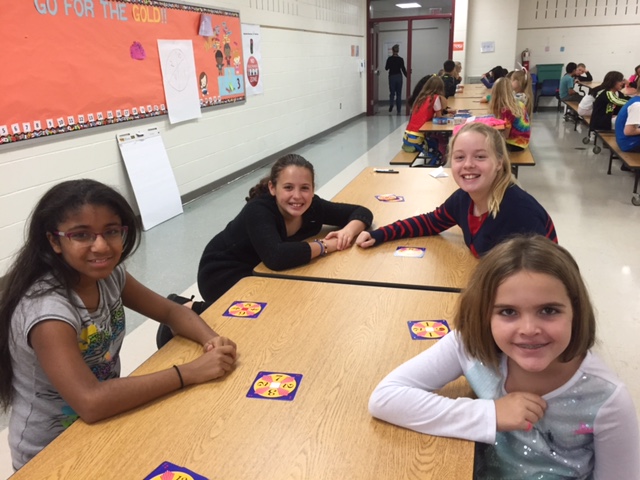
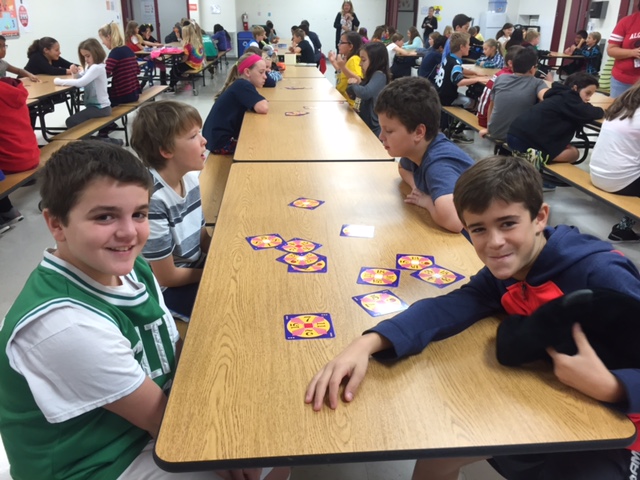
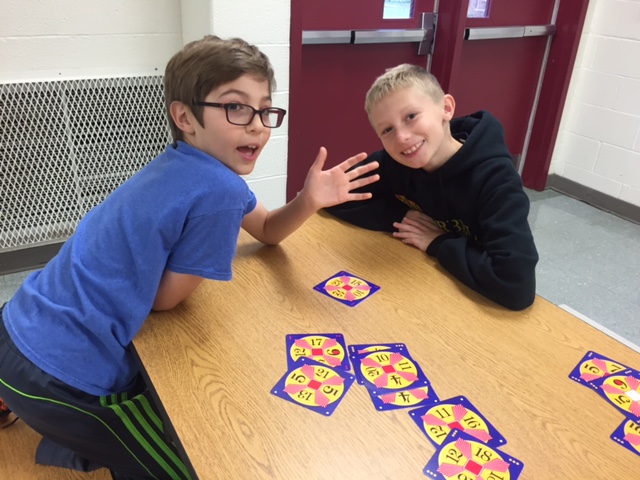
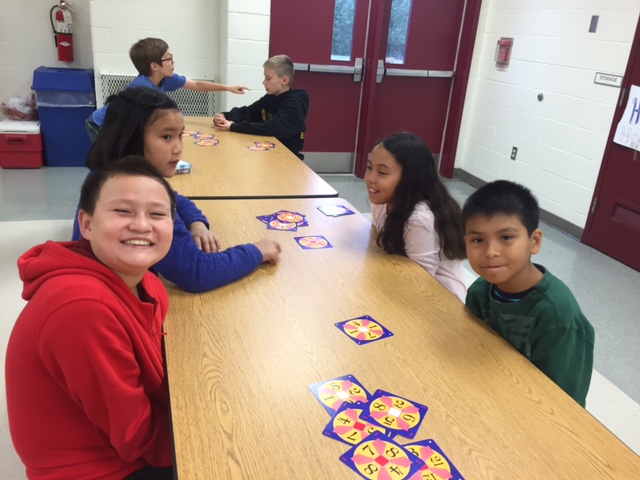
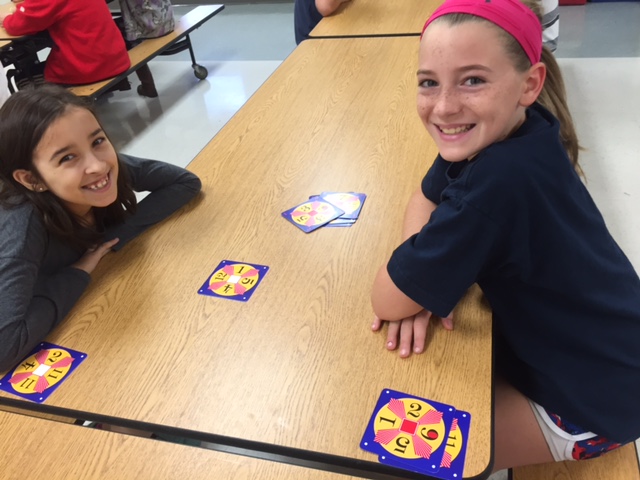
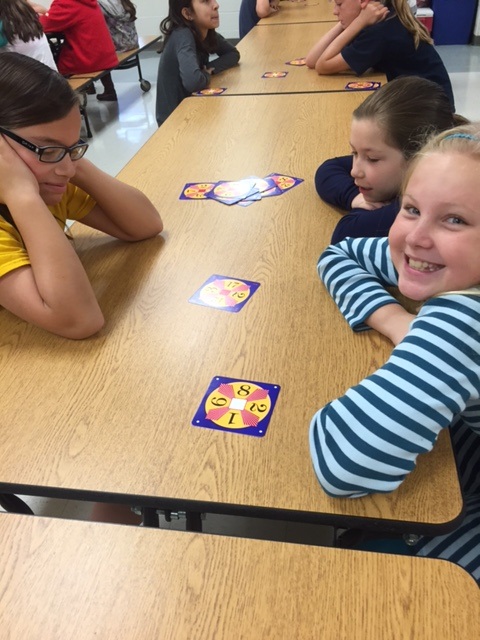
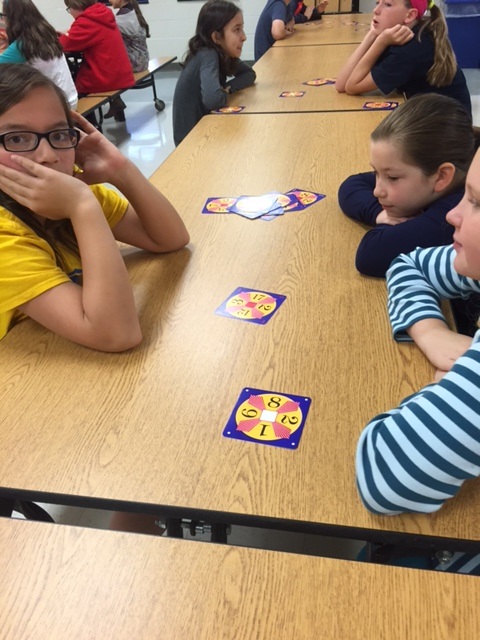
Math 24 Competition- Learning to play the game :)- 10/28
This morning during Power Up, the students were introduced to a great mental math game called Math 24. Mr. Blubaugh started a new tradition last year in which the 5th grade students meet 4-5 times during the year to play the game, and in May, a bracket system is set up to determine an overall 5th grade winner and runner up. It was great to see the kids using their awesome math skills, especially so early in the morning!
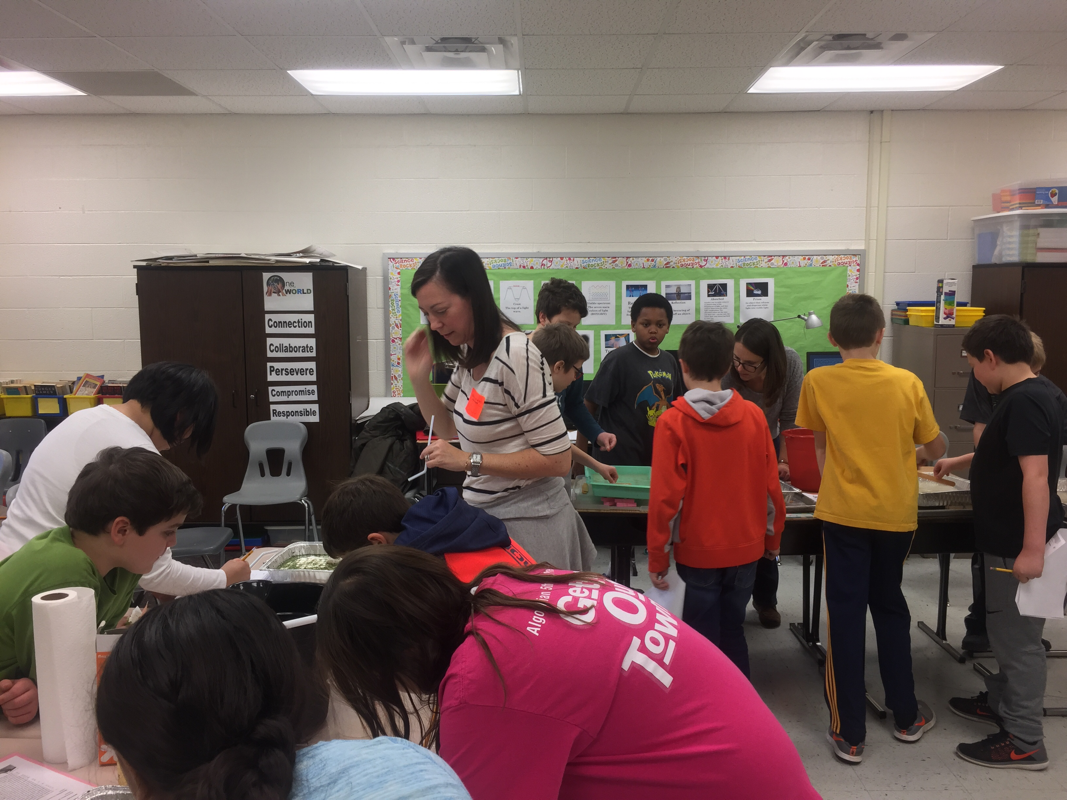
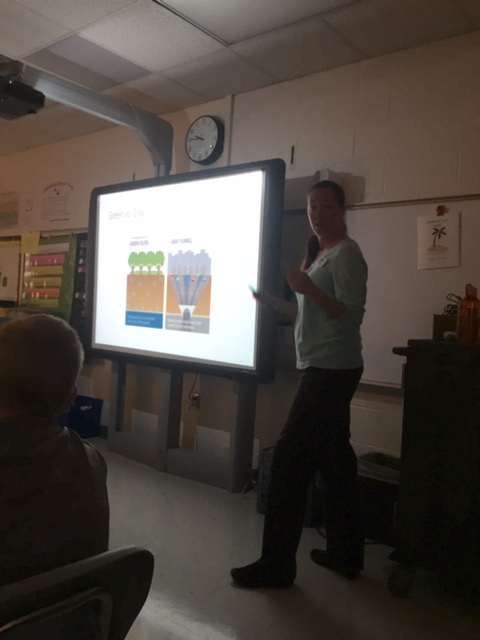
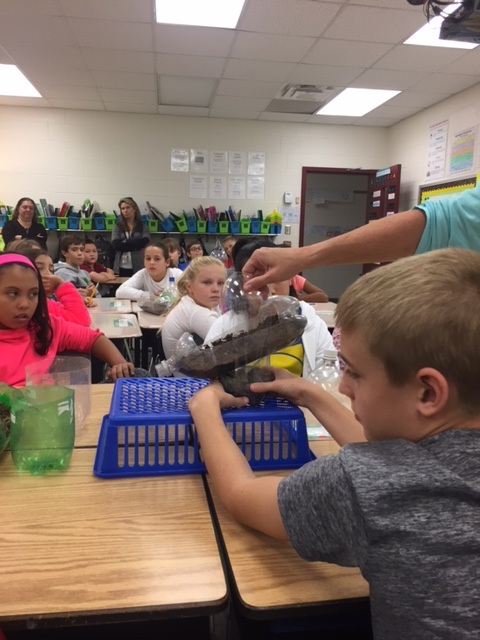
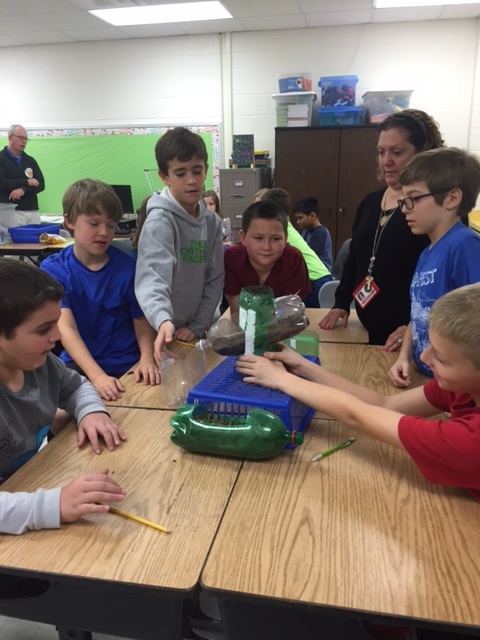
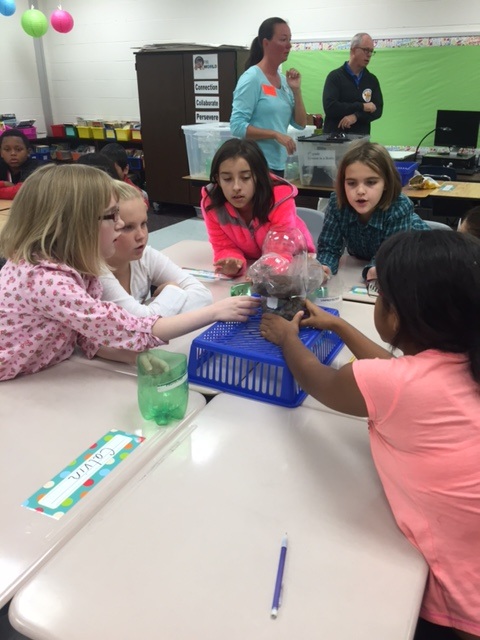
Today Mrs. McDougall from the Audubon Naturalist Society came and taught all of the fifth grade lessons a really great interactive lesson about erosion. The kids really seemed to pick up the concepts and had a lot of fun doing the experiment!
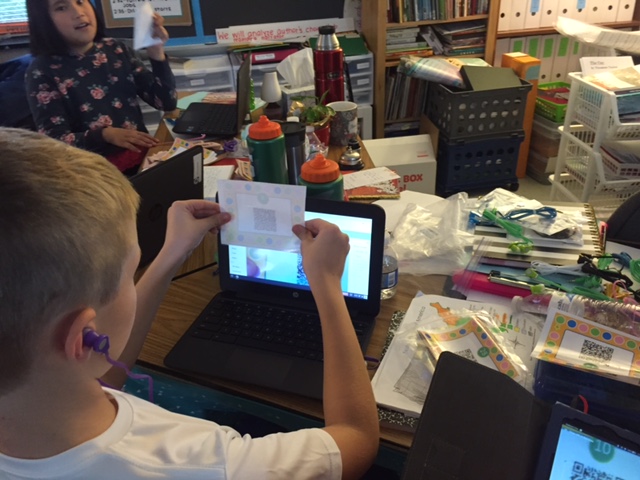
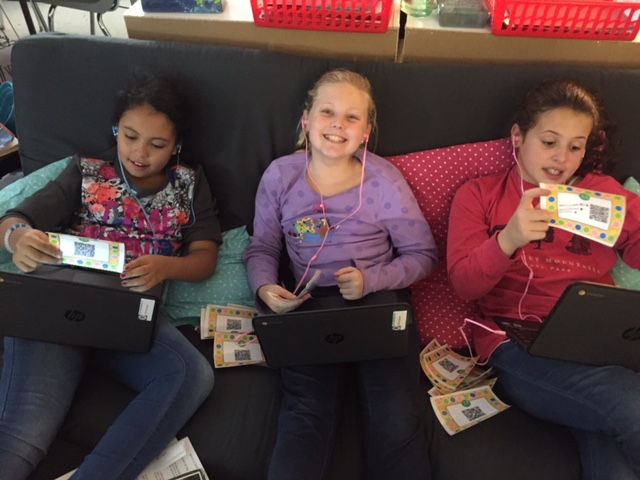
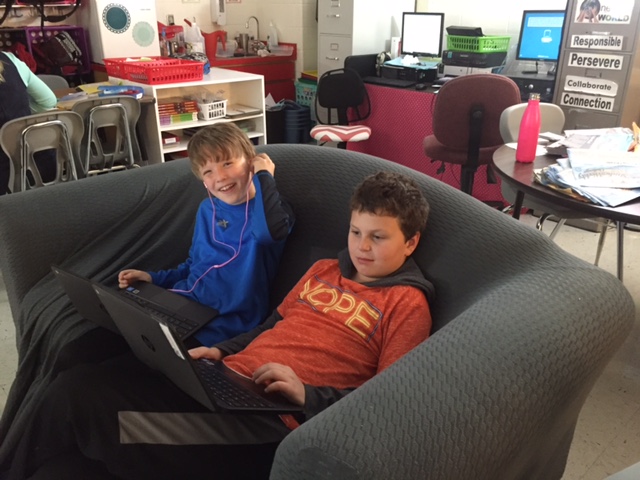
QR Code Science review-10/27/16
Today we did some review for our sound test that is tomorrow. The kids used QR codes that had questions and the school's Chromebooks (some used their own BYOT device!). We also tested out our new ear buds :)

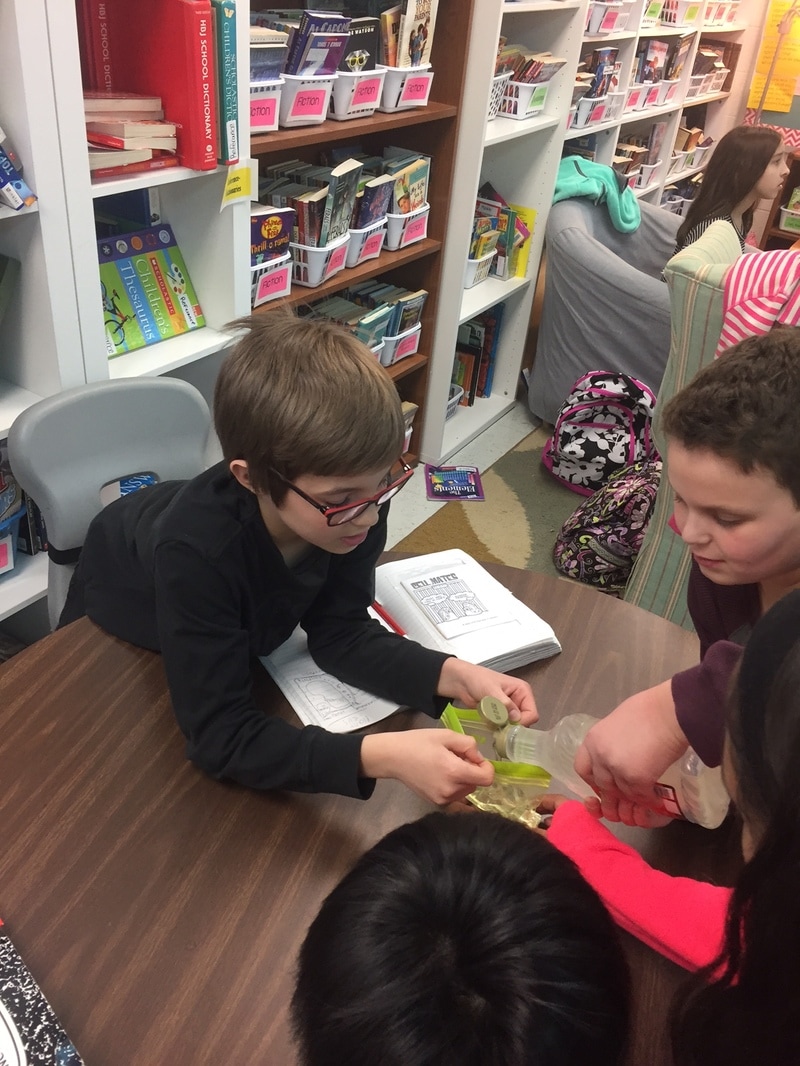
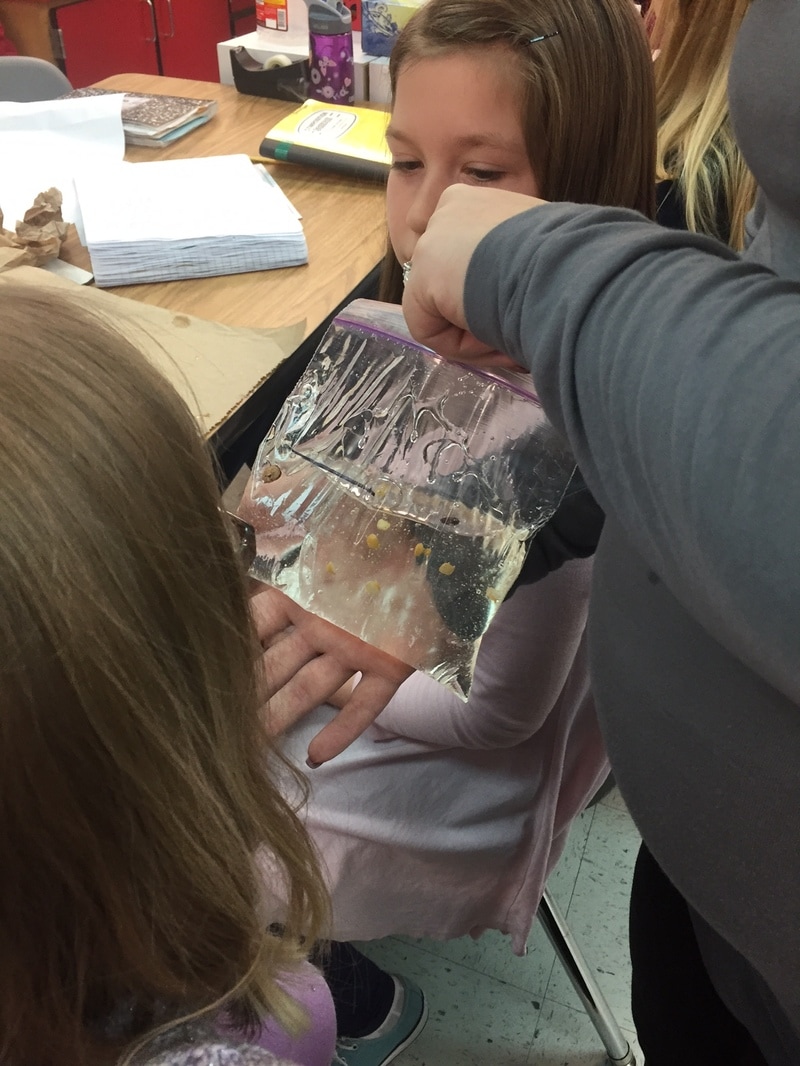
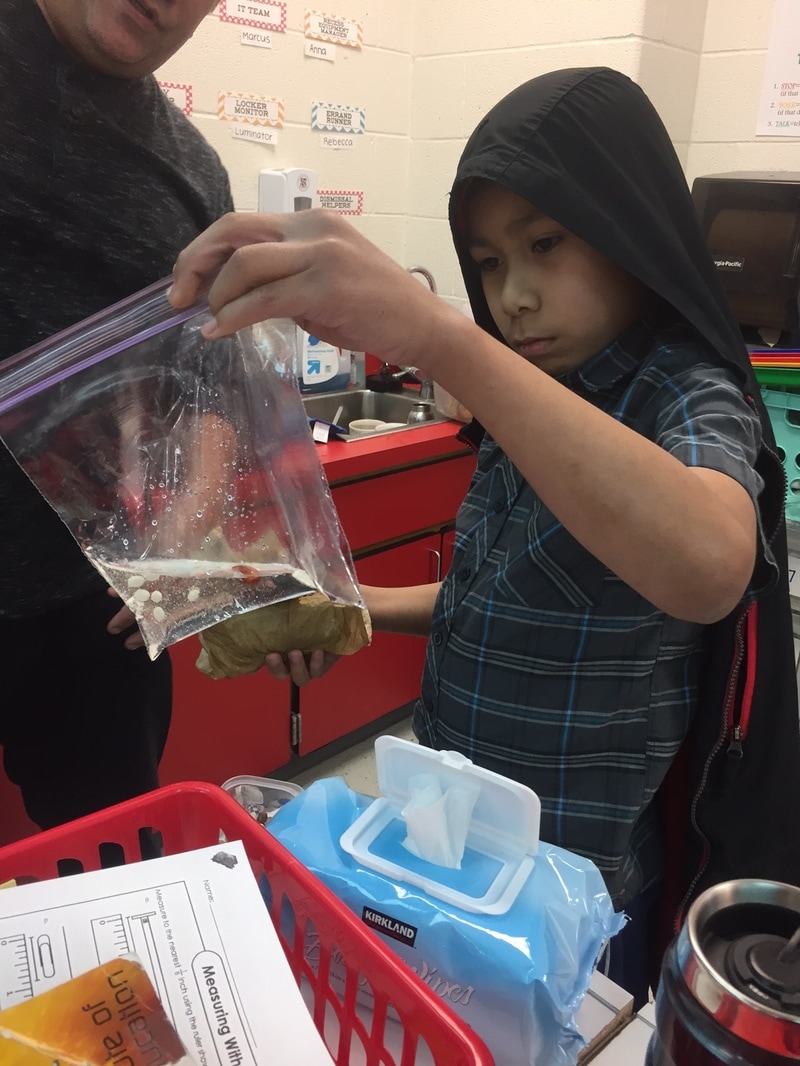
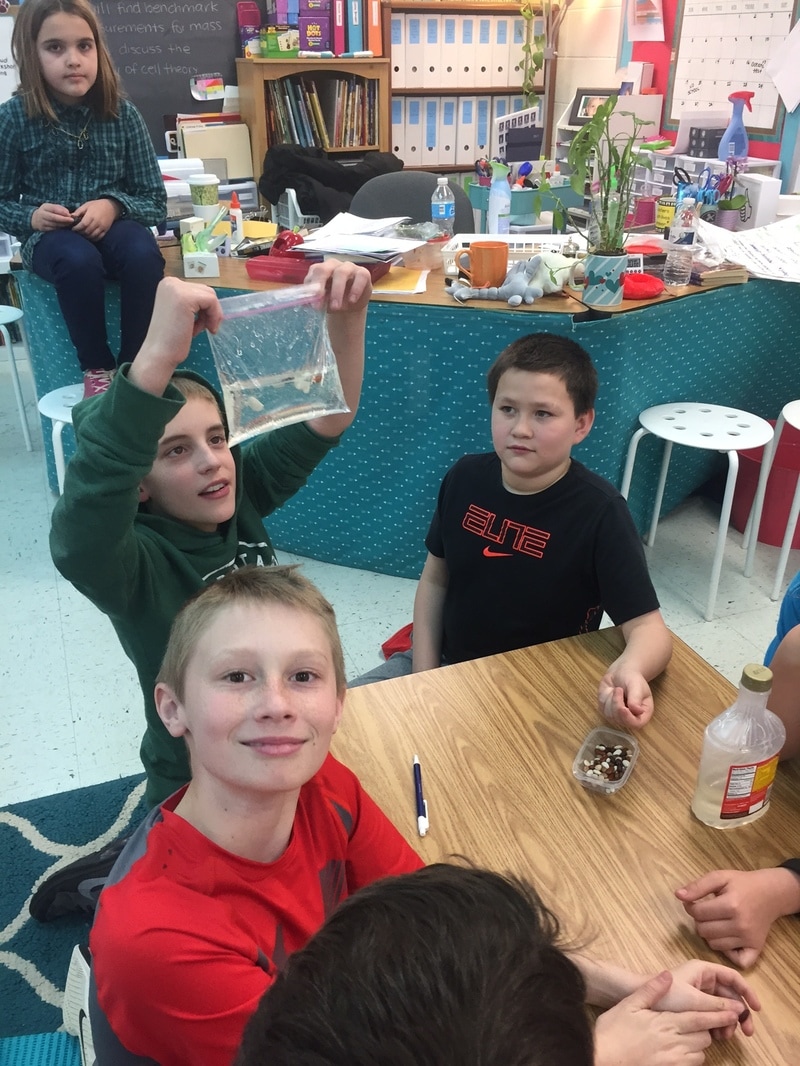
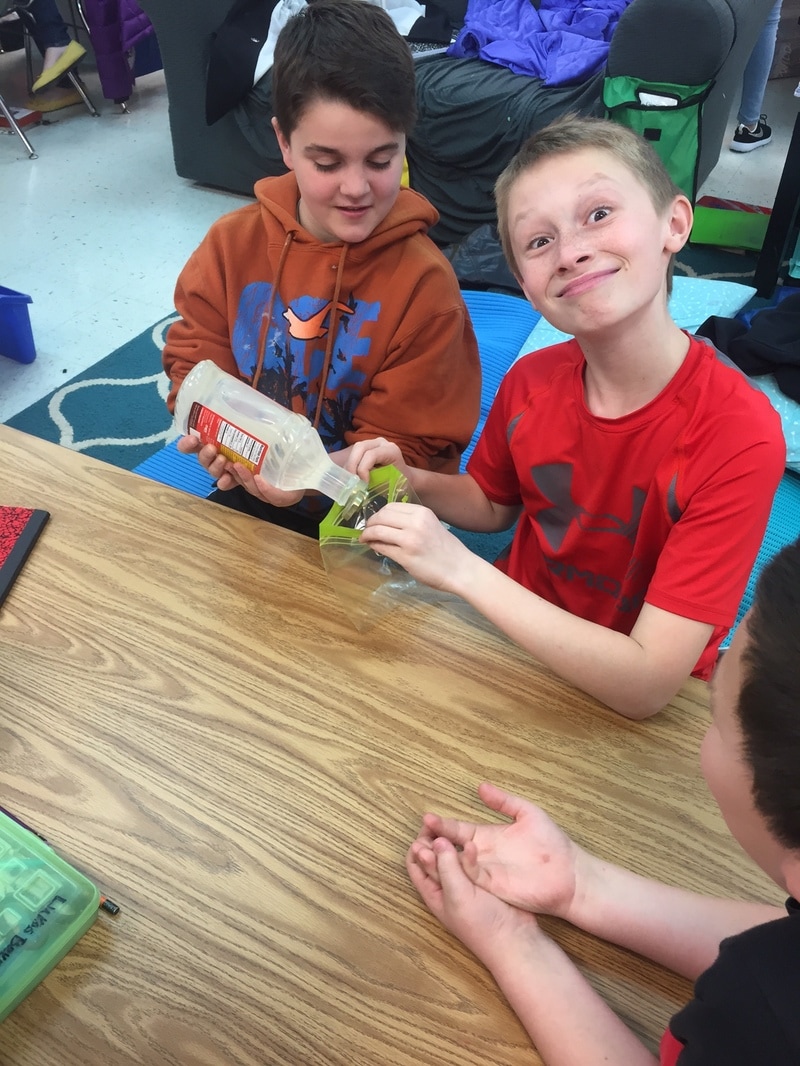
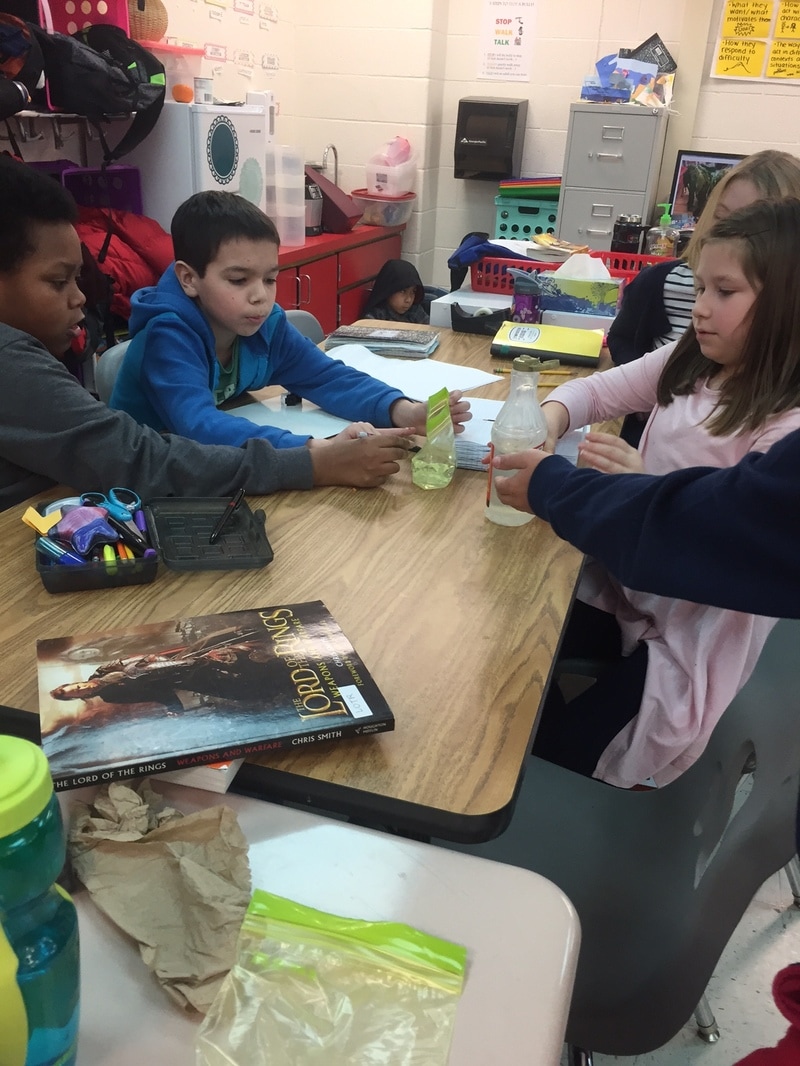
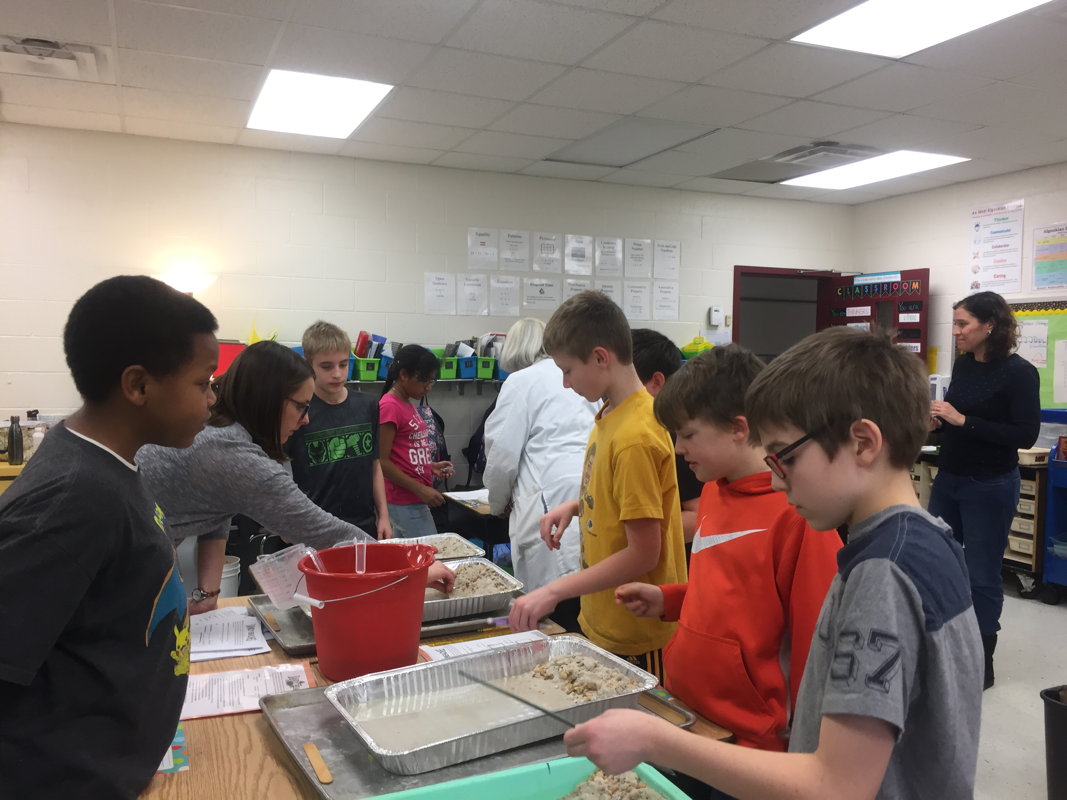
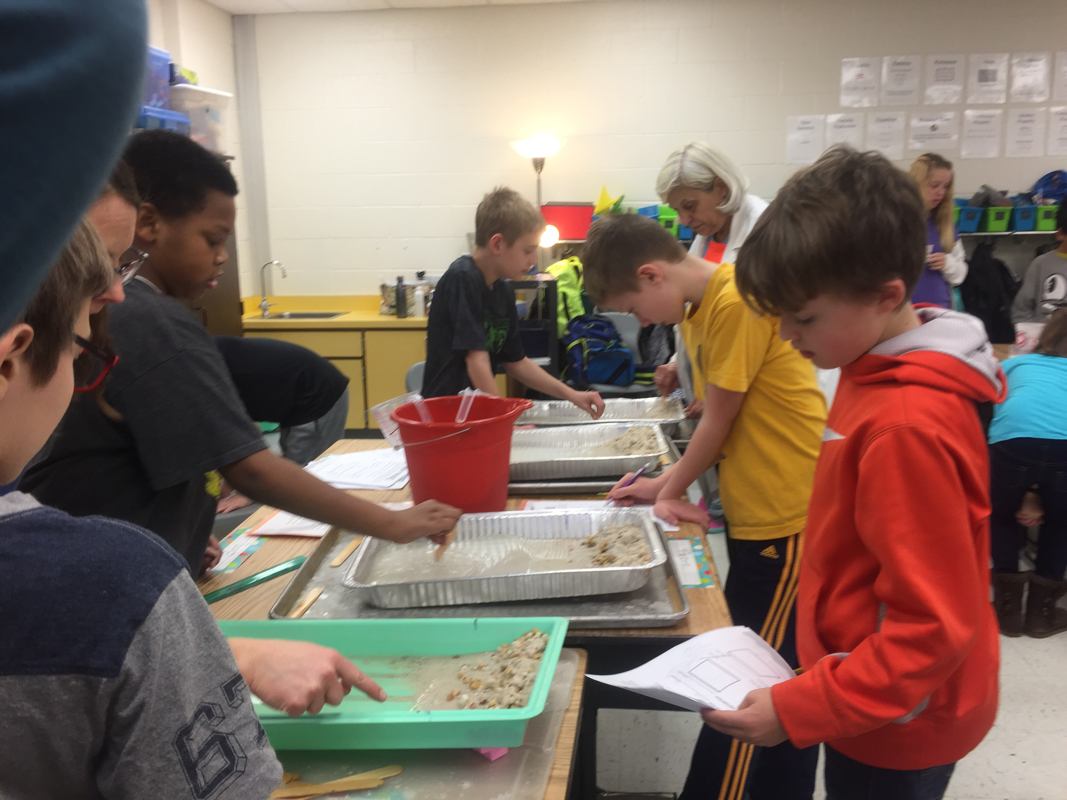
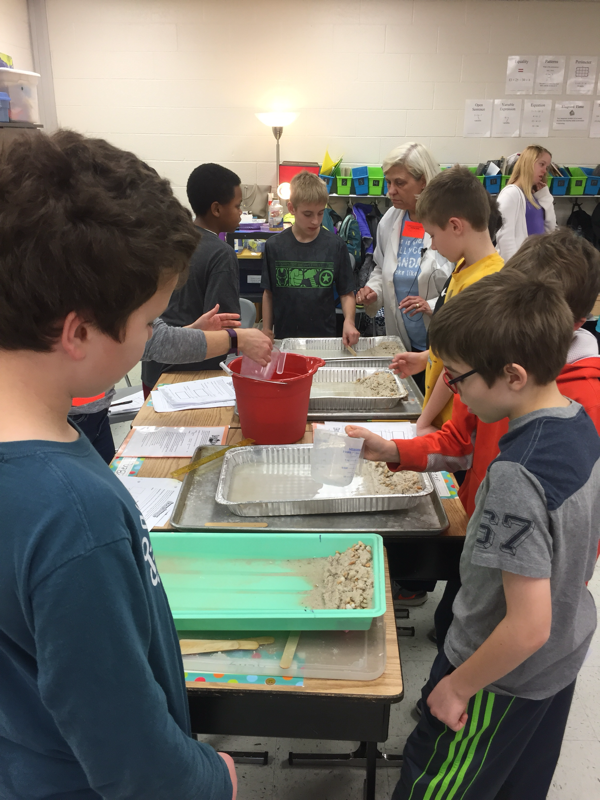
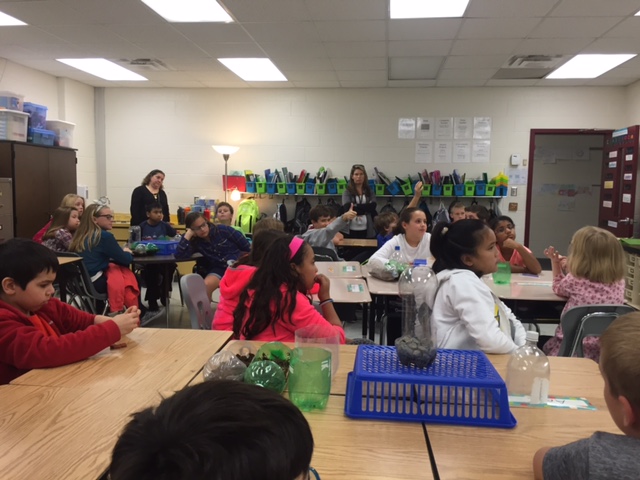
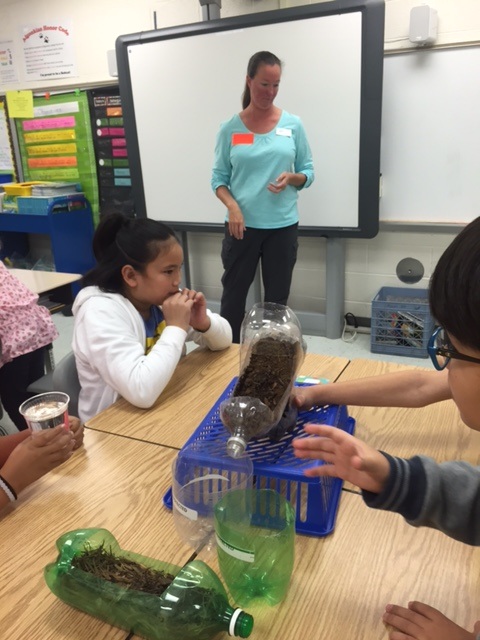
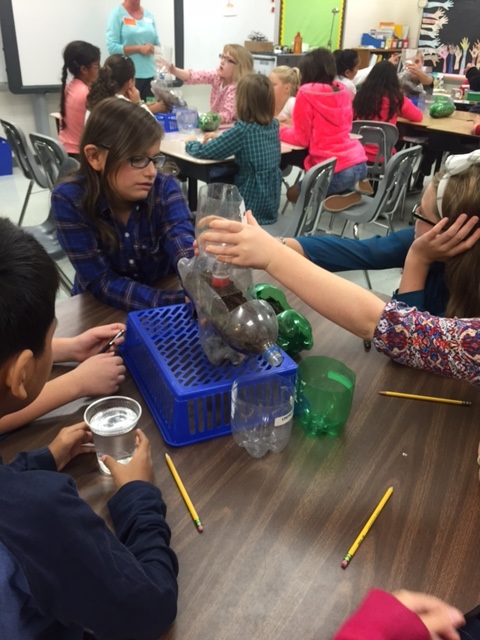
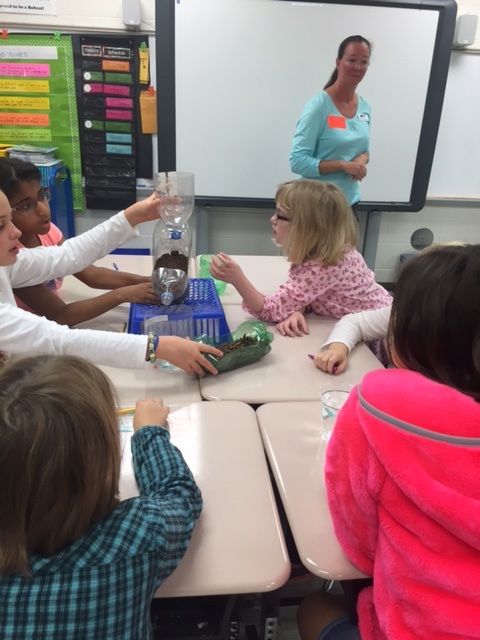
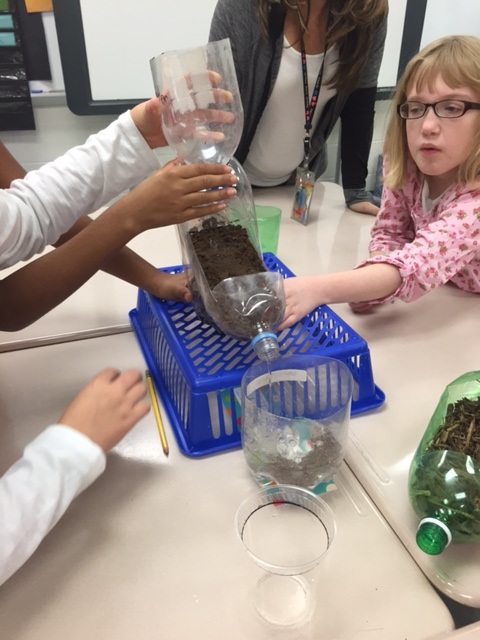
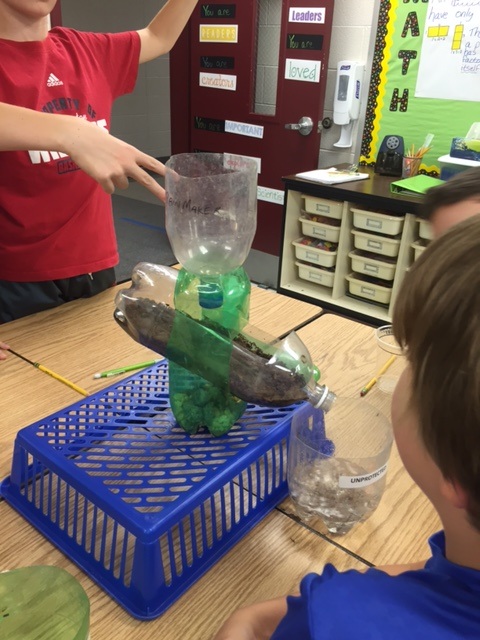
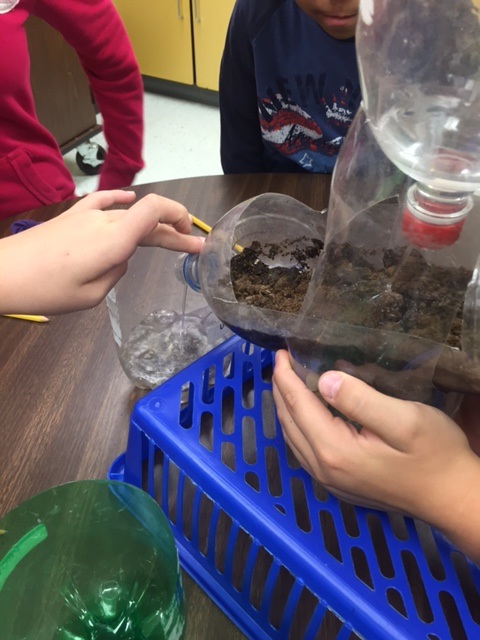
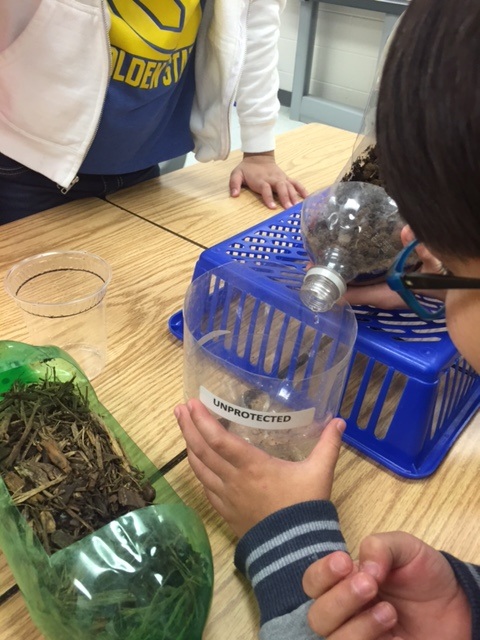
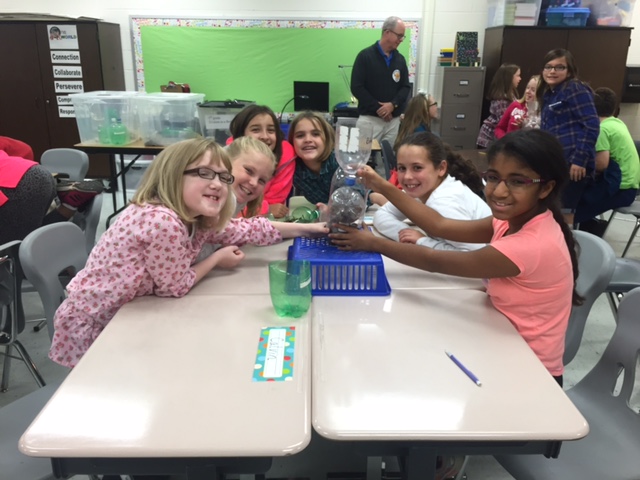
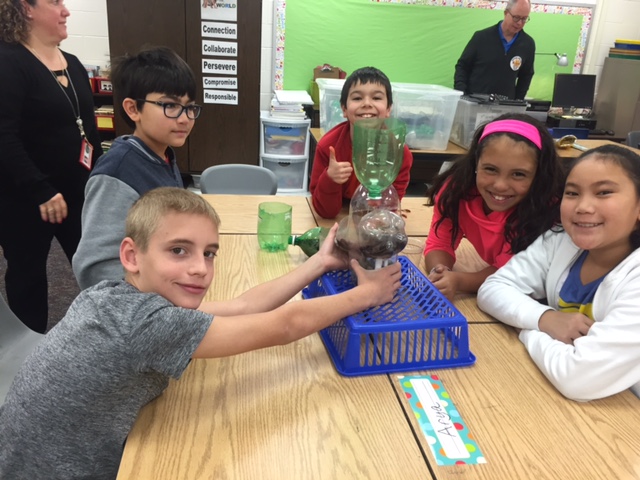
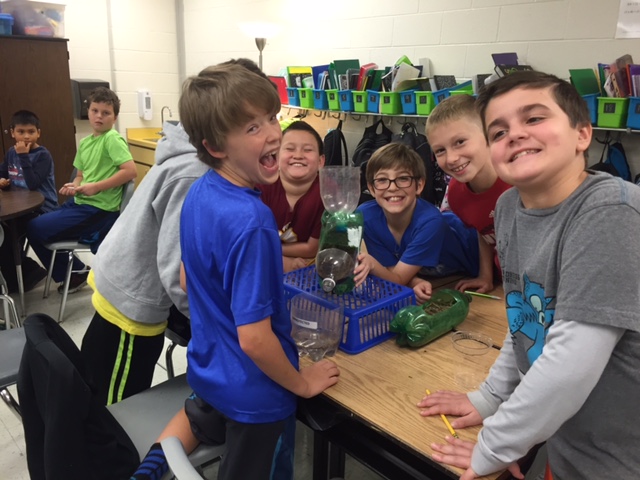
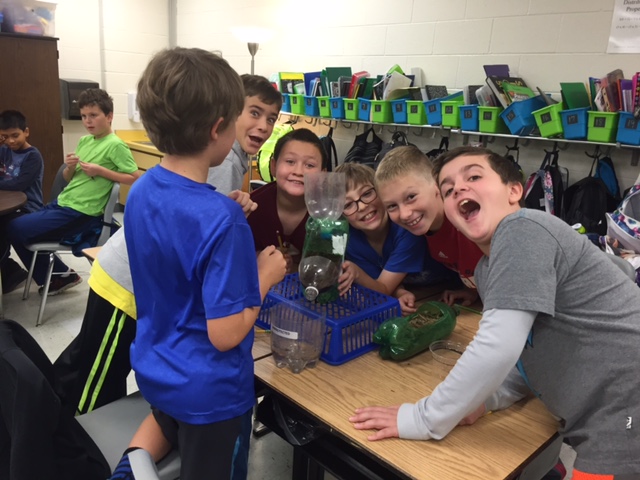
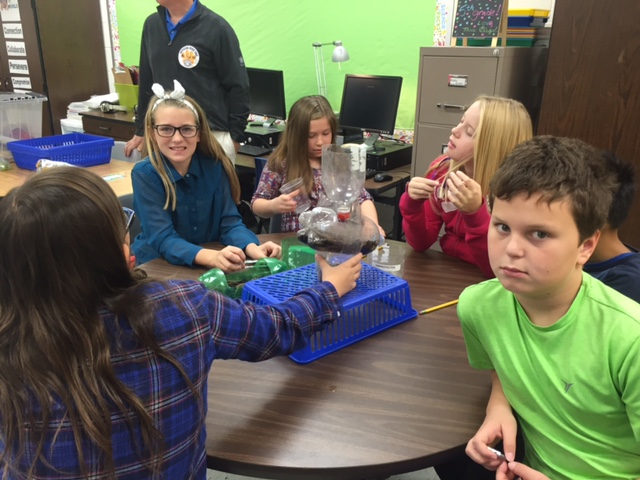
GreenKids-Erosion in a Bottle-10/24/16

Book clubs-10/20
I am so proud of all of the hard work the kids put into their book clubs the last week and a half. Many of them started out the club complaining that they'd never be able to keep up with the reading and then found it wasn't so bad! I was really impressed with the conversations the kids were having about their books- we are really starting to get good at supporting themes with evidence from our stories. Students will be getting their new book club assignments on Monday- keep a look out for new books :)
Sound-Which phase of matter does it travel through fastest?
Today we talked about how far apart the molecules are in each phase of matter. We learned that solids have molecules that are packed tightly together, liquid has molecules that can move more easily and have more space than solids, and gases have a lot of room to move. We then set up dominoes to simulate the molecules in the three mediums/phases of matter. The tightly packed dominoes represented solids, the medium-spaced dominoes represented water, and the farthest apart dominoes represented gas.
We then made a "sound wave" by touching the first domino for each medium . Students noticed the sound wave traveled fastest through the solid as the molecules were packed more tightly together and slowest through the gas as it took the dominoes a bit longer to make contact with one another.
We then made a "sound wave" by touching the first domino for each medium . Students noticed the sound wave traveled fastest through the solid as the molecules were packed more tightly together and slowest through the gas as it took the dominoes a bit longer to make contact with one another.
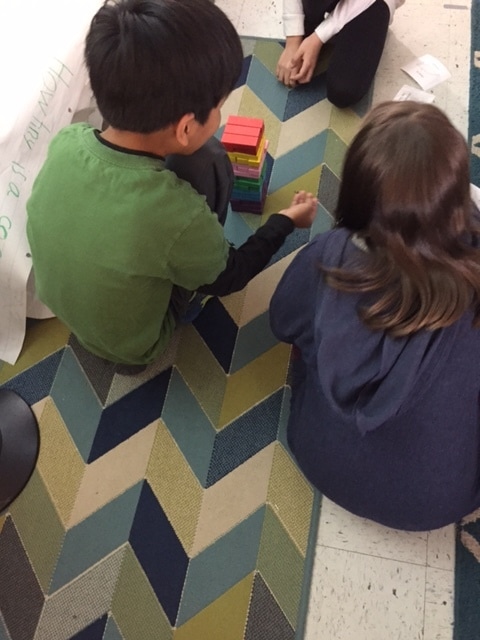
Math- Area and perimeter
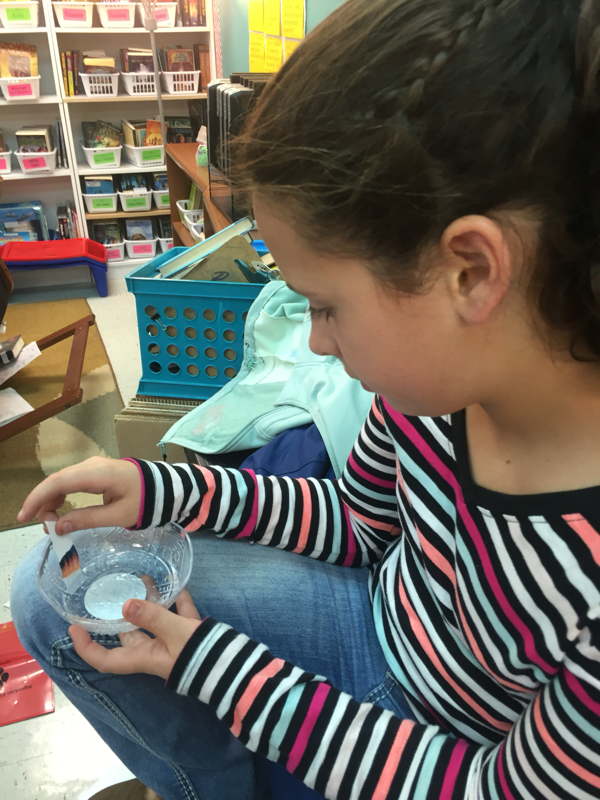
Sound investigations
ABOVE: Last week we started our sound unit. The kids loved the demonstrations of sound waves- we actually got to see the sound waves our voices make! This week the kids will have an opportunity to use these science tools themselves to explore sound. In these pictures, we hit tuning forks and watched the vibrations spray water and make waves in a bowl. We also saw sound waves shake rice on top of a bowl- we noticed that the harder I hit a metal pail (or sang opera), the more the rice "jumped" nearby.